The basic problem for those who would like to make the whole house “smart” during the renovation is that even if lamps, pass-through sockets, power strips as well as sensors and actuators of all kinds are available, the problem is that in many cases it would be necessary to completely change the range of wall switches with the relative plates (for example with a BTicino Living Now system).
However, “retrofit” solutions have existed for some time and one of the very first leading companies in this field is the Polish company Fibaro which joined the very Italian NICE group last year and has always been at the forefront of the production of Smart Switches based on the wireless protocol Z -wave with devices capable of receiving commands via smartphone or dedicated keyfob to turn on one or two switches, adjust the lights (dimmer), manage awnings and garage openings.
Fibaro's Z-wave catalog is vast and the company has for some time presented Homekit peripherals such as flood sensors, multisensors (light, temperature, movement), smart sockets, all based however on the Bluetooth LE wireless protocol since at the moment it is not an intermediate gateway is available that bridges with Z-wave.
So in fact today in Italy Fibaro Switch for Homekit is the only switch or if you prefer, relays or relays for retrofits and renovations that is able to communicate directly with the iPhone for switching on a switch through Homekit.
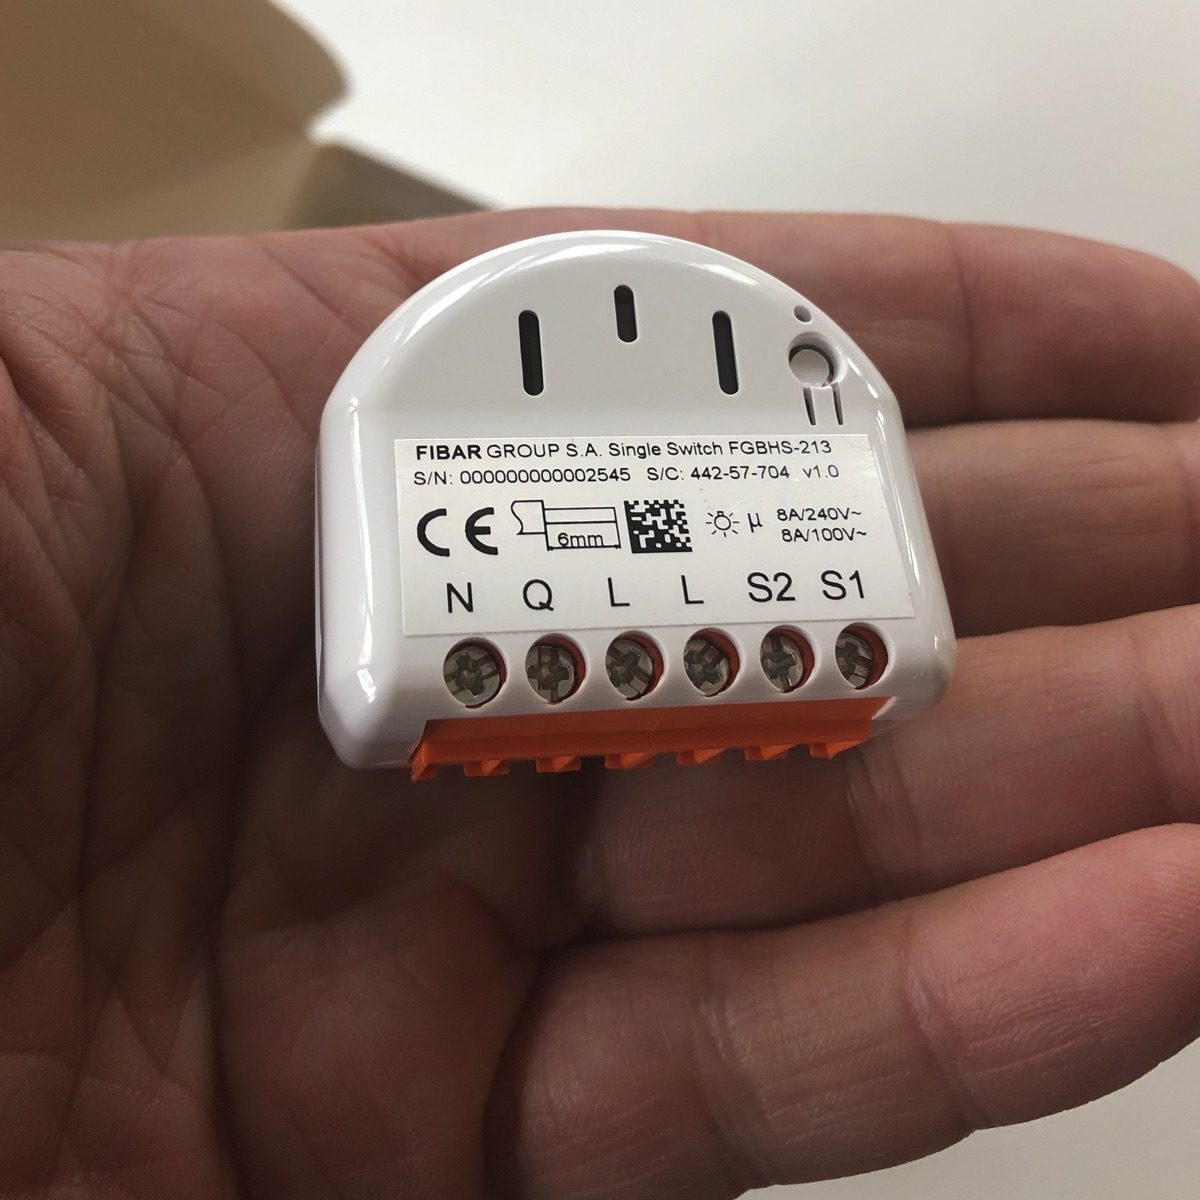
How the retrofit relay works and what are the advantages
Fibaro Switch for Home Kit like its “cousins” Z-wave (in black rather than white livery) is designed to be inserted in one of these three positions:
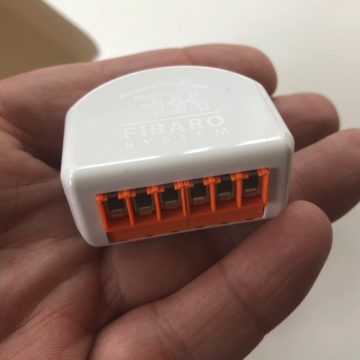
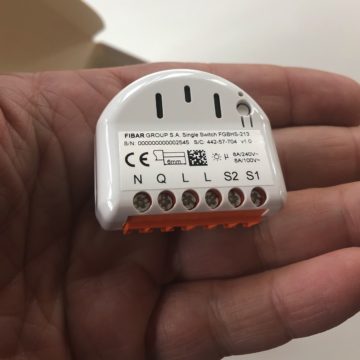
The dimensions of the relay are limited and the shape is made to fit into the forest of wires of the boxes of your switches but what matters is that the switch / relay works “in parallel” with your switch: in practice you can use the switch ( or diverter) in “manual” mode and at the same time control it wirelessly from the screen of your iOS and / or Mac device. The relay is always powered and therefore does not require batteries and Pairing with your system is very simple as is the case for all Homekit peripherals.
At the same time, if you have a control system with diverters, it will be sufficient to insert a single Fibaro Switch per Home Kit in a single box to give all the other diverters connected to the same lamp (or group of lamps) the ability to control or manage.
The selection of the functionality with switch or diverter is done directly in the Fibaro application (see at the end of the review).
At this point, the possible buyer will ask himself: but if I install a simple “smart” LED lamp like those of Philips, Osram and the like, I can't manage the ignition and intensity via “Home” and Homekit? In reality, this system has a basic flaw: unless we always use the dedicated switches (based on Zigbee) we must always keep the power supply that reaches the lamp (and its small wireless radio) on in order to maintain control. while here the control takes place directly on the switch.
In fact, if the traditional power switch is off, we cannot turn on the smart lamps and exploit their capabilities.
The other advantage obtained with a relay applied to the switch / diverter is that it is possible to manage lamps or groups of lamps such as neon, chandeliers with or without LEDs for which there is no “smart” replacement.
The smart advantage of a relay of this type is obviously that in addition to switching on or off in parallel with a switch, we can include it in our scenes, activate a timing, manage it with our presence on site or not, activate automations / simulations. anti thief etc etc.
Not only for lamps
In the case that we show you in our review we used the switch for a fan in a blind bathroom which was normally operated by a switch but which once turned on remained so for hours.
Obviously we could have managed everything with a timer and a traditional sensor but through Homekit we were able to activate the start of the fan by closing the door between the bathroom and anteroom and we can activate the fan remotely or stop it at any other time.
If we had used a smart socket to activate the fan we would have had to do without the traditional switch, making it difficult for the less “technological” to use.
Furthermore, you can use the switch (and the connected mechanical switch) also as an activator of a scene and therefore in the absence of load: you can decide to turn on or off all the lights of a floor as long as they are all managed by Homekit.
The importance of Apple TV, Homepod
As we said Fibaro Single Switch is based on the Bluetooth protocol and you can certainly manage it directly from your iPhone at home but if you want to insert it in a home automation system manageable remotely and / or in a fairly large apartment it is good to have an Apple TV (the fourth generation model is fine, not 4K) that acts as a bridge between Bluetooth (of one or more Fibaro switches) and Wi-Fi of your router to maintain the continuity of remote control.
The same function can be performed by an iPad or HomePod since both are equipped with dual wireless connectivity).
The trick is to arrange the bridge element in a central position in the house so that the farthest Bluetooth device is less than 9 meters from the “repeater” itself. Although recent Homekit implementations allow some sort of “routing” of commands, the technology is not as effective as the “mesh” type of Z-wave and Zigbee and the positioning of Apple TV and HomePod is strategic in larger homes. .
The packaging
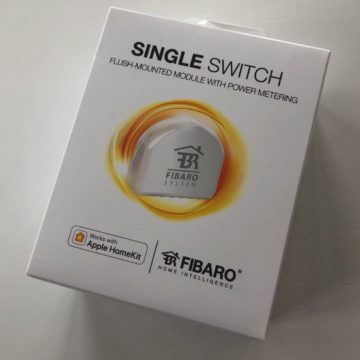
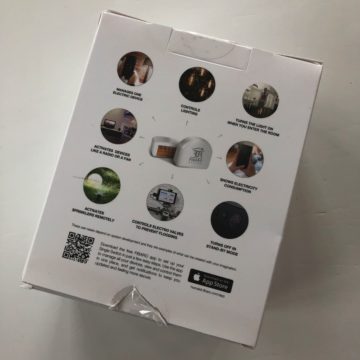
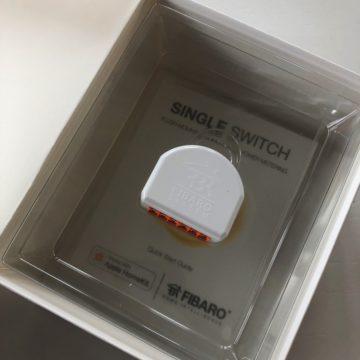
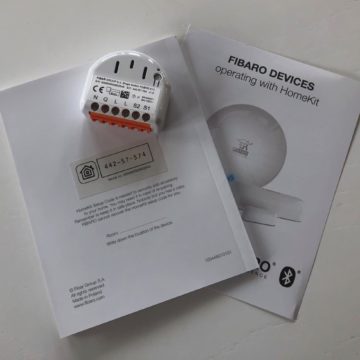
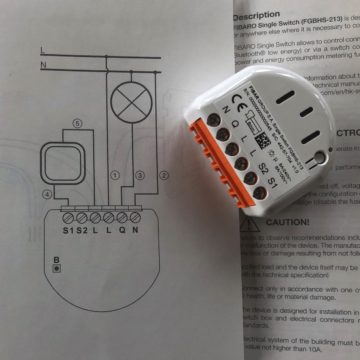
After many premises we come to the review of the actual product: it is a generous cubic-sized box that houses the small switch inside: the dimensions seem to be dictated more by a need for displays inside an Apple Store than by practicality. : inside the package which is structured by a plastic element we find only the relay and a booklet with instructions and the Homekit code that we will need for the configuration.
We advise you to absolutely keep the booklet with the code since the relay will be hidden inside the box with the fruits (or derivation) and if by chance you should make a pairing (in case of problems) it would be “dangerous” to go and open the box and handle the wires to reveal the label on the relay installed.


Connection and configuration
As we said in the instructions, this is one of the very few elements of a smart home to be installed during the renovation phase that absolutely needs an electrician or an installer for two reasons: if you are not absolutely expert geeks, go to work with electric cables, even with the general panel switched off, it can lead to unstable or incorrect connections or harbingers of short circuits; the second reason is related to the certification of the system itself: if you directly tamper with a system in compliance with the law, perhaps in a rented apartment, you run the risk that in case of system problems (fires, short circuits, etc.) compensation granted by the insurance.
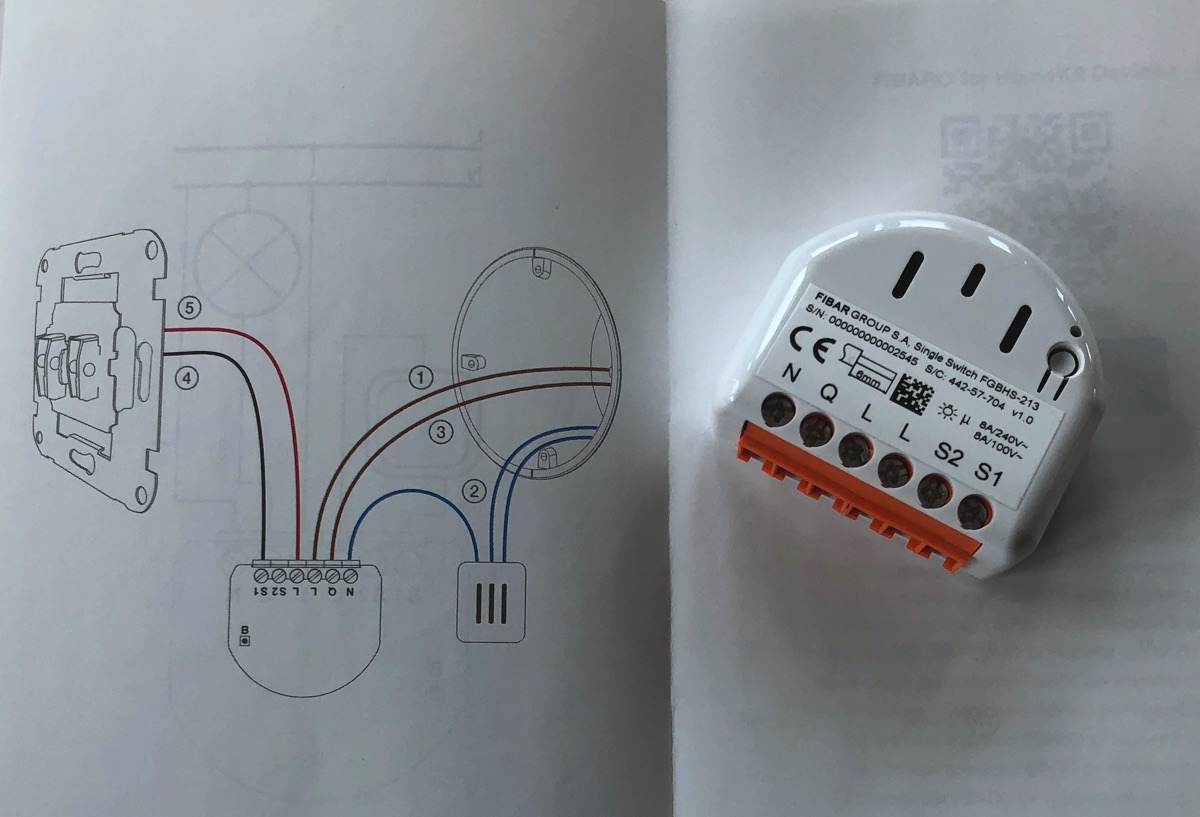
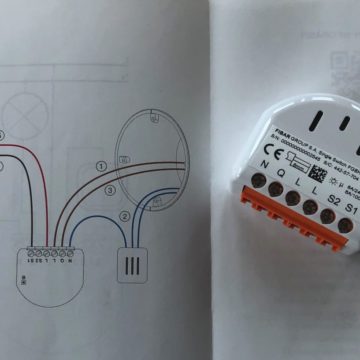
Having said this, once the main switch of the house has been disconnected, take care to connect the switch / diverter to the relay according to the diagram provided by Fibaro, perhaps adding a cable to manage the lamp that signals the activation of the power supply. The relay needs the neutral and this could be a problem in old systems but there are tricks to overcome the inconvenience that we leave to the skill of your installer.
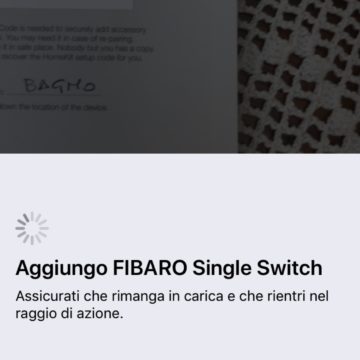
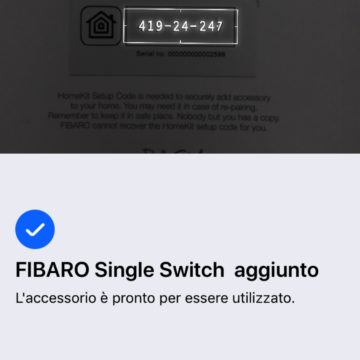
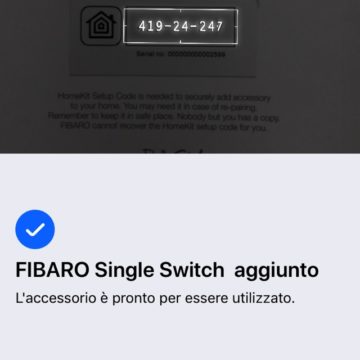
Once the relay has been connected and re-powered by switching on the general meter, we can proceed with the inclusion of Fibaro Switch for Home Kit in our home automation system: just frame the plate with the Homekit code and the relay will appear among those that can be managed remotely.
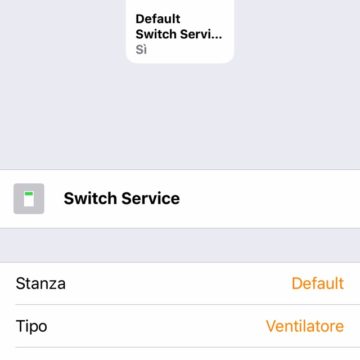
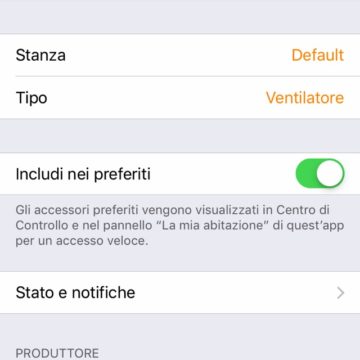
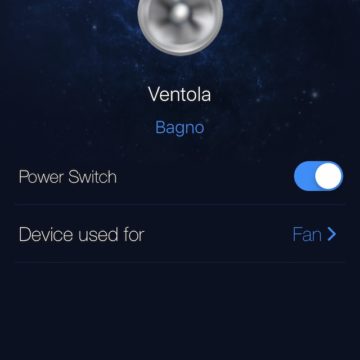
At this point we can go and check on “Home” that on the app dedicated to Fibaro's Homekit what type of configuration we want to use (Switch or diverter), assign the switch to the room, change the name and possibly the icon (we have chosen the one of the fan).
If by chance we have mistaken the inclusion or want to reset the device, we must physically access it again and hold down the reset button on the switch until the yellow LED lights up, and at that point add the switch to the “Home” App by framing the specific code on the last page of the instruction booklet.
As we have said, it is a simple relay that only manages on / off and therefore there are no dimmer or speed adjustments of the connected fan.


Remote management, scenes and automations
As we have seen for other Homekit devices it is possible to make switches, sensors etc interact to create an automation with the fan management that we wrote to you before we added a timer that once activated the fan makes it turn off after xx minutes (up to a maximum of 30) and obviously the activation with the door closed.
Thanks to Apple TV we have the possibility to access also remotely and since the fan is a Lossnay with heat recovery we could use it with an internal and an external temperature sensor to automate the air changes according to the heat exchange or in connection with a humidity sensor to ventilate the bathroom and avoid condensation phenomena.
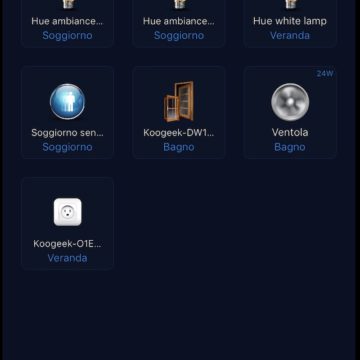
Below we see the programming with a Koogeek window door sensor (see the related review) after assigning the switch to the “Bathroom” room and renaming the switch to “Fan”
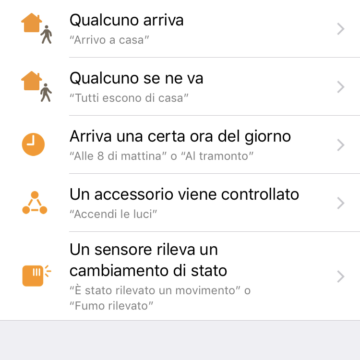 we start the automation by choosing to use as an “activator” the sensor that detects a change of state
 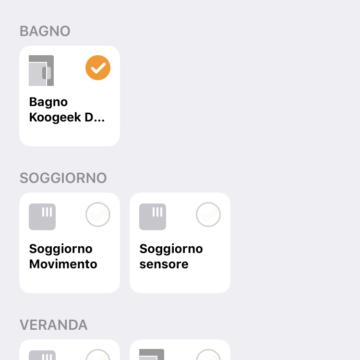 We choose the sensor
 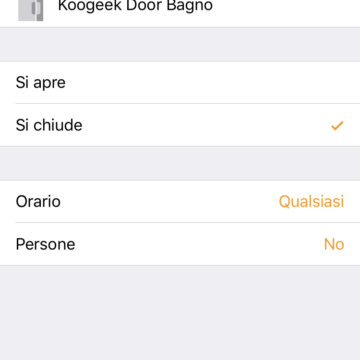 in this case it is the Koogeek sensor when it detects the closed state
 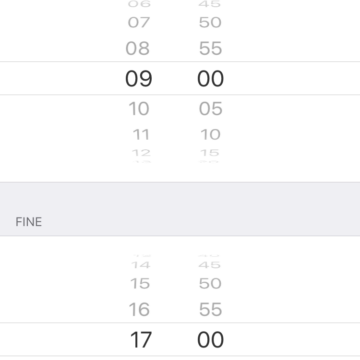 We decide the time it should work
 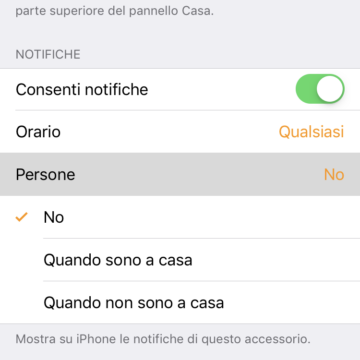 We decide if the function depends on our presence at home
 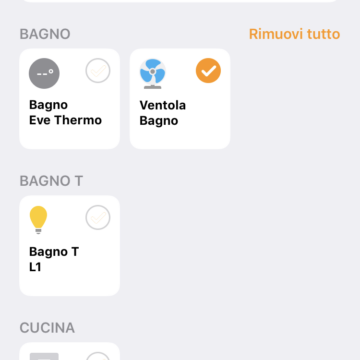 We decide which accessories are activated according to the conditions of the sensor
 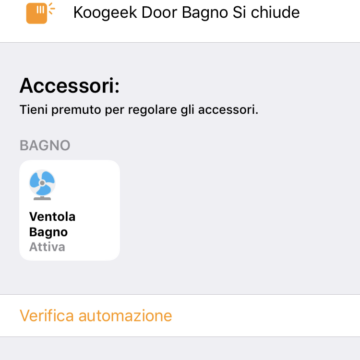 In this case it is the fan connected to a Fibaro switch
 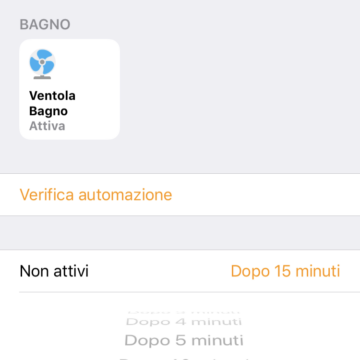 We decide how long it should remain fan on
 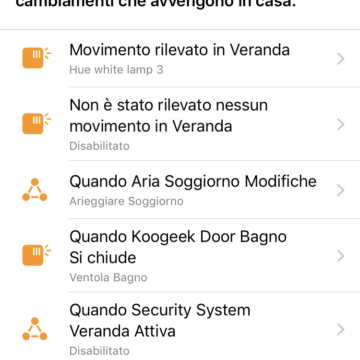 Here is the automation completed and inserted in the list
Energy measurement
If instead of “Home” you use the Fibaro application for Homekit (to be consulted even only for this purpose occasionally) you will have more information: that of the current consumption detection and the cumulative consumption in order to evaluate the overall cost of a particular connected device.
The user can be notified every time the device is activated vato (for example someone enters the house without your knowledge and turns on the switch) and / or when the energy absorption varies by 20% or 200 Watts compared to the previous measurement. Data collection takes place approximately every 10 seconds.
 Here is the Fibaro app dedicated to Homekit
  Here we see the indication of consumption
 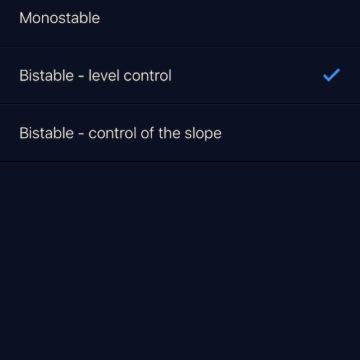 Here the configuration of the switch
Conclusions
With the appropriate precautions Fibaro Switch for Home Kit is able to automate any switch with Homekit with a significant load during the renovation phase and this allows to manage directly (and in parallel) lamps and power supplies of any type.
The installation is simple but it is even easier, especially compared to the Z-wave cousins, the inclusion and exclusion or reset system in the Homekit system.
The price is commensurate with the performance and safety of a carefully constructed product.
We are waiting for the roller shutter relays and the module with dimmer and, perhaps as for the Z-wave cousins, a module with double relay that would allow further savings in a combined installation.
Pro
Easy to install, compact, makes any switch “smart” and compatible with Homekit without the need to change inserts and plates.
Cons
It requires (obviously) an Apple device in the house for remote management.
Price
Fibaro Switch for Home Kit is about 51.99 Euros on Amazon and 55-59 Euros in specialized stores. Among the distributors in Italy we find Accessory Line.


