Home Reviews ,,,,, Our iPhone 5, like thousands of others, was hit by the famous battery problem that, in the days it was marketed, forced users to replace under warranty: our model is also one of these but, also thanks to normal wear and tear. of time, it can no longer ensure a full day of use. It is no longer our main phone but we are sorry to see it slowly die in a drawer, so we decided to rely on one of the do-it-yourself repair kits available on the net to try to revive it without spending a fortune.
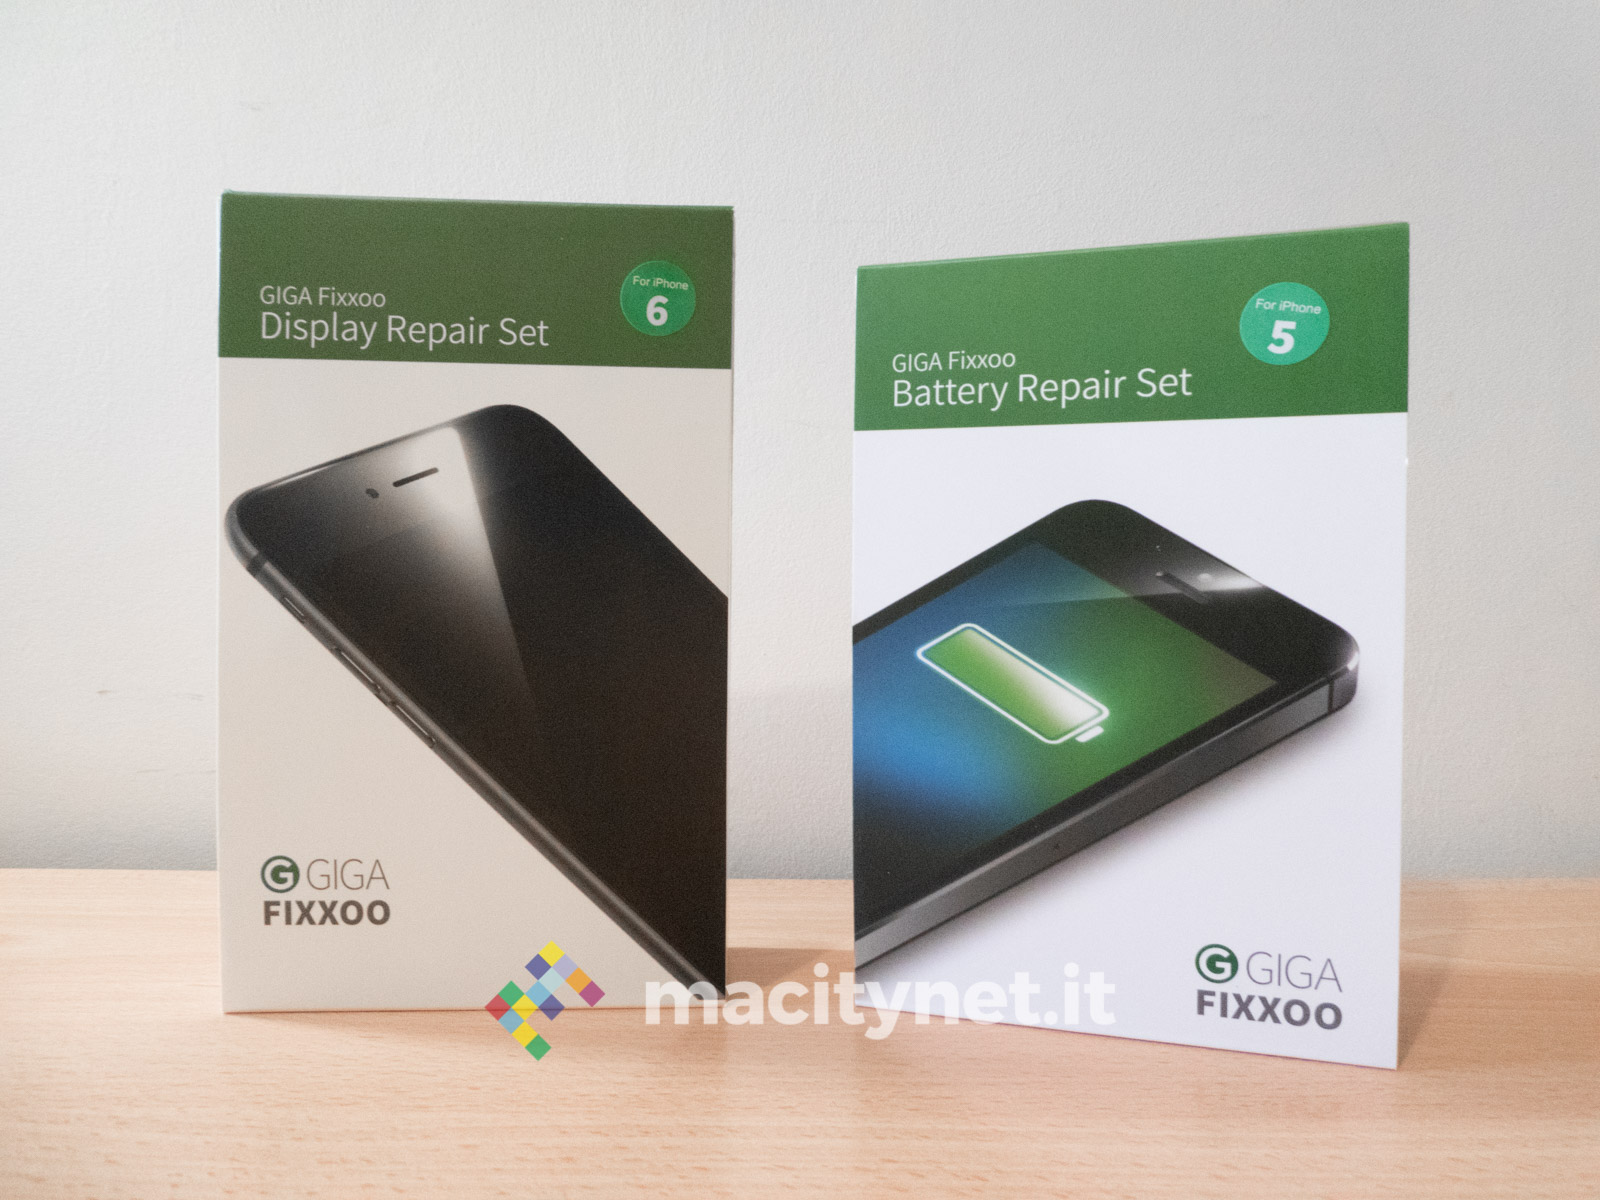
We therefore relied on the kit from GIGA Fixxoo, a German company that has already been on the market for some time and which sells its products through Amazon, where it enjoys many positive reviews. In its offer there are replacement batteries and displays for different generations of iPhones, starting with iPhone 4 up to the most recent: as mentioned, in this review we will show you step by step how to replace the battery of an iPhone 5.
What's in the box
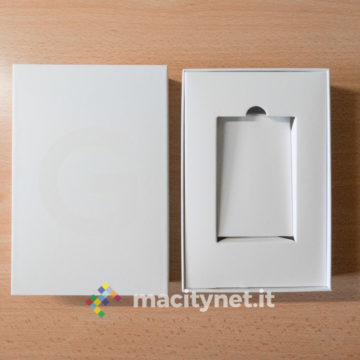
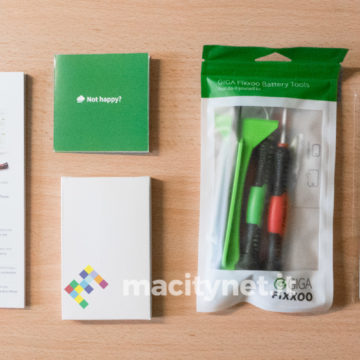
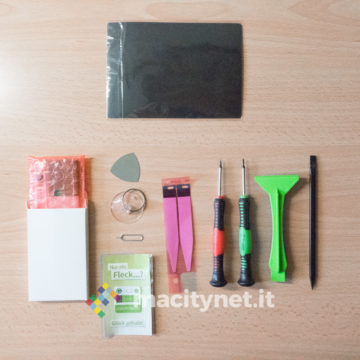
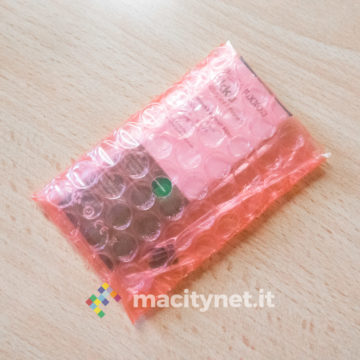
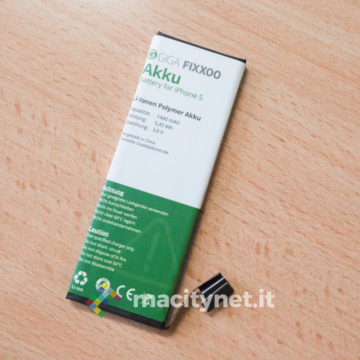
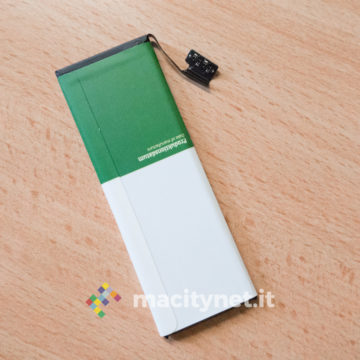
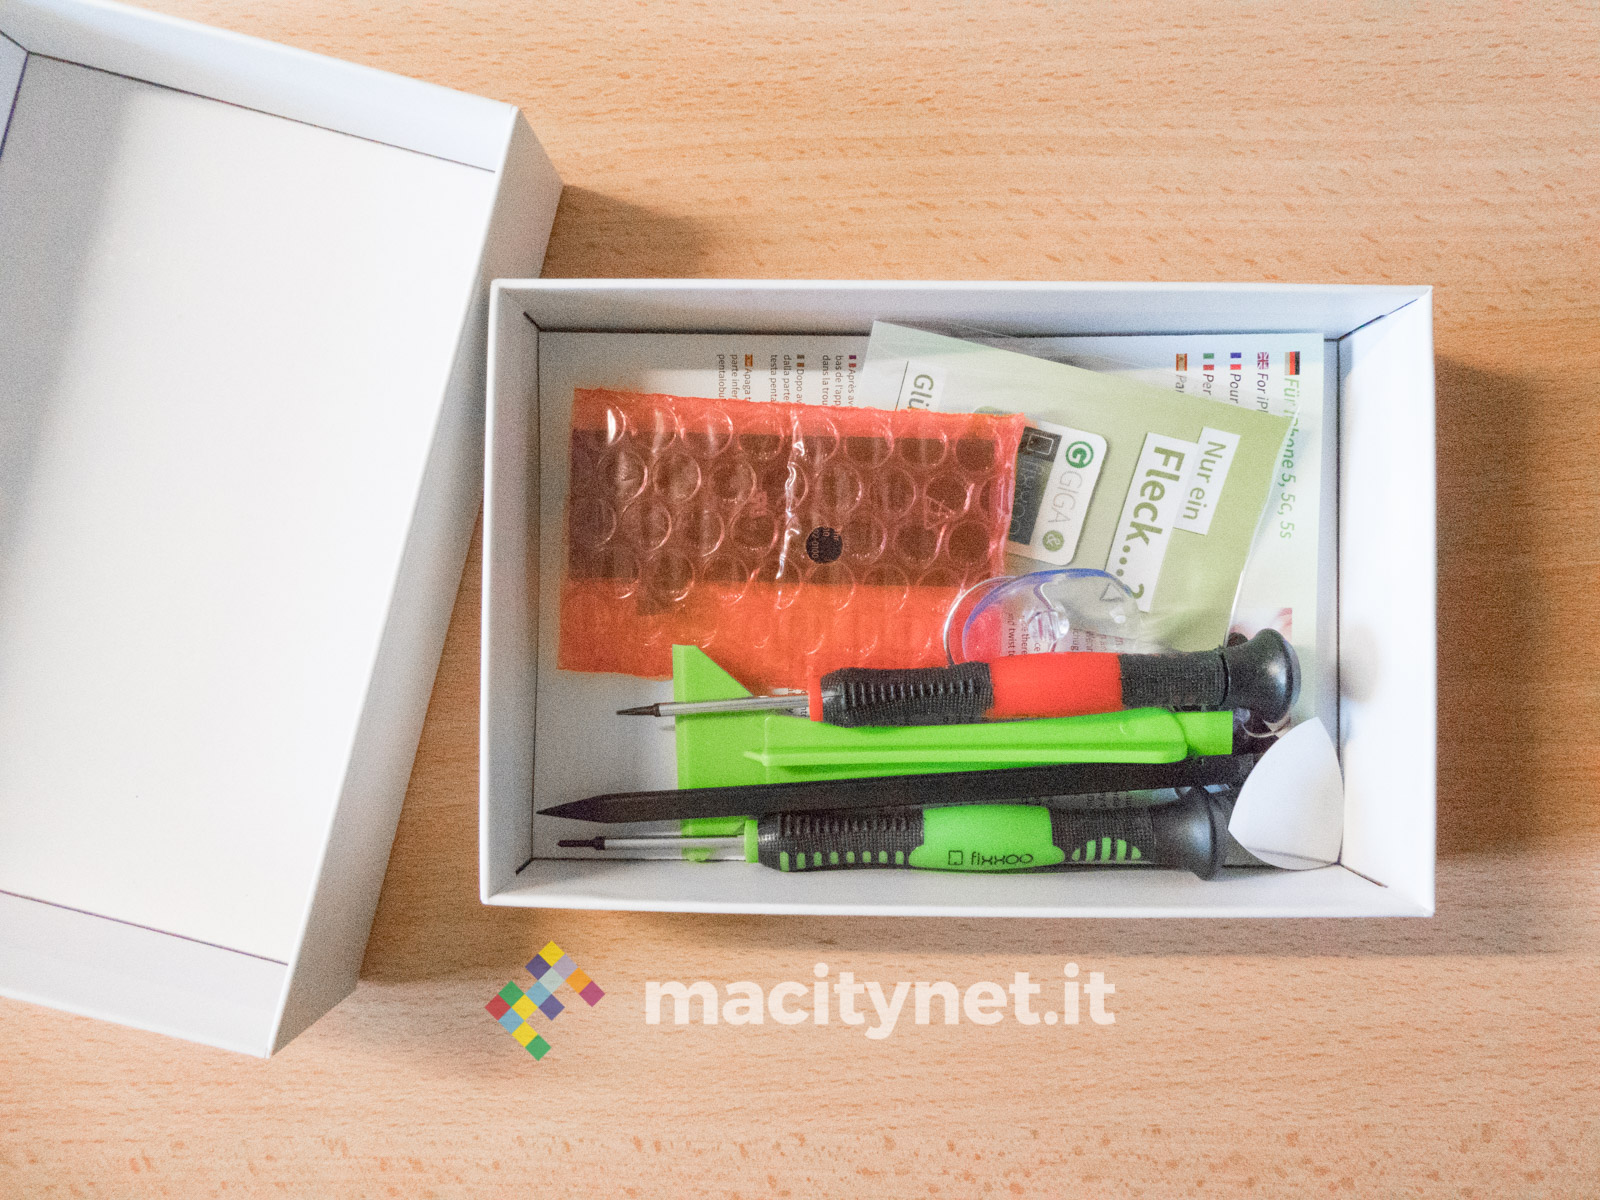
The kit contains everything you need to replace the purchased component. Specifically:



How it's done
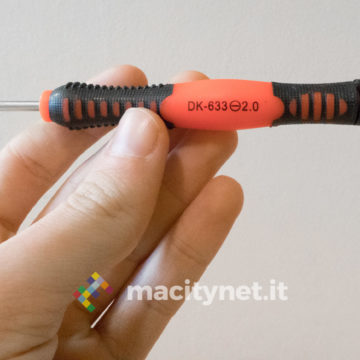
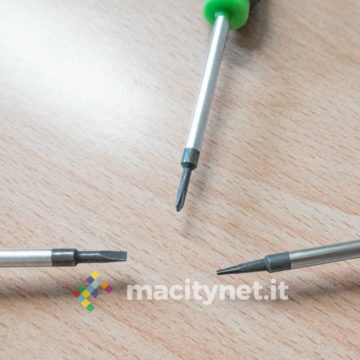
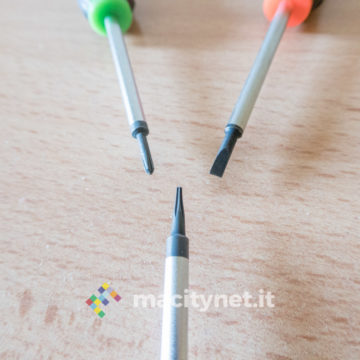
By touching the various tools with your hand you can immediately appreciate the quality of the product. Better from a construction point of view are screwdrivers. Both are built with a very comfortable handle to hold, with a rubber cover that improves grip and a movable cap to rotate it more easily if you place it on the palm of your hand. The tubular section of the screwdrivers is made of steel and the tip, also metal, is magnetized, so you will never run the risk of losing the micro-screws that we are going to remove, as they will remain practically glued to the tip of the screwdriver.
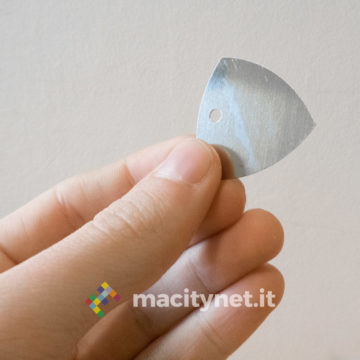
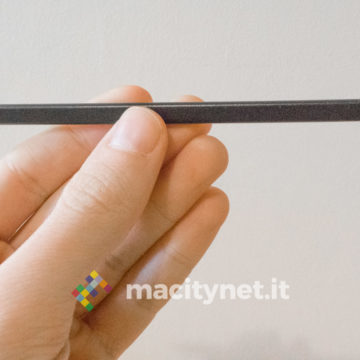
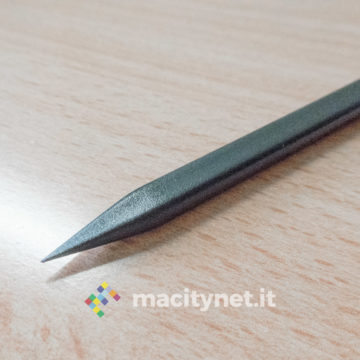
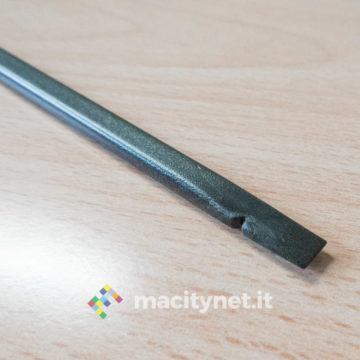
On the handles is then printed the initials with the symbol of the tip and the relative dimensions, thus being able to trace them more easily even at a glance and without having to look closely at the tip. The metal “pick” is also very good, impossible to flex between the fingers and very useful for leveraging in specific areas thanks to the pointed corners that are easily inserted between the body and the screen. To this must be combined the black polycarbonate tool that looks like a pencil: on one side it has a sharp tip, on the other the tip is flat and particularly useful in the first phase of disassembly.
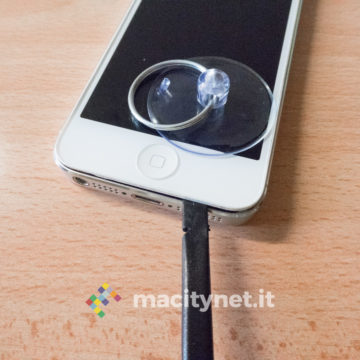
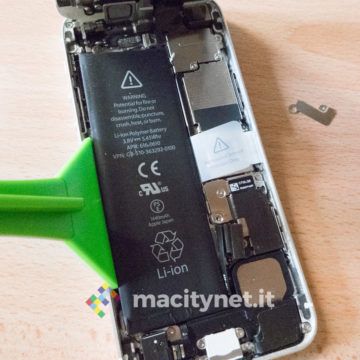
The green instrument is of the same quality, also with two different tips: the most used (in our tests) is the widest one, which practically allowed us to easily lift the old battery glued inside the iPhone. The suction cup is also excellent, which hooks well to the phone display and proves to be a valid aid in disassembly.
Overall, the quality of the materials seemed to us very good and suitable for the purpose for which they were created. Unlike other kits we have tried in the past, the plastic of the instruments seemed slightly more resistant: at the end of the repair they practically did not wear out, thus being able to be safely reused in the future.
How to replace iPhone 5 battery
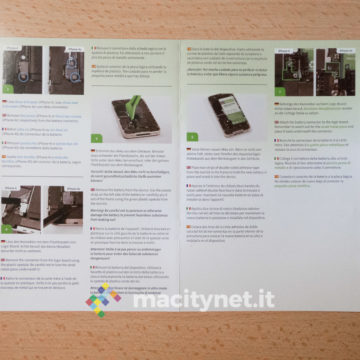
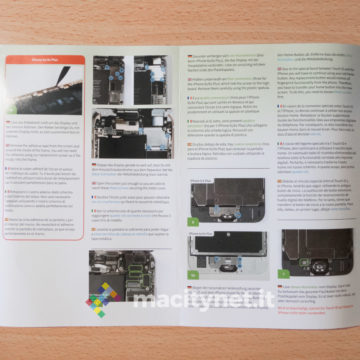
The package contains the instruction manual that shows the various steps to follow – in multiple languages, including Italian – with a lot of accompanying photos. The guide is very well done, it describes in detail the actions to be performed and the tools to be used from time to time. In our case there is only one defect: some steps do not correspond as the manual refers to the battery replacement of an iPhone 4 / 4s while for the iPhone 5 some components are located in different points and one could thus be misled.
In any case, on YouTube there are many video tutorials and in this specific case the replacement does not require practically any technical preparation except some forethought, a little patience and a pinch of dexterity.
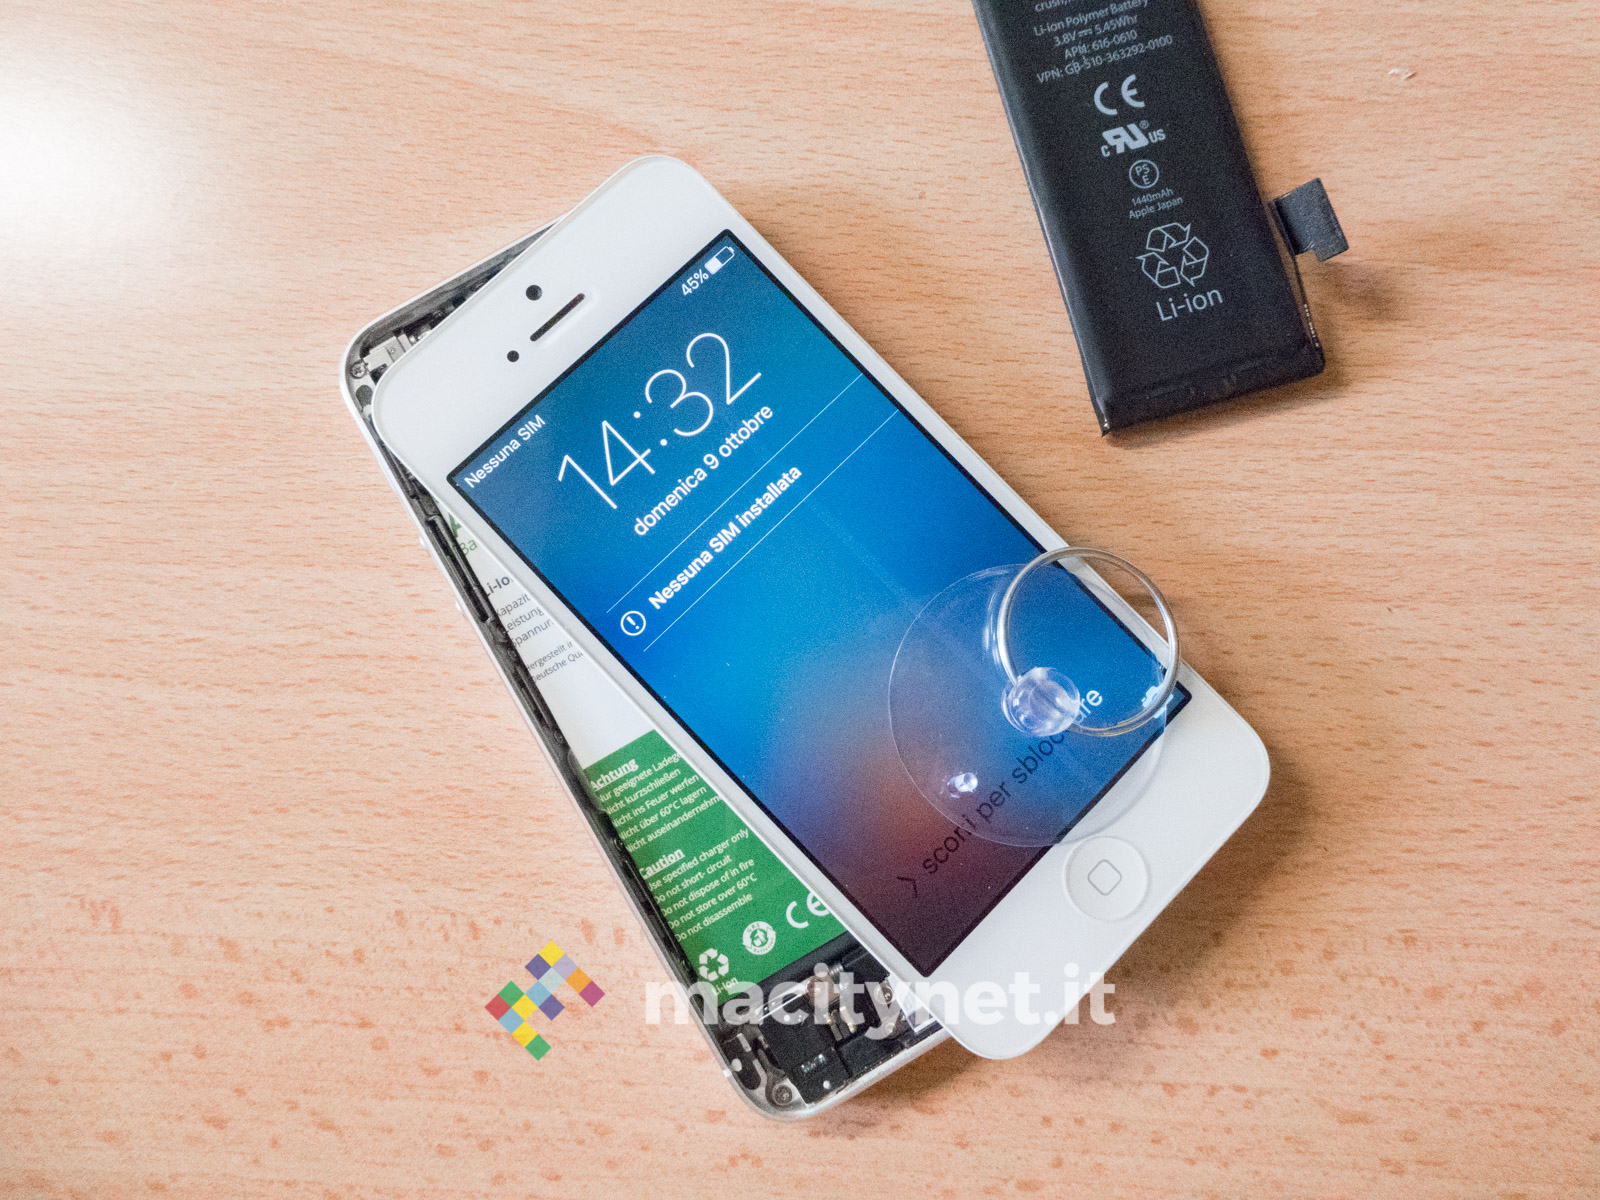
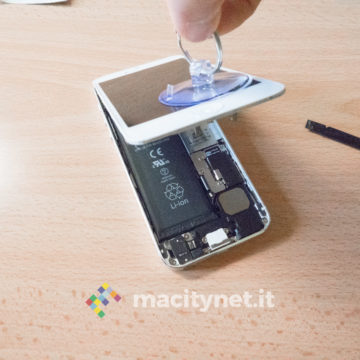
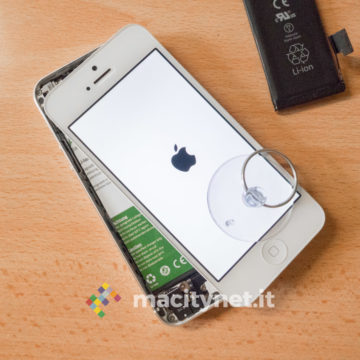
In fact, it is first necessary to remove the two pentalobe screws on the sides of the Lightning socket. Then you have to help yourself with the pick, the black tool and the suction cup to release the screen: this is the most delicate operation and it is important to be particularly careful not to flex and not to force the display because you run the risk of breaking it, as happened. to us. At the end of the repair, in fact, right in the center of the suction cup, a line was created that practically broke the touchscreen area, making it impossible to interact with some letters of the keyboard and in general with a small portion of the screen. Better therefore if you take all your time and arm yourself with holy patience trying to leverage the sides with the tools in the kit, making only a slight pressure with the suction cup and only in the final stages.
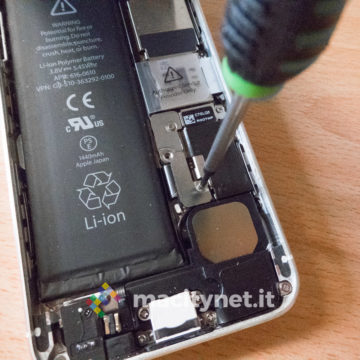
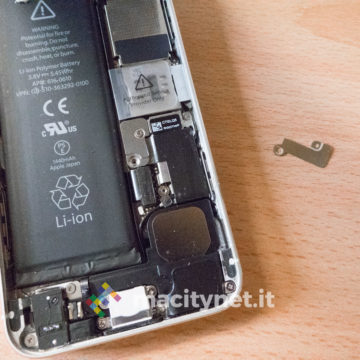
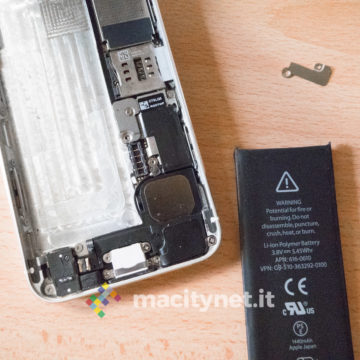
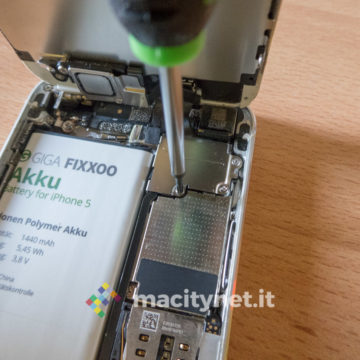
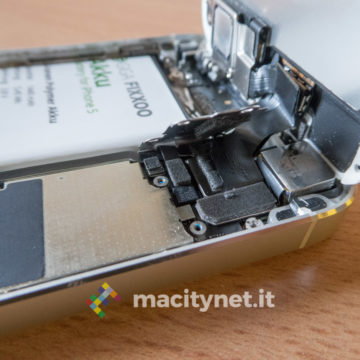
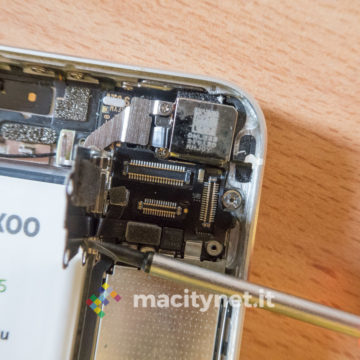
Once the screen has been lifted, all that remains is to unscrew a small screw that locks a metal clip to protect the battery plug, then unhook the latter and remove the old battery with the green tool. The glue that Apple uses is particularly fixing but with a little force you can detach the old battery without damaging the internal components.

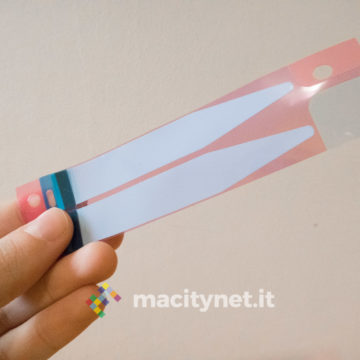
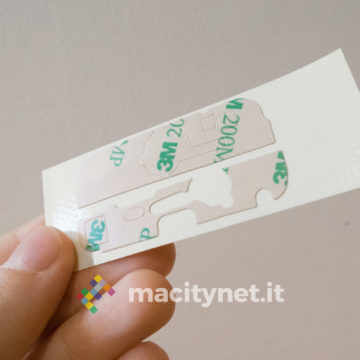
At this point all that remains is to remove the protective film from the glue strips included in the package and fix them on the internal surface where the new battery will then be housed: also in this case pay particular attention because the adhesive strips are very soft and you risk damaging them. even before applying them (as happened to us). In any case, as our tests show, they are not mandatory as the replacement battery has the same identical dimensions as the original and, once the display is closed, it remains practically locked in its housing with no possibility of moving even a few millimeters.
Once the battery has been mounted, all that remains is to follow the steps in the reverse order, then insert the plug, lock it with the metal clip through the screw, close the display and lock it again with the two pentalobe screws.
UPDATE: How to replace iPhone 5 display
As we said in the previous chapter, an area of the touchscreen was damaged when lifting the display to replace the battery. So we decided to also take the kit to replace the screen and now we update the review to show you the various steps to follow to complete the operation.
Also here in the package there is the instruction manual and in this case they speak precisely of the iPhone 5. First remove the two pentalobe screws on the sides of the Lightning socket, then as for the previous operation you help yourself with the suction cup to lift the screen and detach it from the chassis.
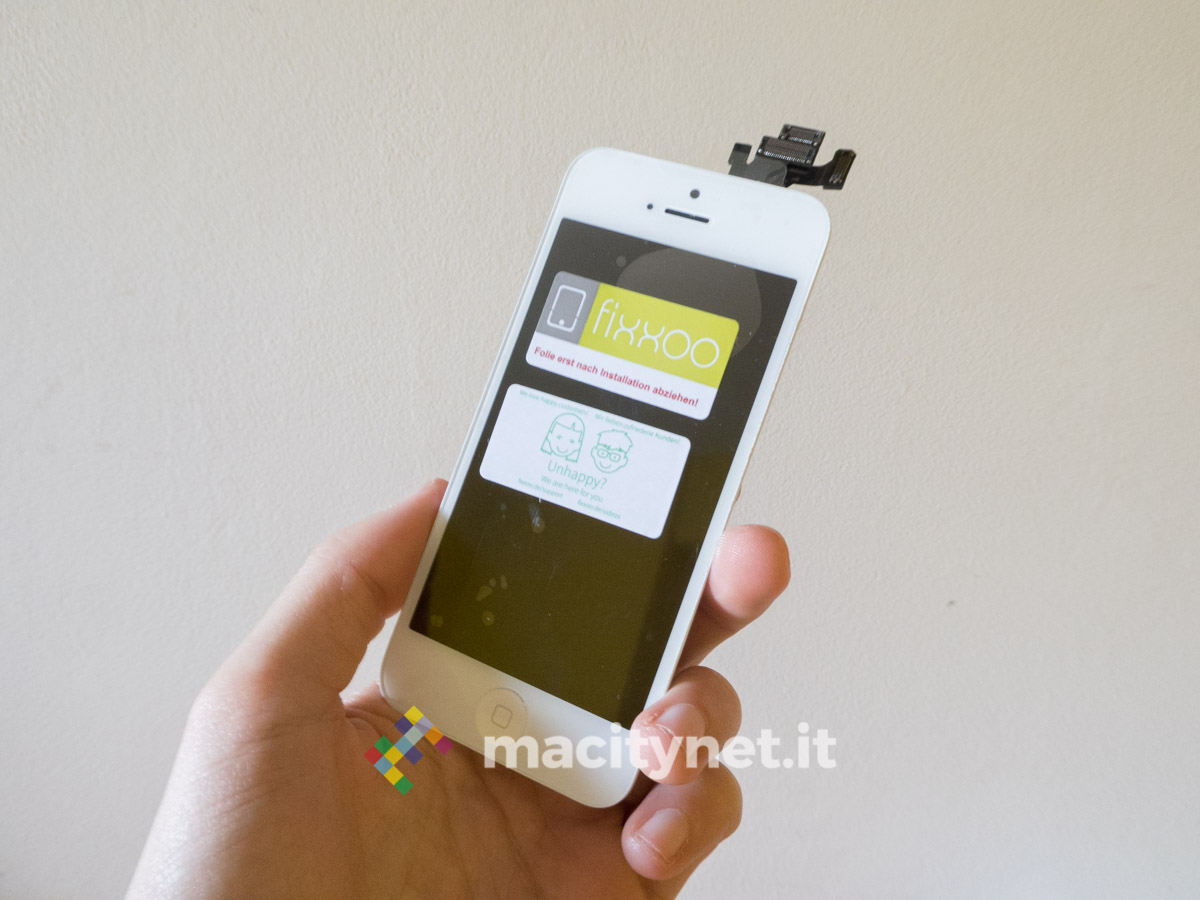
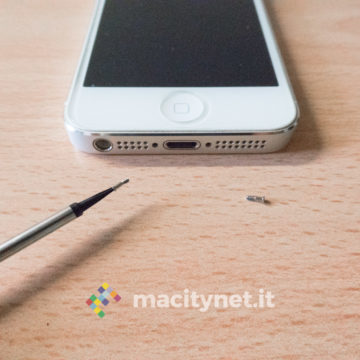
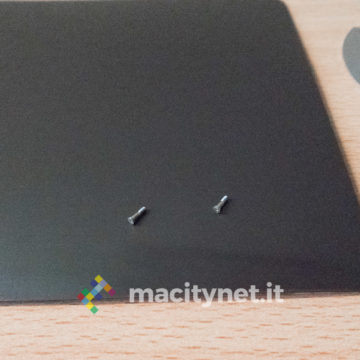
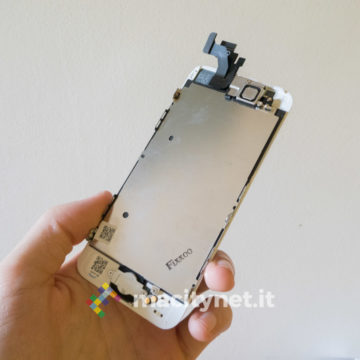
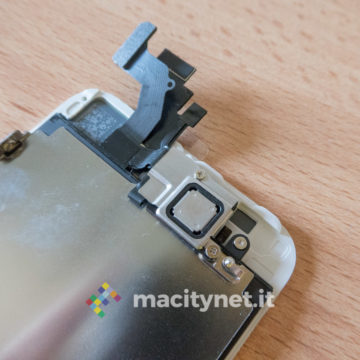
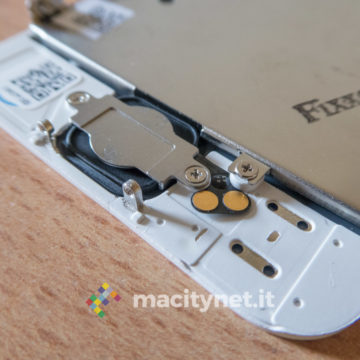
Once the screen has been lifted, the three Phillips screws that block the metal plate protecting the three contacts with which the display is connected to the other internal components must then be unscrewed. The contacts are then released and the defective display is completely removed.
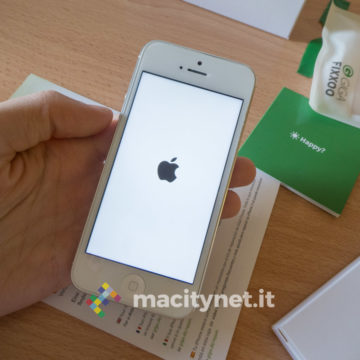
At this point you follow the reverse steps: connect the three contacts of the new screen, fix the protective plate and bring the display back into position, hooking it to the chassis starting from the top and gradually descending towards the Home button by pressing it at the edges and on the bottom, blocking everything again with the two pentalobe screws.
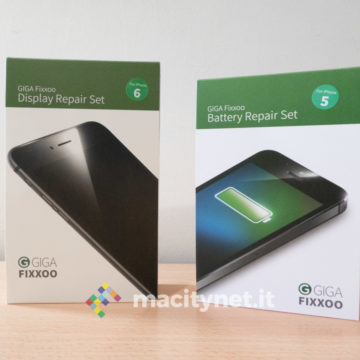
iPhone 6 Screen Repair Kit
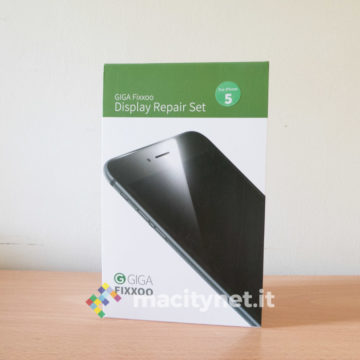
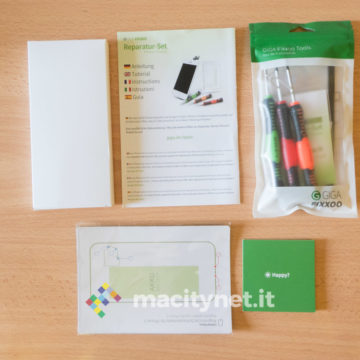
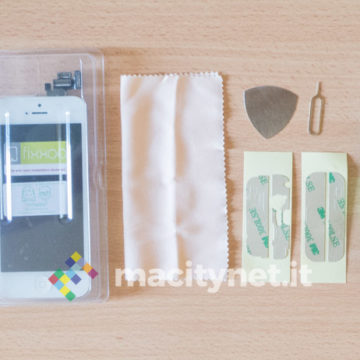
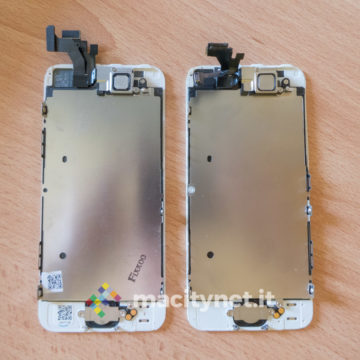
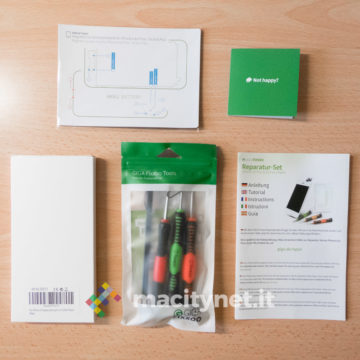
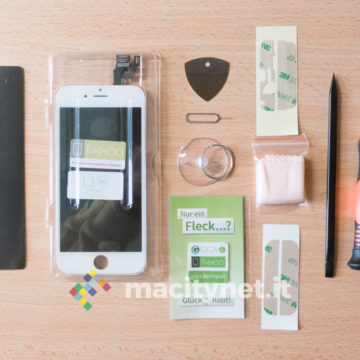
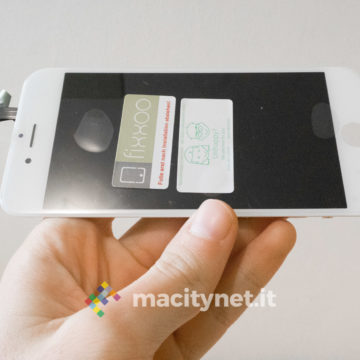
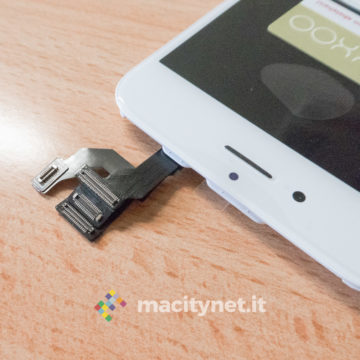
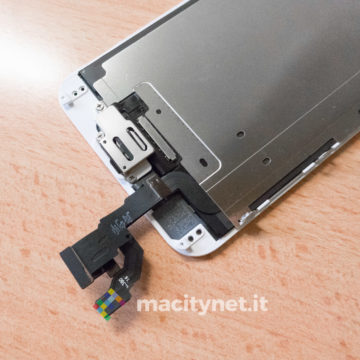
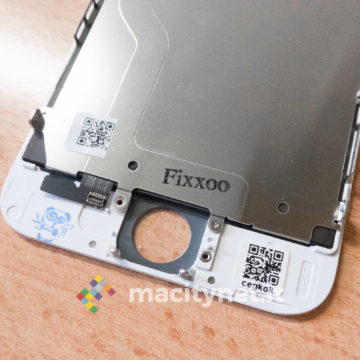
Below we also show you the contents of the screen repair kit for iPhone 6. We did not have the opportunity to test it in the field but we were able to look at it closely to confirm the goodness of the materials. Not only are the tools great but the screen also looks really well thought out, both in terms of the internal components and the external surface, with rounded edges and really impossible to distinguish when visually compared to the original Apple. We paired it with an iPhone 6s and we hardly noticed any difference.
Conclusions
For those who want to independently repair an old iPhone, perhaps because it is out of warranty or because it is a device that can be revitalized without large investments, the GIGA Fixxoo kit can be a valid solution. The quality / price ratio is excellent as with a few tens of euros you not only get the component to be replaced but also a whole series of useful tools to complete the repair in the best possible way. Tools that will then not be thrown away but can be collected perhaps inside the same box with which they arrive home and then be pulled out if necessary and reused over time.
Price to the public
The battery repair kit for iPhone 5 from GIGA Fixxoo costs 19.95 euros. The iPhone 6 screen repair kit costs 32 euros. At this address you will find the entire catalog with the battery and display kits of the various iPhone models.
,,


