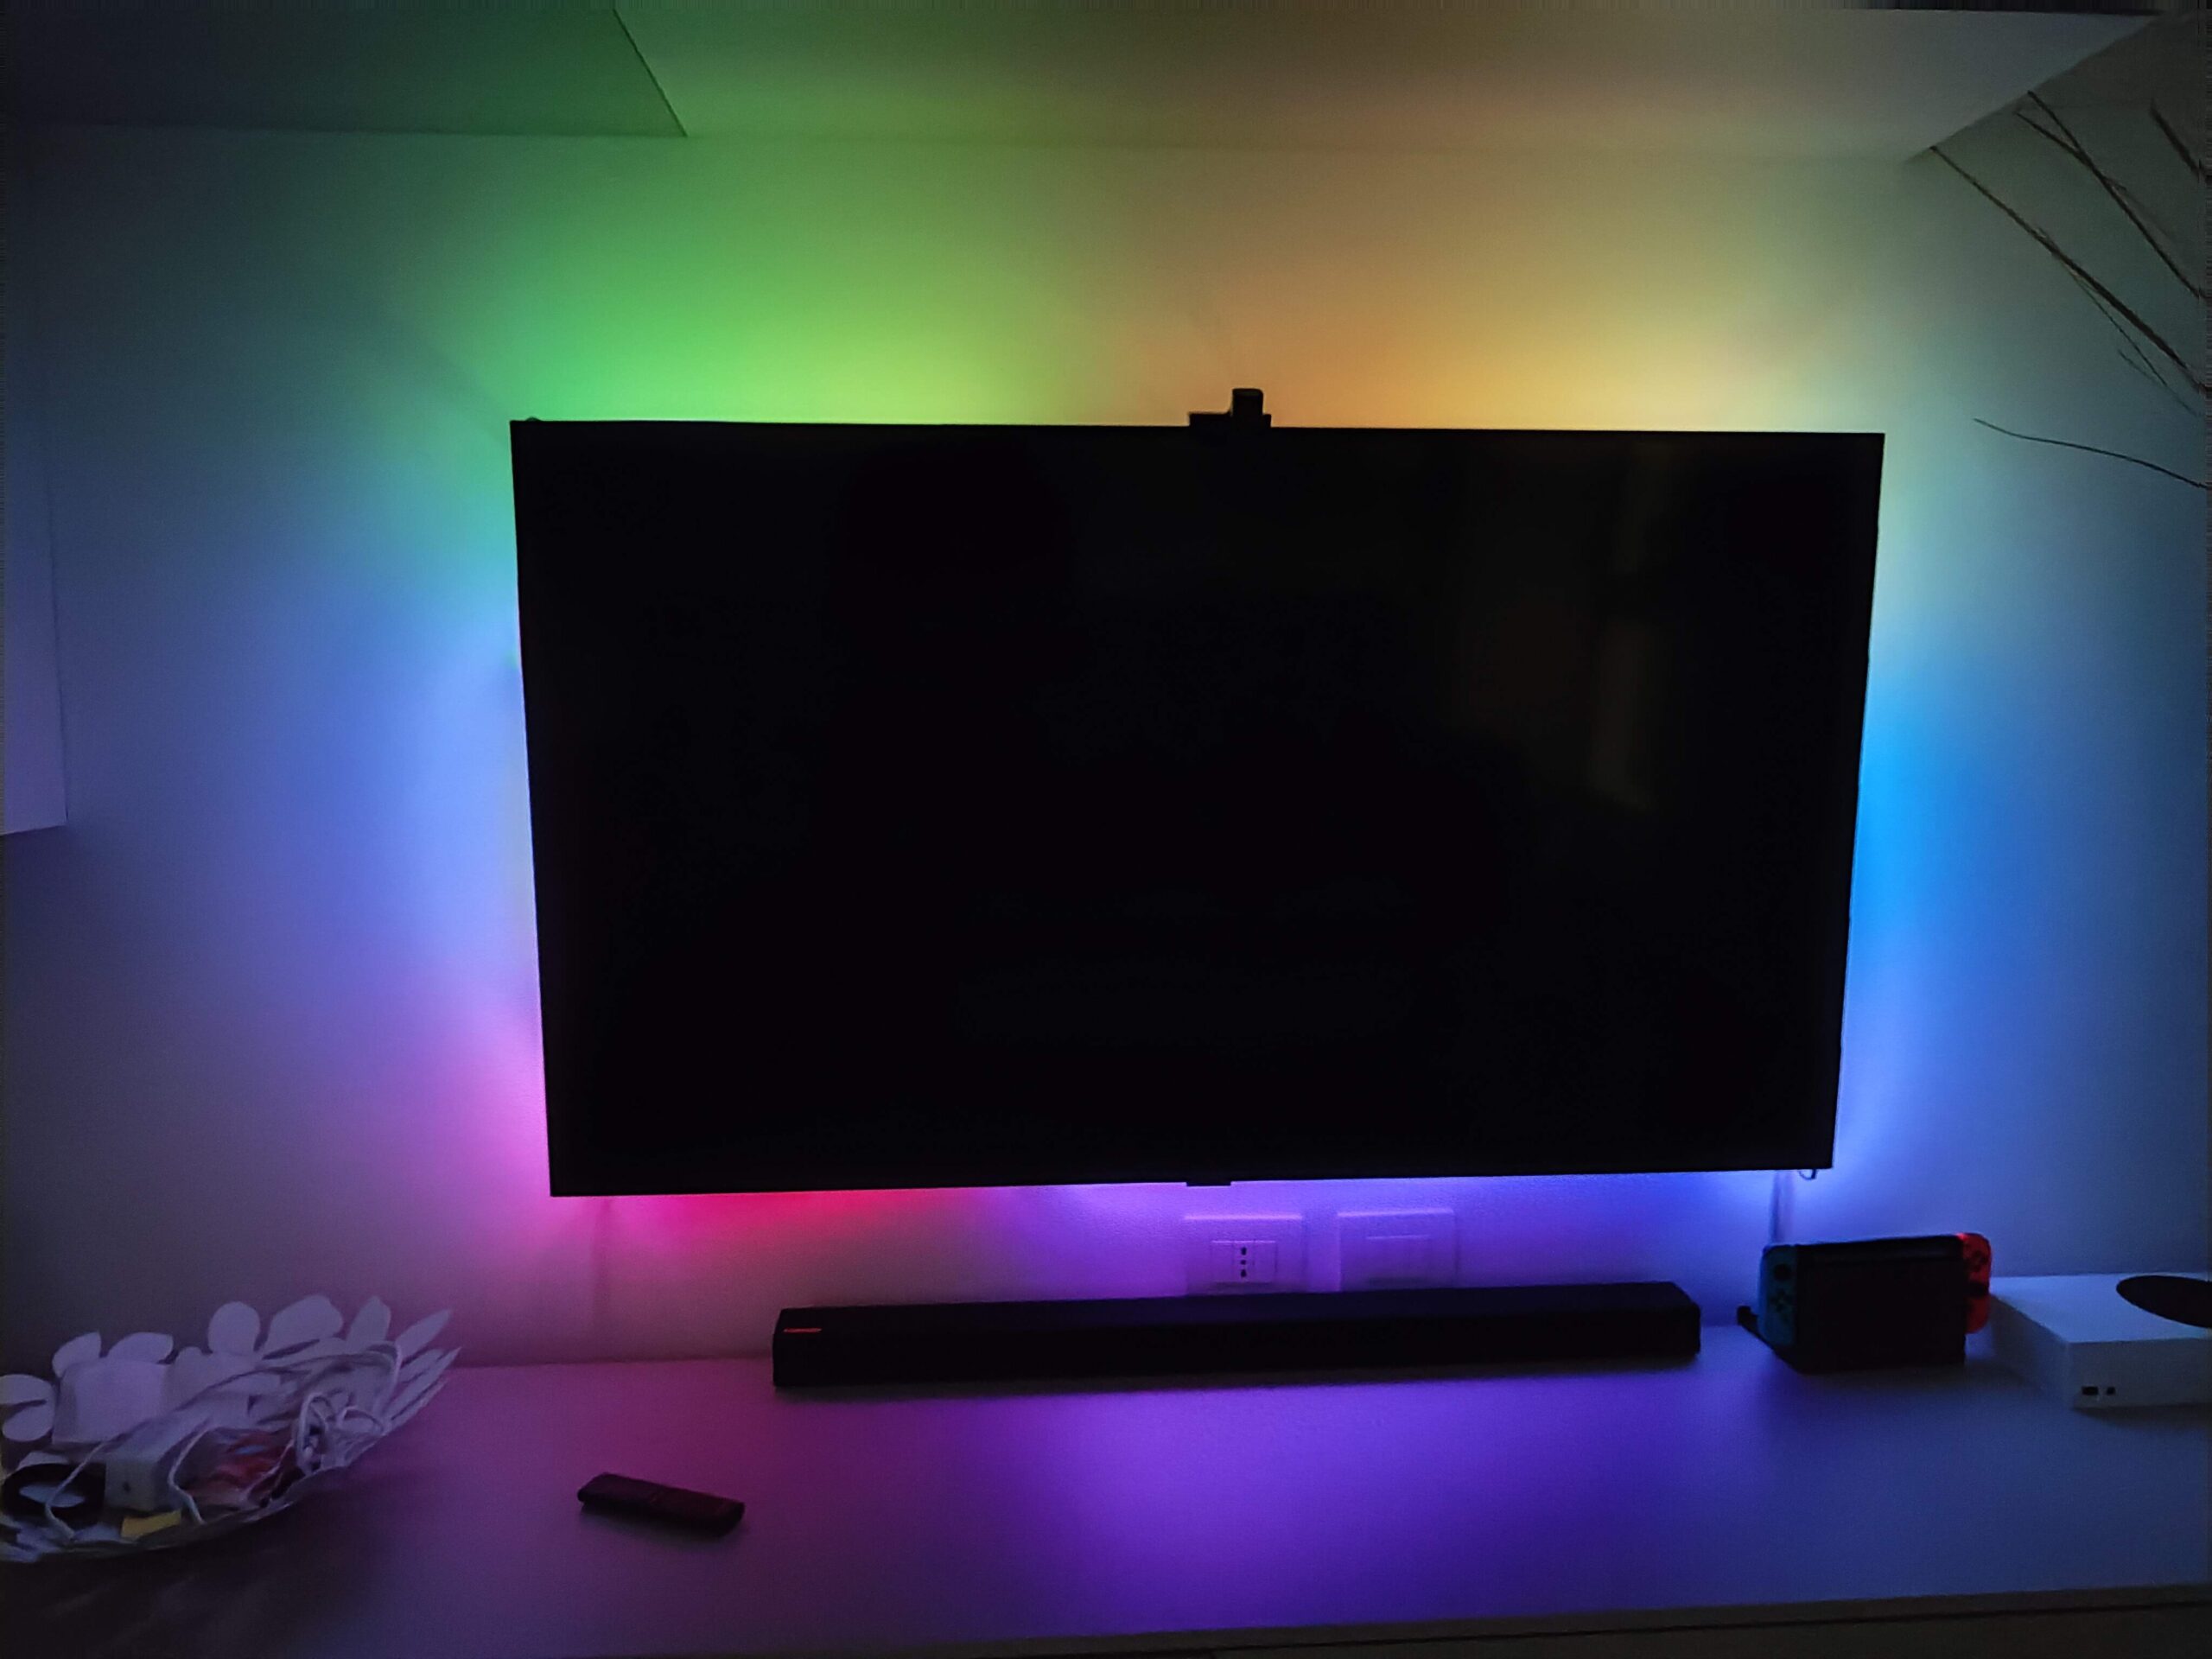
HomeReviews Smart home lighting does not just go through ceiling lights, or overhead lights for floor lamps. There is also the category of LED strips, and more specifically, the Ambilight strips. Basically. These are luminous strips that “amplify” the feeling of immersion when watching TV, because they are able to capture and carry around the TV the colors that are reproduced on the screen. Among the cheapest and most effective solutions is Govee Immersion LED TV. Here's what it is, and how it works.
Ambilight has been one of Philips' signature and unique features for several years. The manufacturer's TVs, in fact, integrate this technology on the back, which has not found space on TVs from other manufacturers. To date, a similar solution can be achieved with the Hue Box, also by Philips, which in addition to being very expensive, has the limit of not working with all the contents that are played on the screen, but only with those that pass through the source. HDMI.
And then, in order to create an Ambilight system for your TV, you need to refer to external solutions, such as the one proposed by Govee. The Kit includes, in addition to the LED strip, available in versions for 55/65 or 75/85 inch TVs, also a camera, to be installed above or below the TV, in order to capture the colors on the screen, so as to reproduce them. in the various segments of the strip.
Unboxing
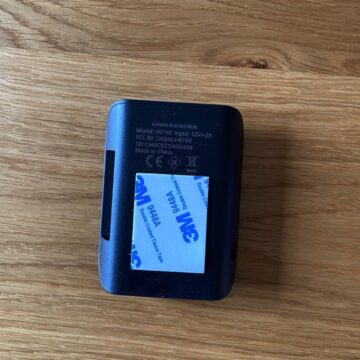
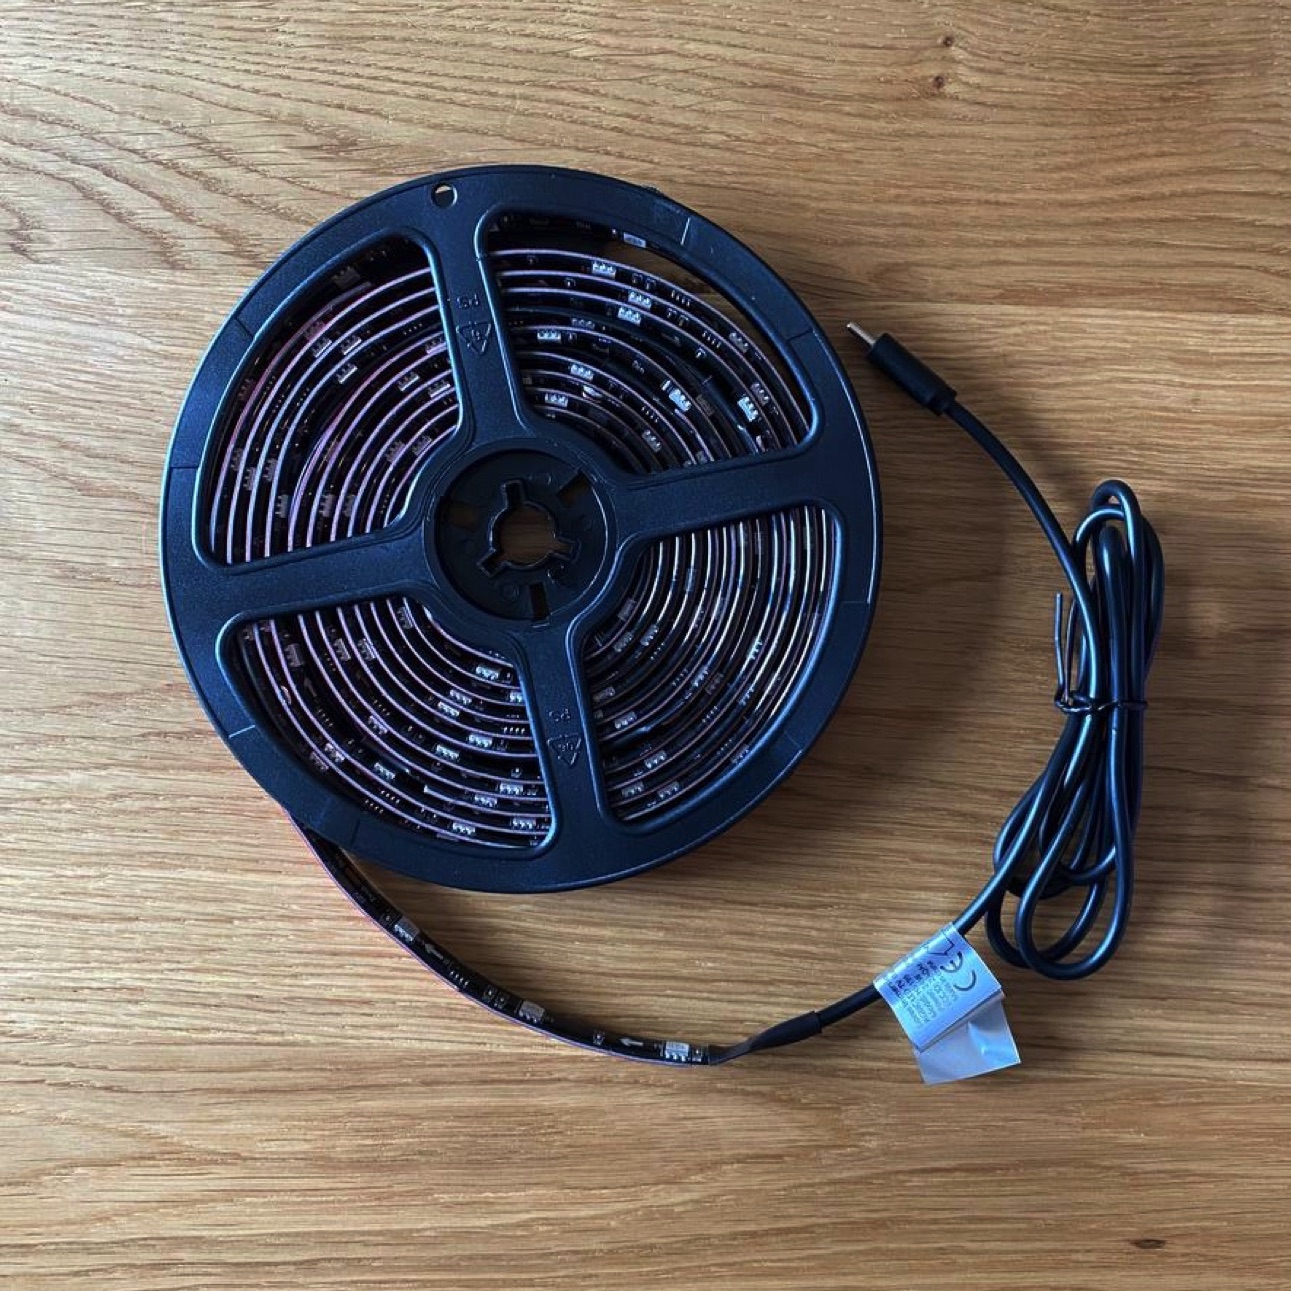
Starting from the Unboxing of this device helps to understand its exact functioning, as well as to clarify how it is installed. The main element is, of course, the LED strip, but it is not the only one. In fact, in the package there is a small Hub, to which the strip and camera can be connected, which basically acts as a manual remote control, in case you want to use it without a smartphone.
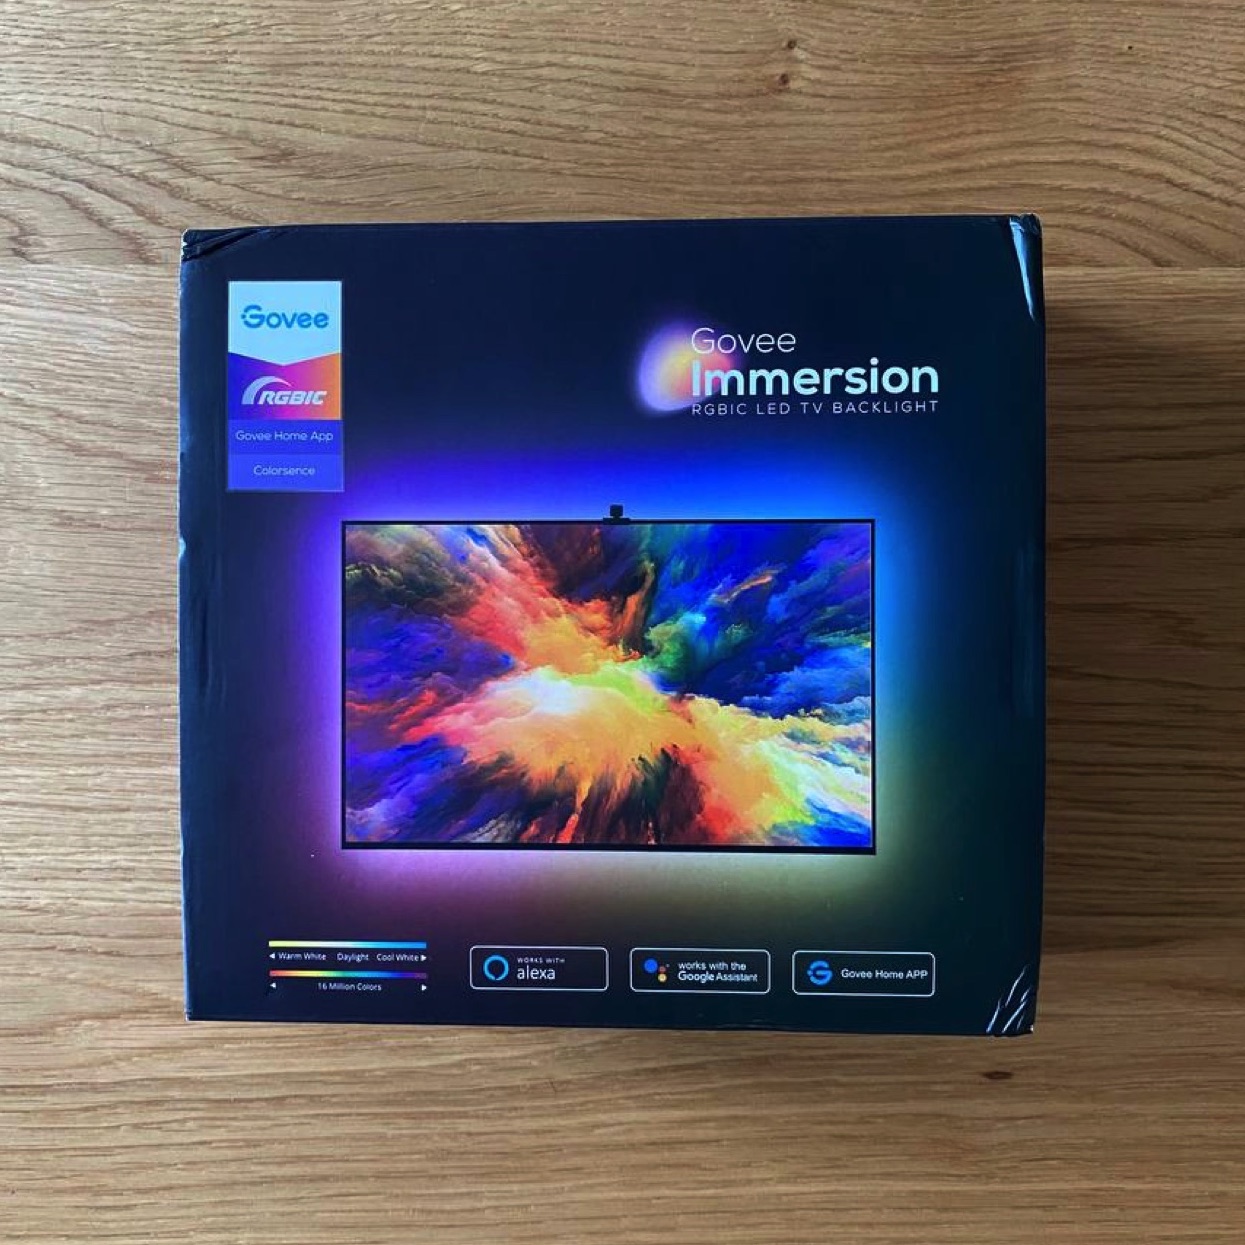
Furthermore, in the package there is the camera, which is essential for the Ambilight function, but which could also not be used, in case you decide to take advantage of the LED strip without this feature. The strip, in fact, works autonomously, and can be controlled from the smartphone, even without a camera installed. It should be noted, however, that to take advantage of the WiFi, and therefore control the strip with Alexa or the Google Assistant, the use of the camera will be mandatory.
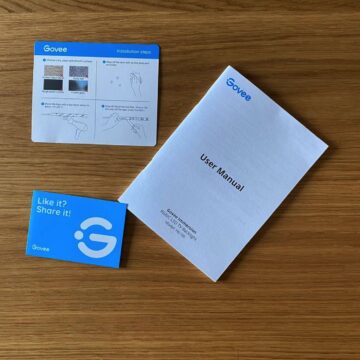
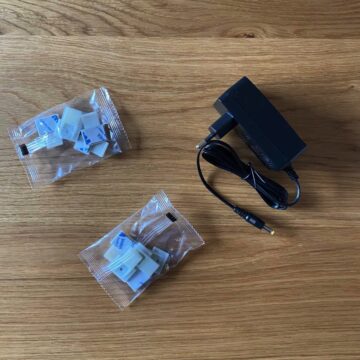
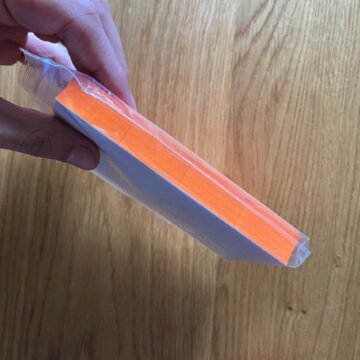
 Furthermore, in the package there are cloths for cleaning the back of the TV, to allow the strip to stick better, as well as adhesive hooks, which will act as guides for the correct positioning of the LED strip, and to keep the cables in order. so as to perfectly hide them on the back.
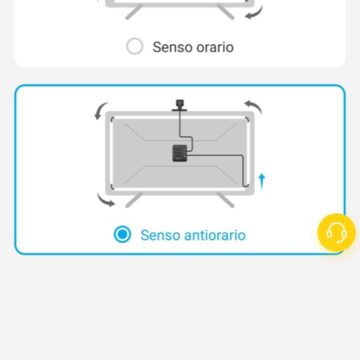
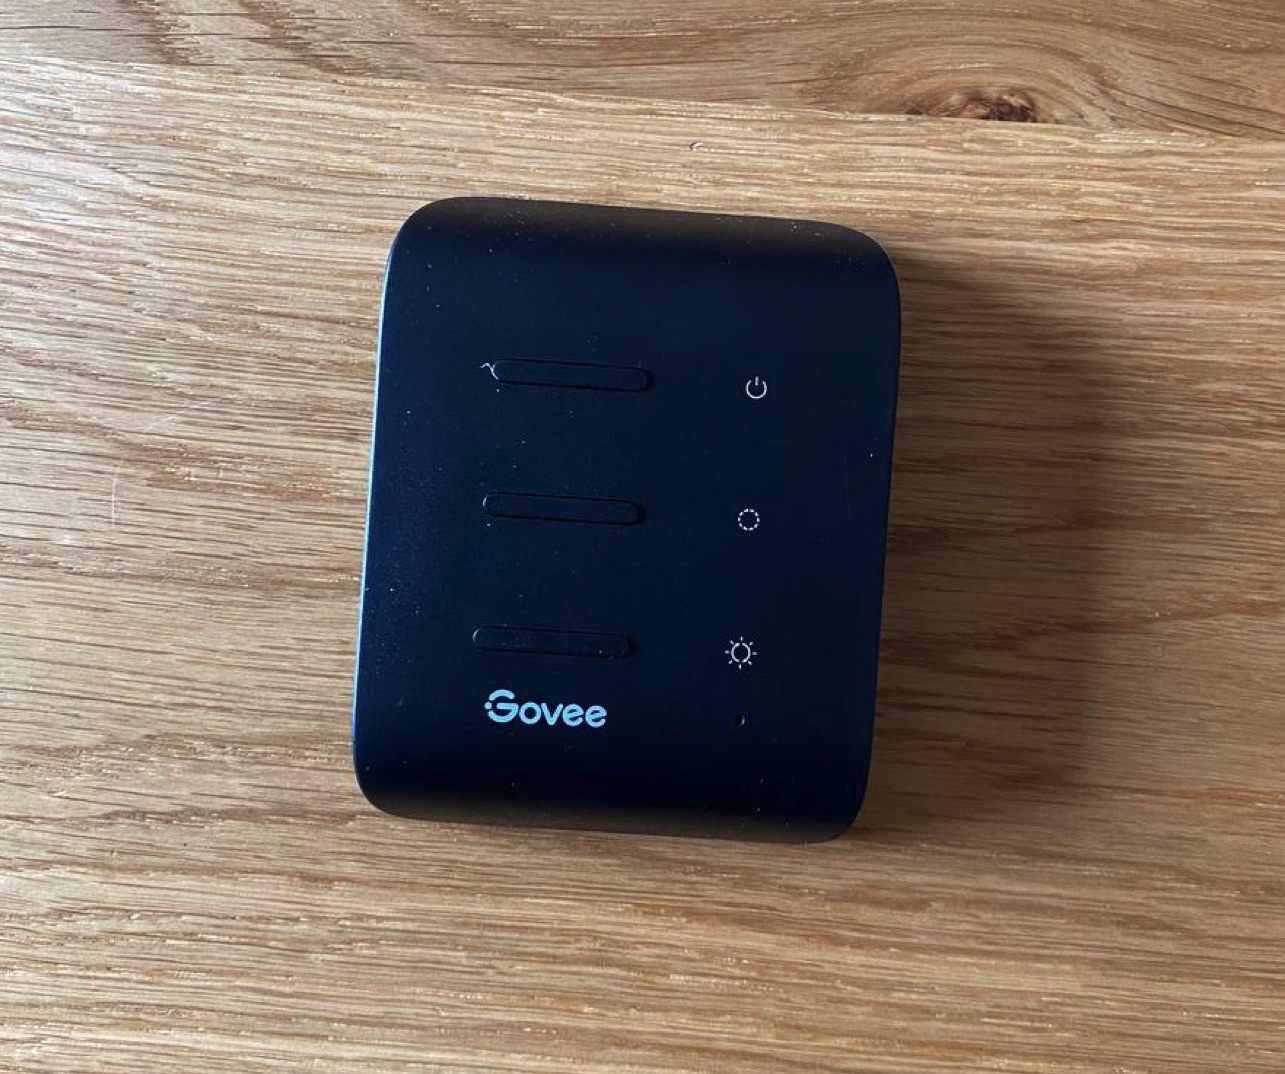 The manual remote control, which acts as a hub to connect the camera, power supply and LED strip The entire LED strip is also equipped with 3M double-sided tape, so that it can be installed without particular difficulty. The only attention to take is to check that the long sides of the strip correspond with the top and bottom of the TV, while the shorter sections correspond with the sides. It is not important to consider, during the installation phase, the direction in which you install it, because through the software configuration it is possible to indicate whether the installation direction followed is clockwise or anticlockwise.
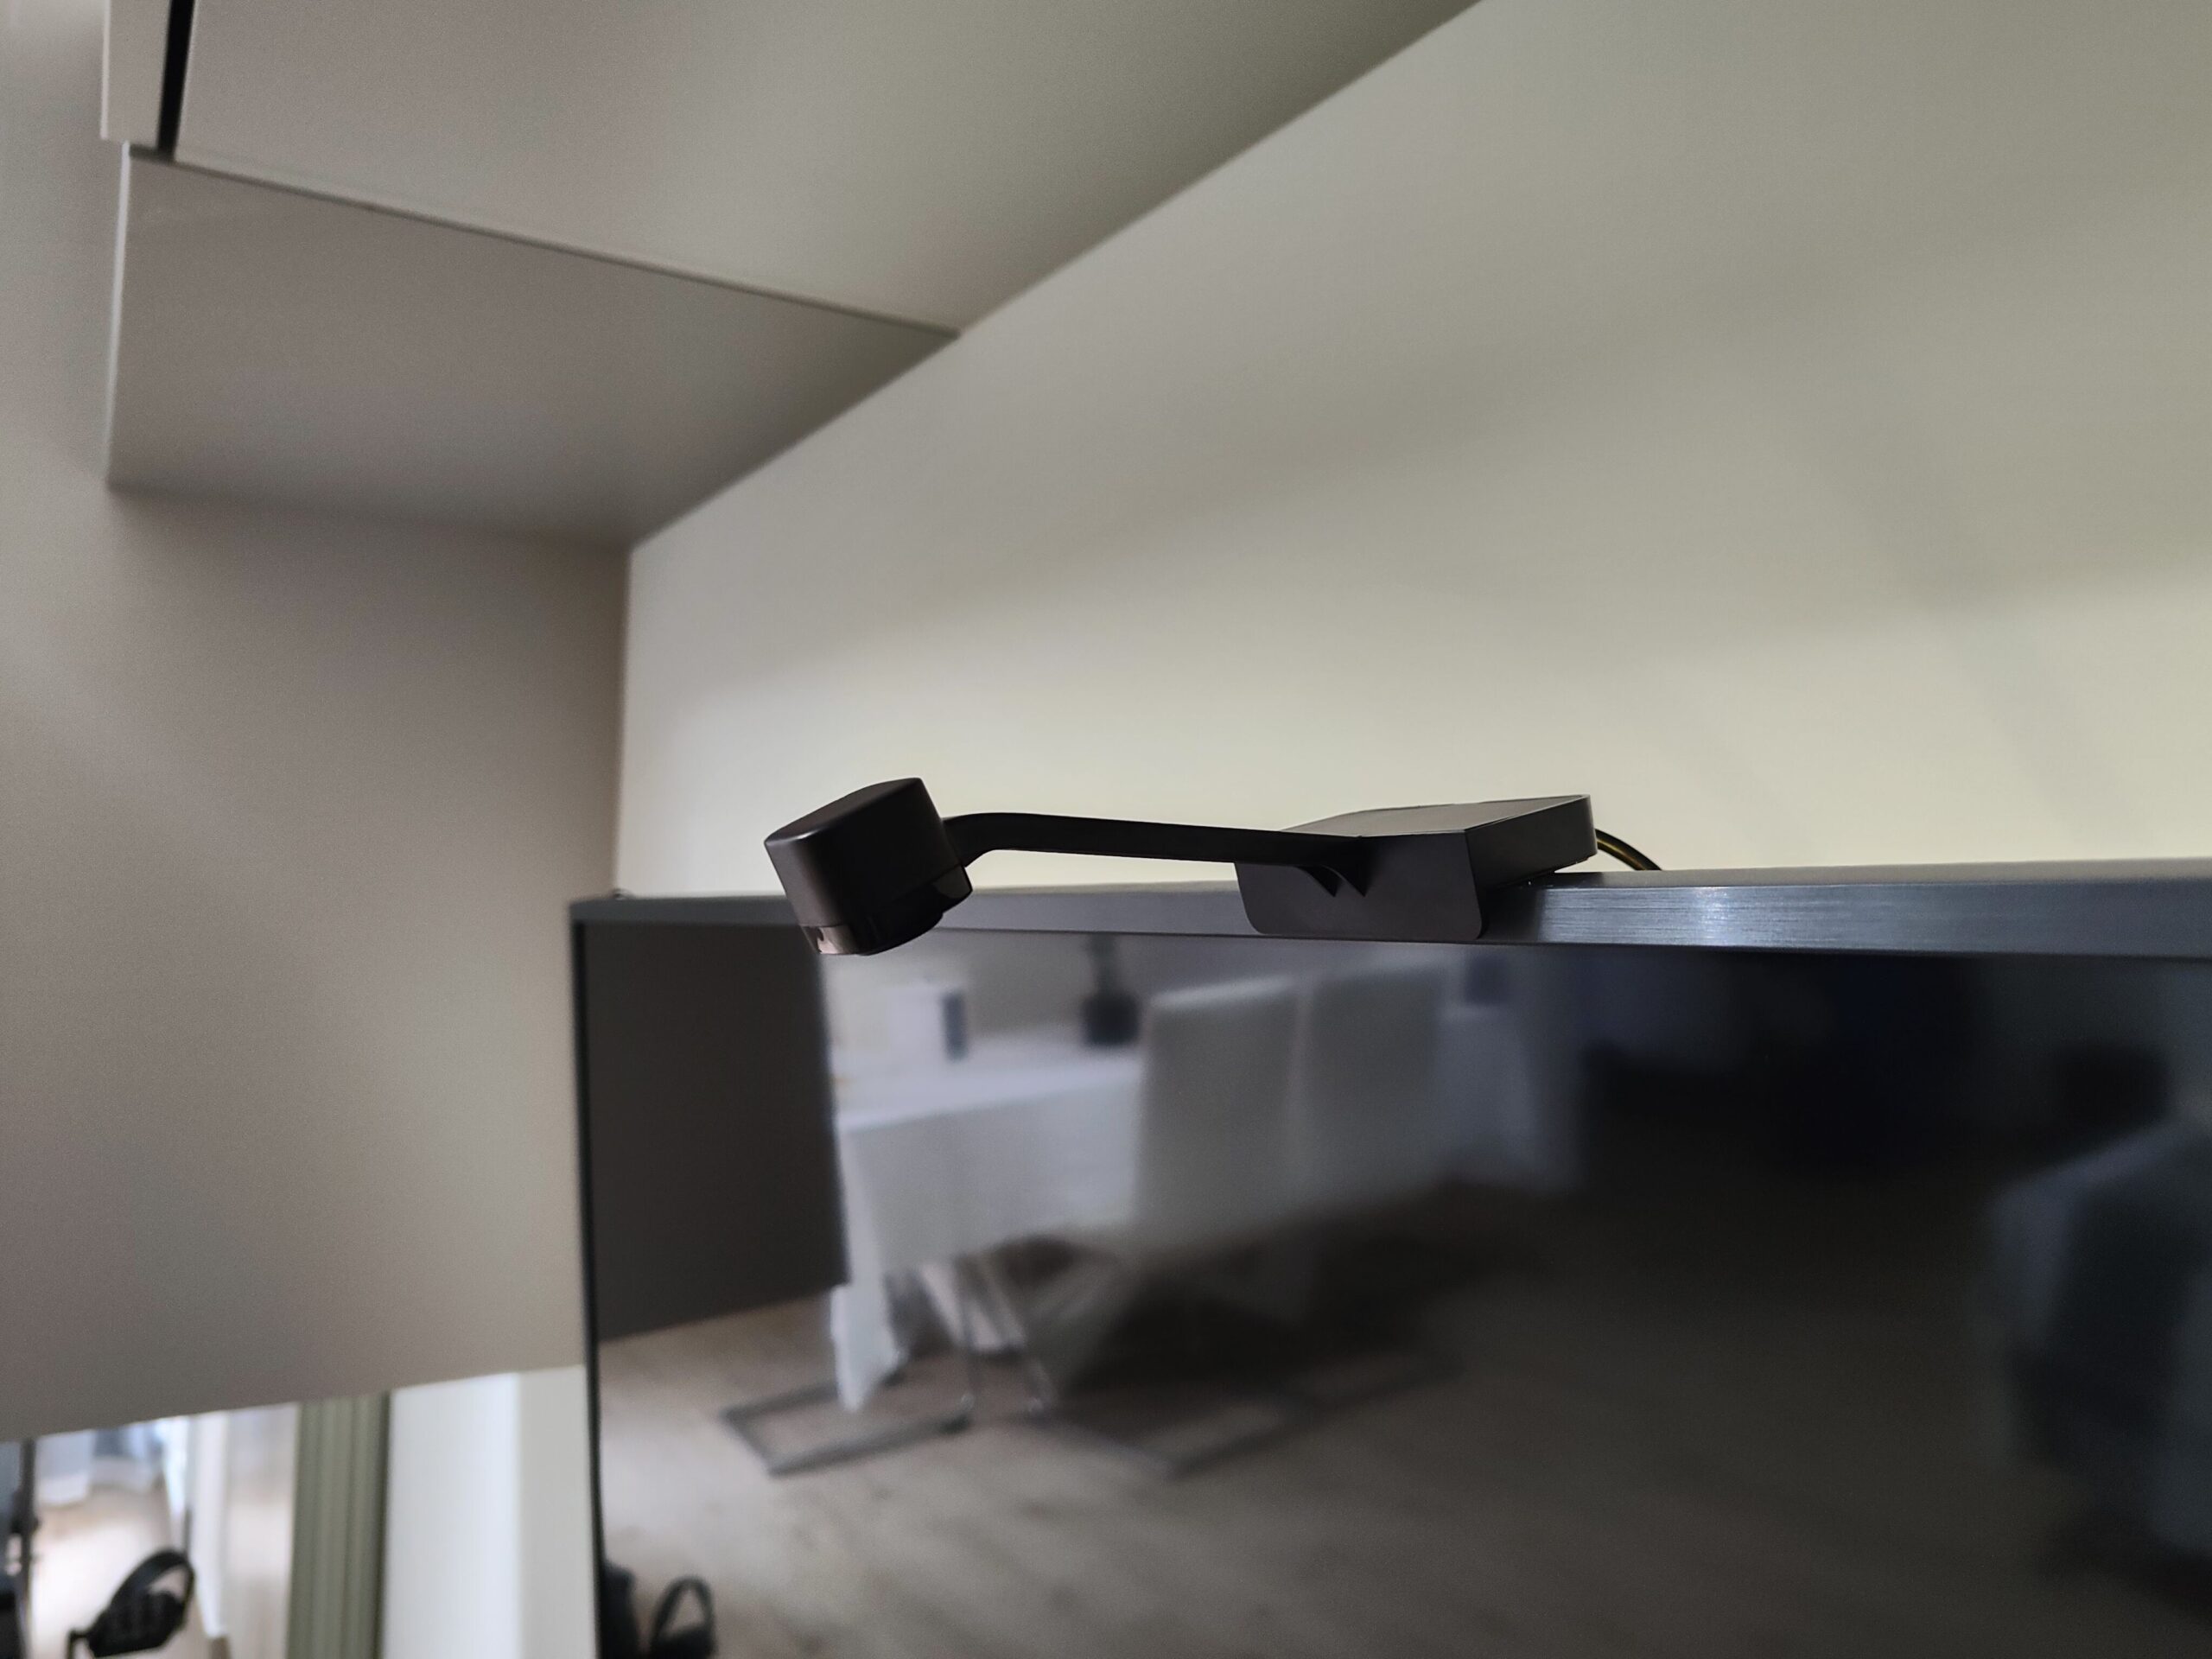
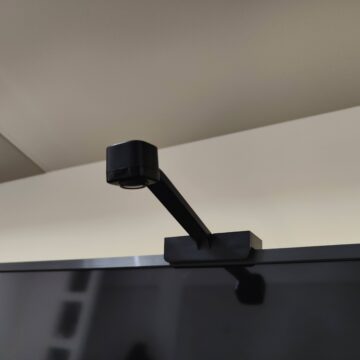
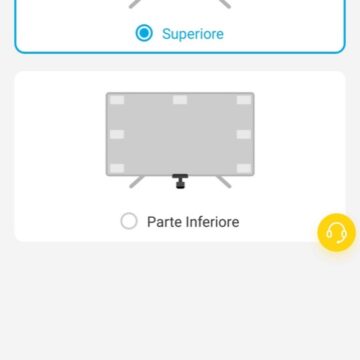
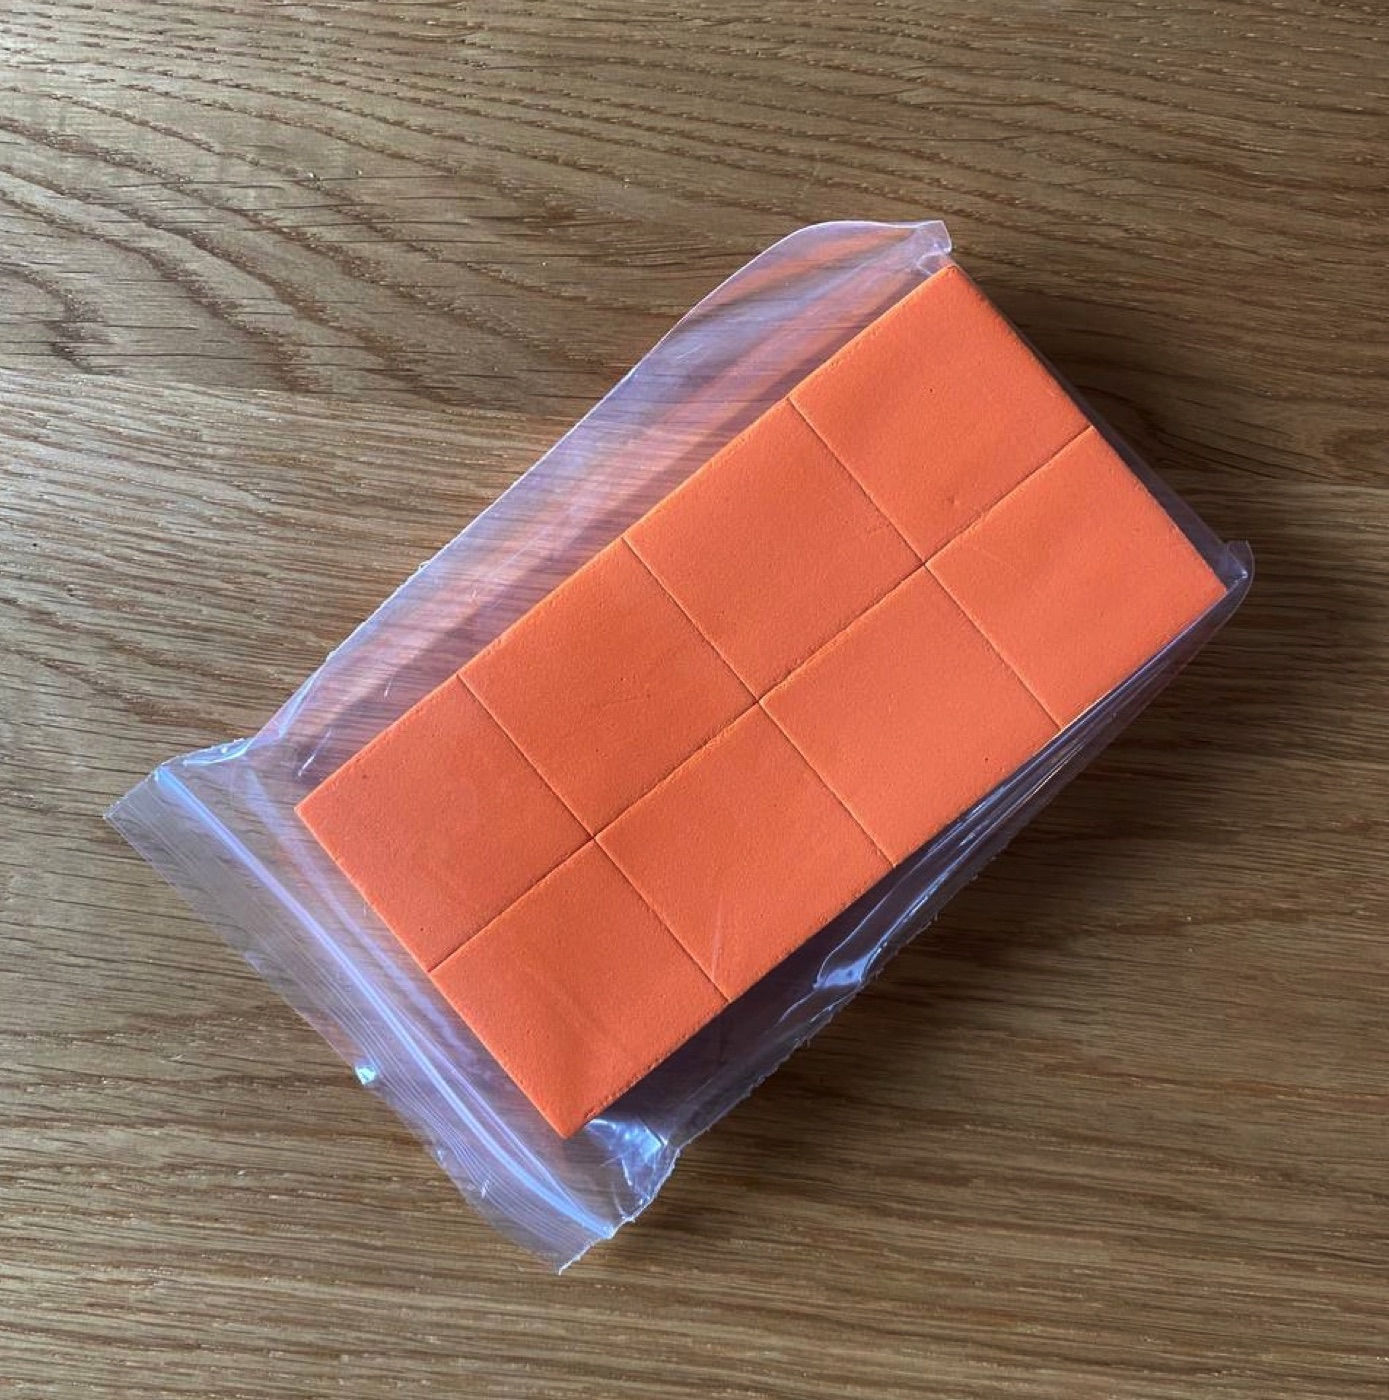 The sponges to attach to the corners of the TV for camera calibration The camera can also be installed above or below the TV. We believe that the first solution is the one to prefer, because in the long term the double-sided tape will certainly hold up better, but above all because (at least in our case) it is the setup that has allowed us to obtain better results.
Installation
Installation is simple, but shouldn't be underestimated. First, our 55-inch model adapted to the TV with some minor difficulty, which we noted to be a common one in many other user comments.
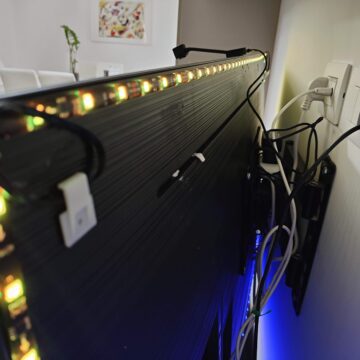
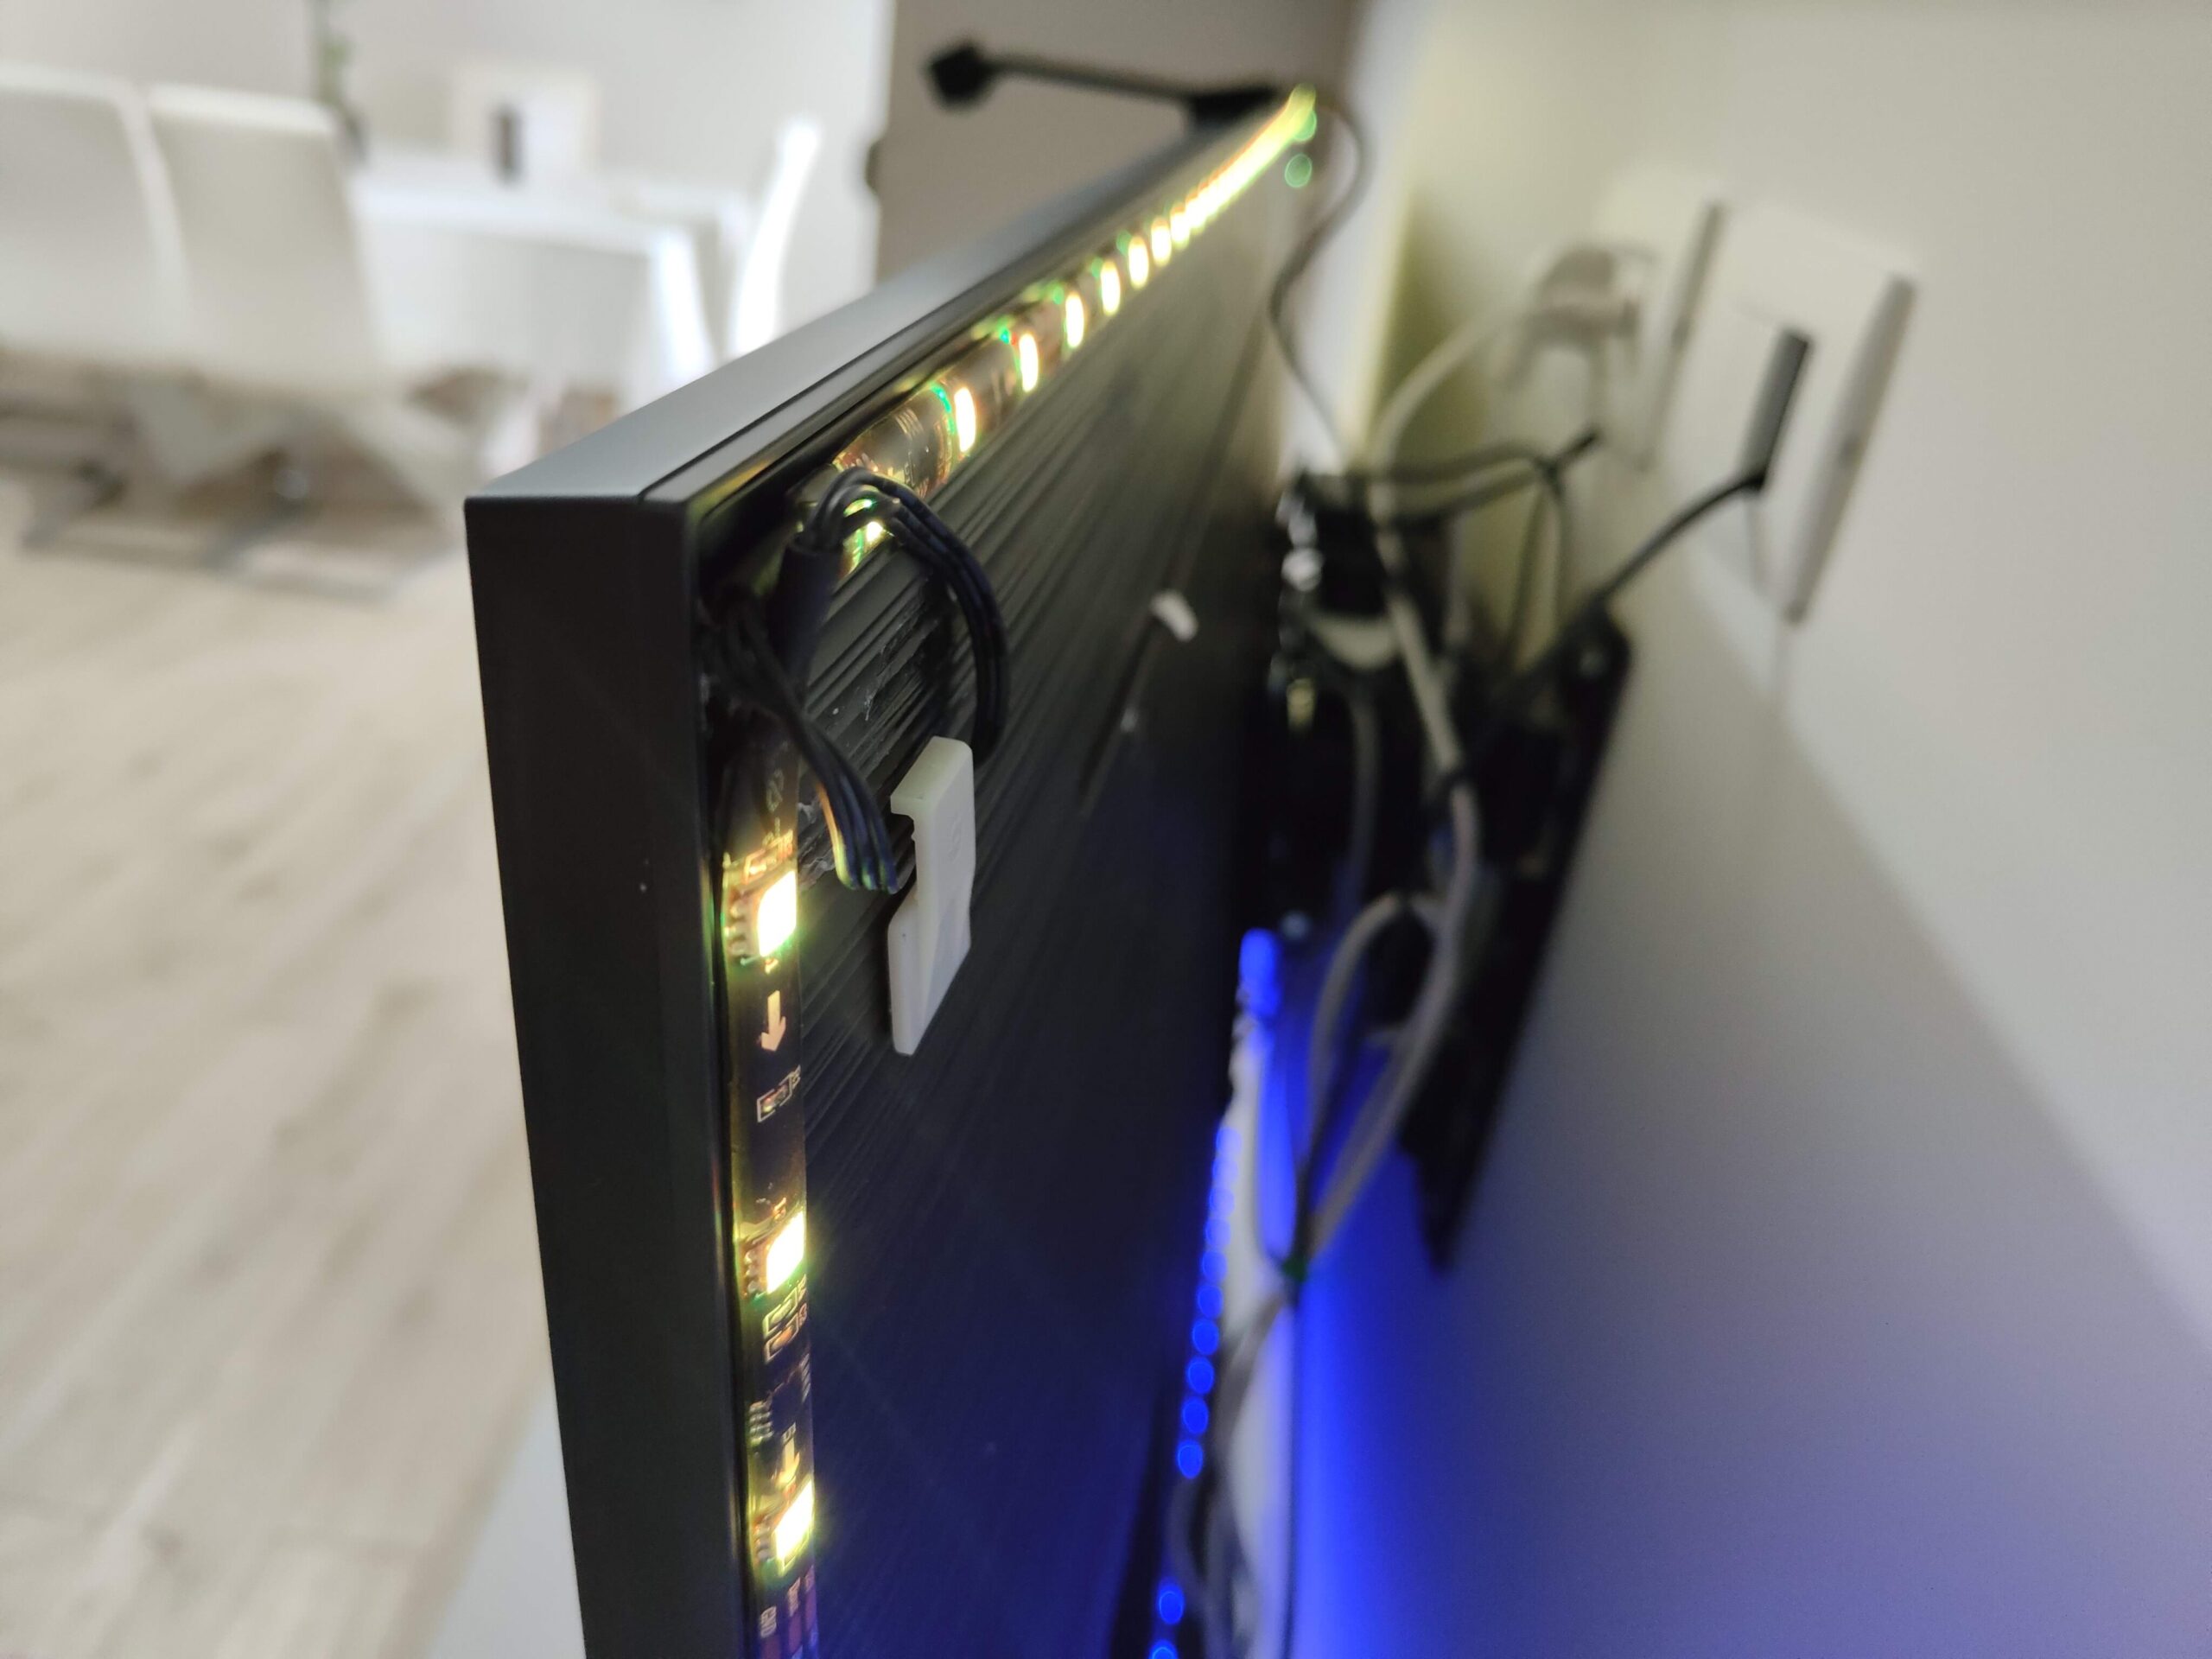
 The LED strip takes up the entire length of the edges of the TV, but doing so can create wire “ears” in the corners. All in all we are using the small adhesive hooks present in the package, to hide behind the panel. Probably, on a 65-inch, installation would have been easier and more precise.
Certainly, the strip is not suitable for smaller TVs: it is useless to buy it for a 50 and 43 inch, because even if you manage to install it with many folds, you would not be able to have a precise ambilight effect.
In addition, the camera needs a few centimeters edge for proper installation: more difficult to install on ultra slim OLED TVs. In these cases you will have to go fancy to create a thickness that can perfectly hold the camera.
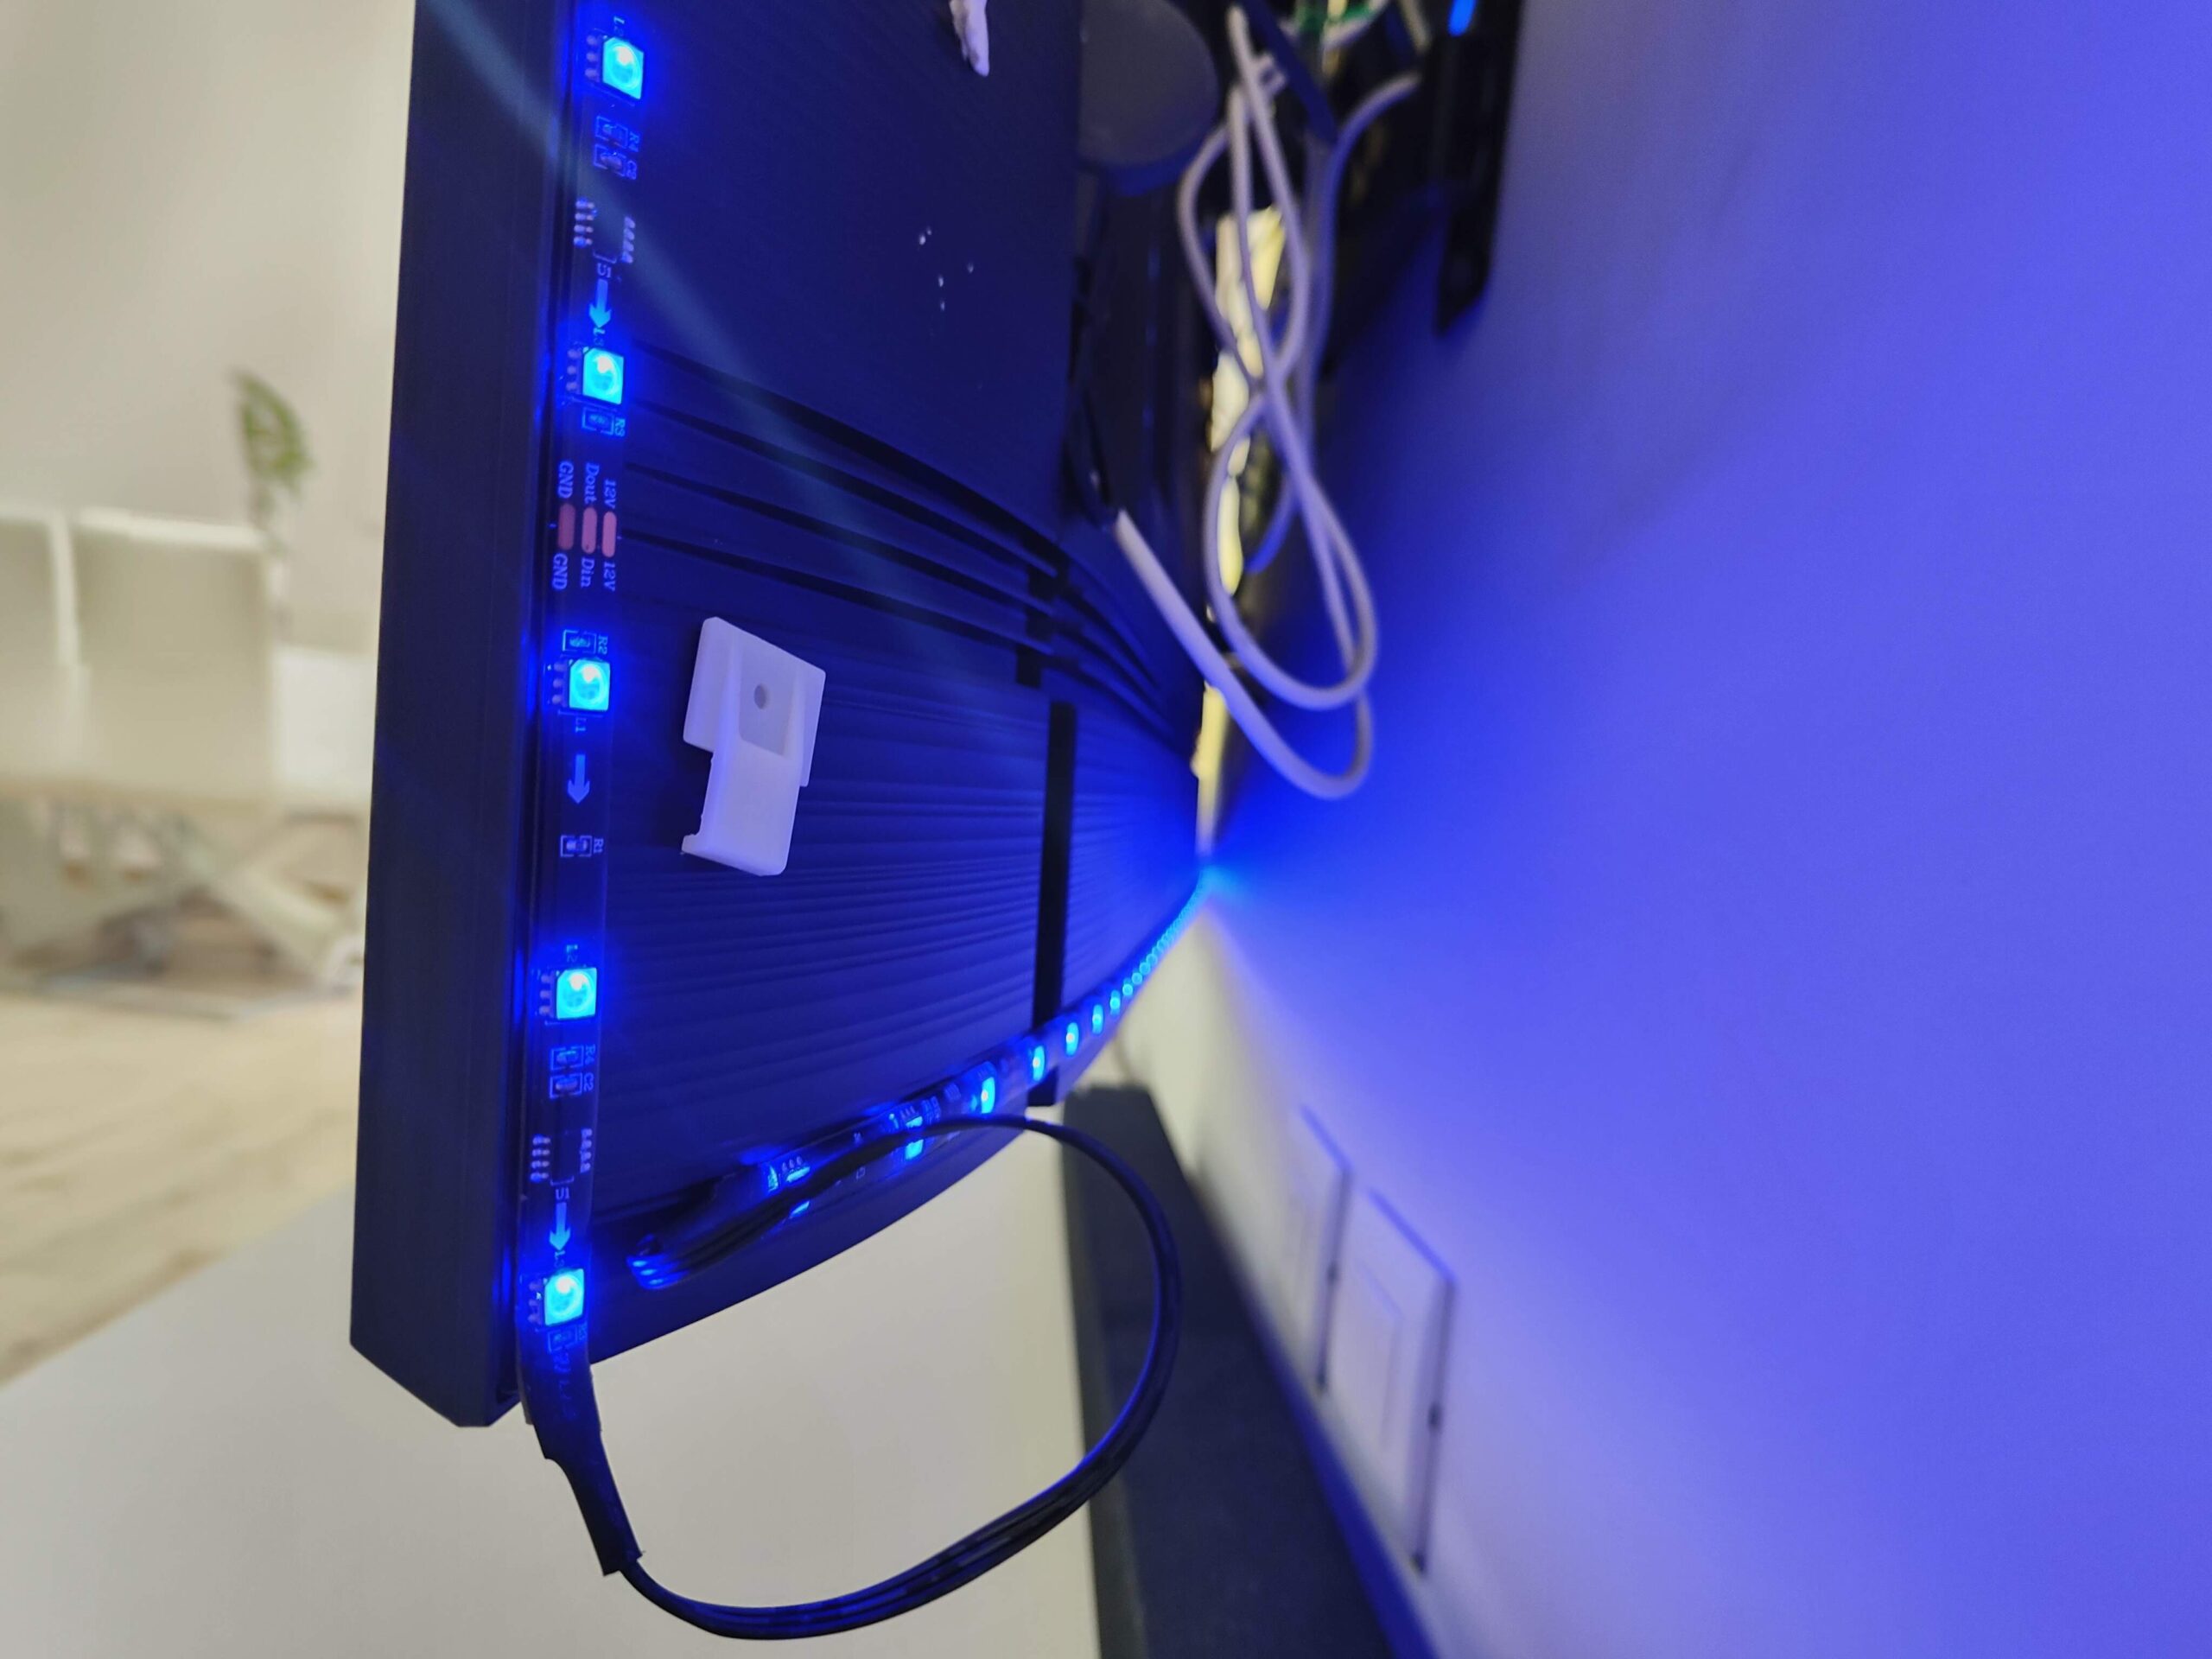 At the angles of a 55 inch you need to bend the wires to hide them better
App and use
The application, at least at first glance, is really complex, full of functions and able to displace. It will take a few minutes before you become familiar with all the controls, and master it to the fullest.
First of all, the first thing to do, after creating a Govee account, is to click on the “+” symbol in the top right, and look for the abbreviation “H6199”. In this way you can proceed with the coupling of the LED strip, simply by following the steps on the screen. If you have also connected the camera, then it will be possible to connect the system to the home WiFi network, otherwise you will have to settle for Bluetooth control via smartphone. Obviously, it should be noted that control via smartphone is allowed even if you have activated the WiFi connection, which in addition allows control via voice commands.
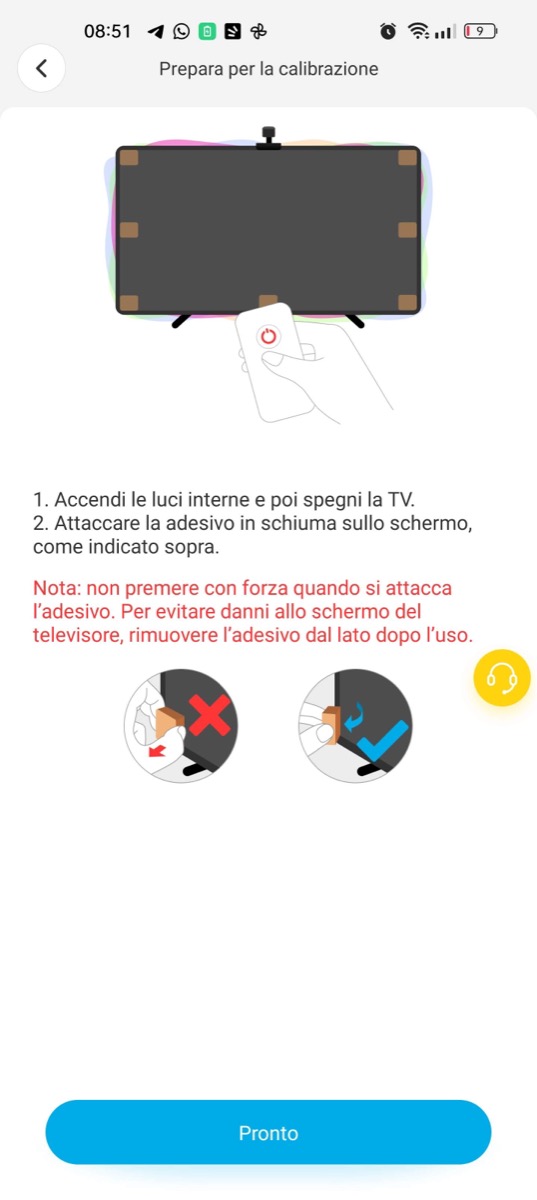
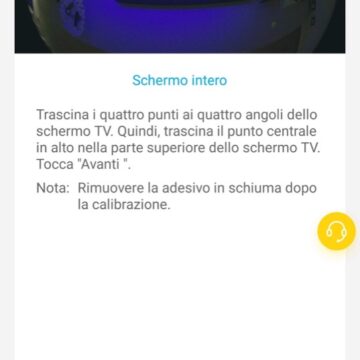 The step that we consider fundamental is that of camera calibration. Correct calibration will allow you to enjoy a more precise ambilight effect. To better calibrate the camera in the package there are orange pads, to literally stick to the corners of the screen. In this way, during the calibration process it will be easier to understand what the camera is looking at, and those are the correct corners and sides of the TV in which to synchronize the colors of the LED strip with those that are reproduced on the screen.
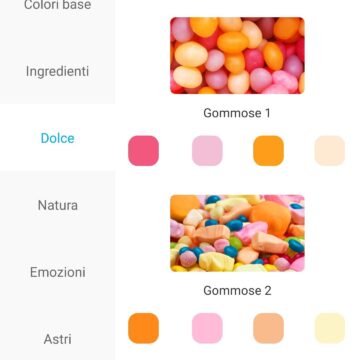
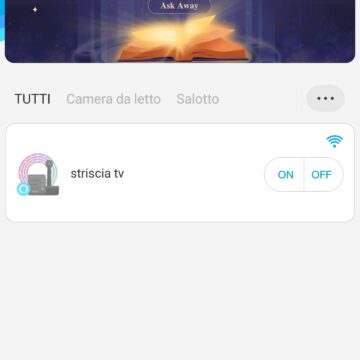
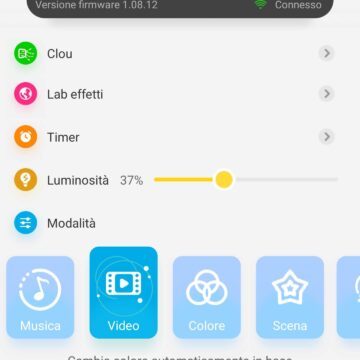
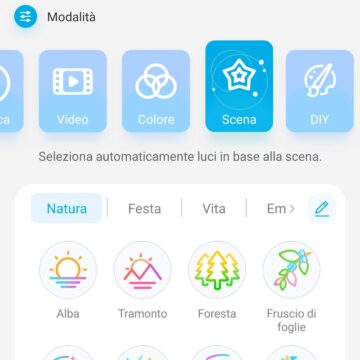
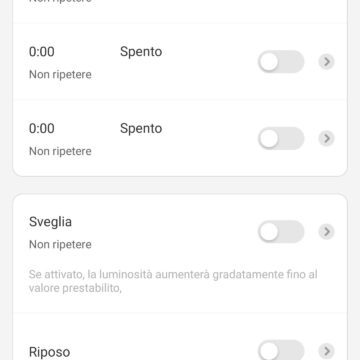 The calibration process is fully guided. It will ask you in which position you have placed the camera, and in which direction you attached the LED strip, between clockwise and anticlockwise. Once this is done, the system will take a snapshot of what is framed by the camera, requiring the user to move some circles in correspondence with the pads attached to the TV. In our case we lost a lot of time for a correct calibration, and we noticed that the best results are obtained by setting the brightness of the LED strip to about 50%, setting the white balance to about 30% and with a saturation close to zero. Much depends on the surfaces surrounding the TV, whether they are reflective, and whether they can disturb the camera. In any case, after the first setup, the result is really enjoyable.
Mode 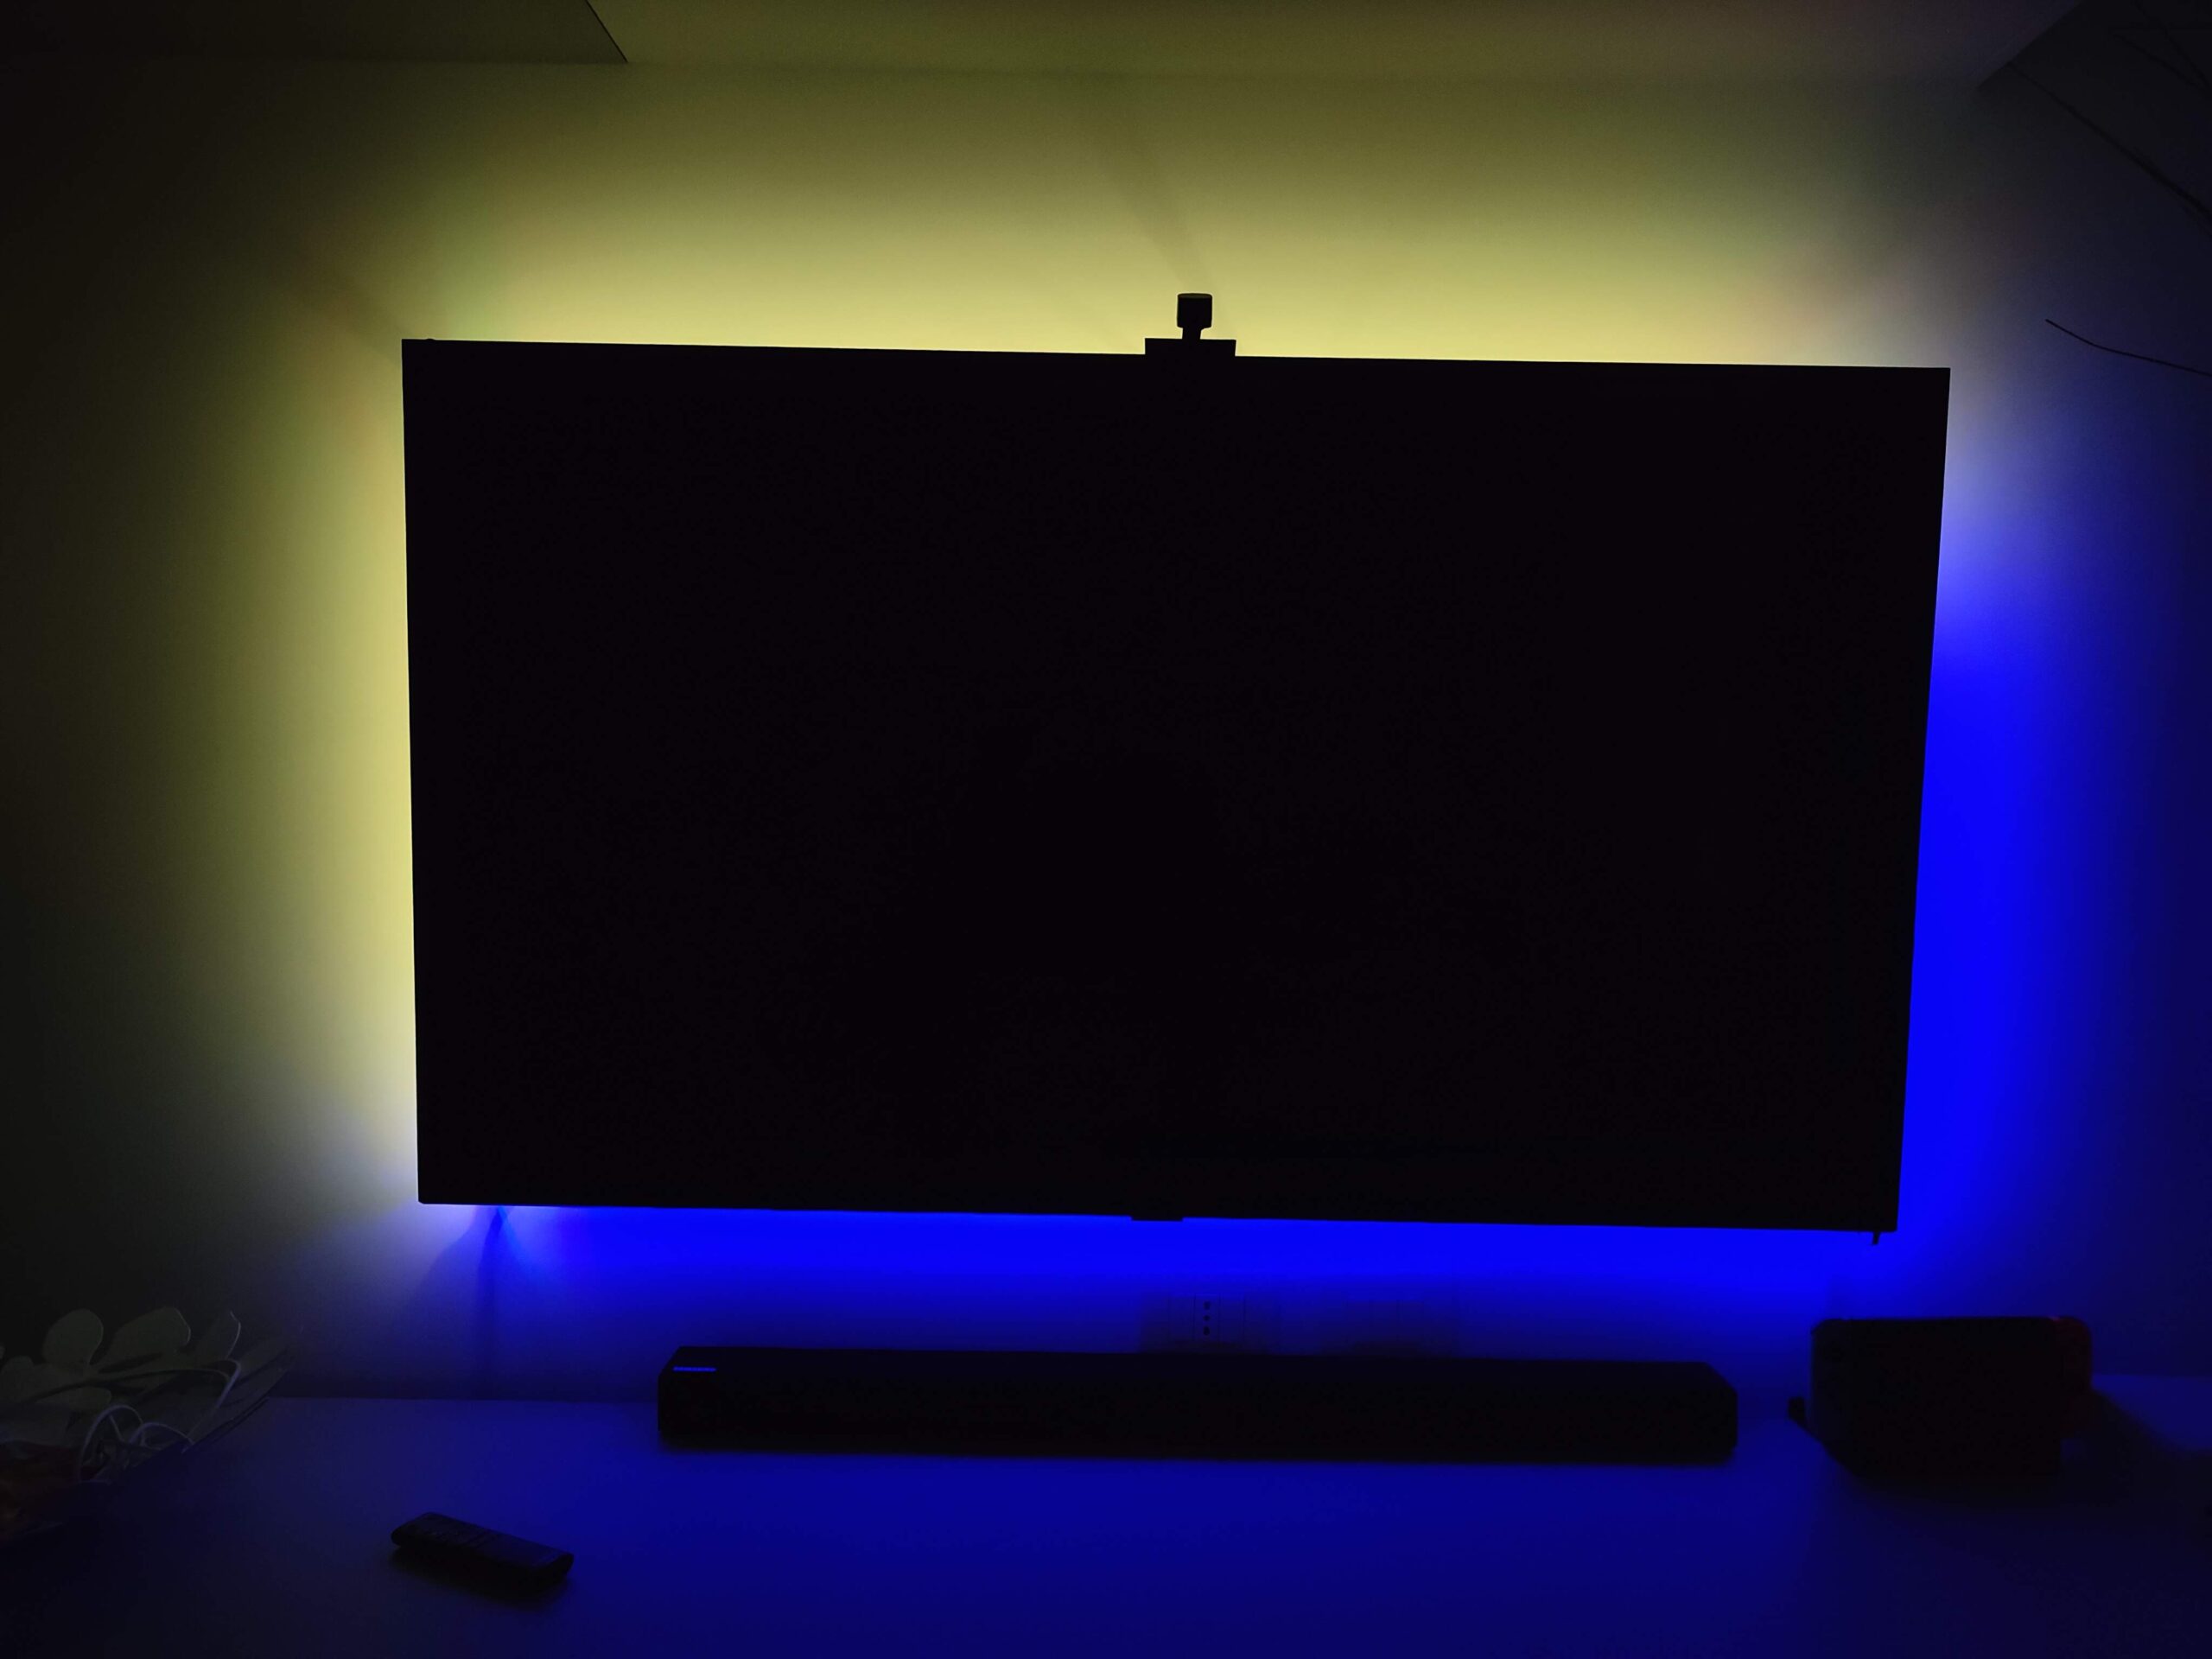 There are so many modes present within the application, and which allow you to enjoy the LED strip in different ways. First of all, it is possible to turn it on with a single color, perhaps choosing a relaxing shade, which does not tire the eyes while watching a movie. It is possible to manually change color to each single segment of the LED, so as to have a multi-color strip.
Again, you can choose to turn it on to the beat of Music, set a Scene and enjoy an automatic light show. In this sense, the choice is vast, being able to choose between different settings and scenographies, such as the one that simulates the Sunset, the Aurora, the seasons, a romantic setting, rather than setting a light suitable for the studio or a thousand others.

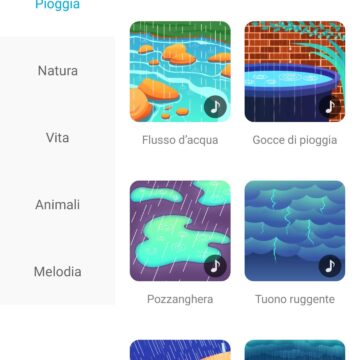
A “lab effects” section is also available, in which you can choose to simulate the colors of pouring rain, a downpour with thunder and lightning, or immerse yourself in nature by choosing to reproduce the atmosphere of a whale in the abyss. , of a song of the bird on a tree. In short, whoever has more is metta. It is true that most of these effects will only be useful on a few occasions, but the possible plays of light with this application are truly innumerable, and each offers a fun and enjoyable atmosphere on different occasions.
Ambilight
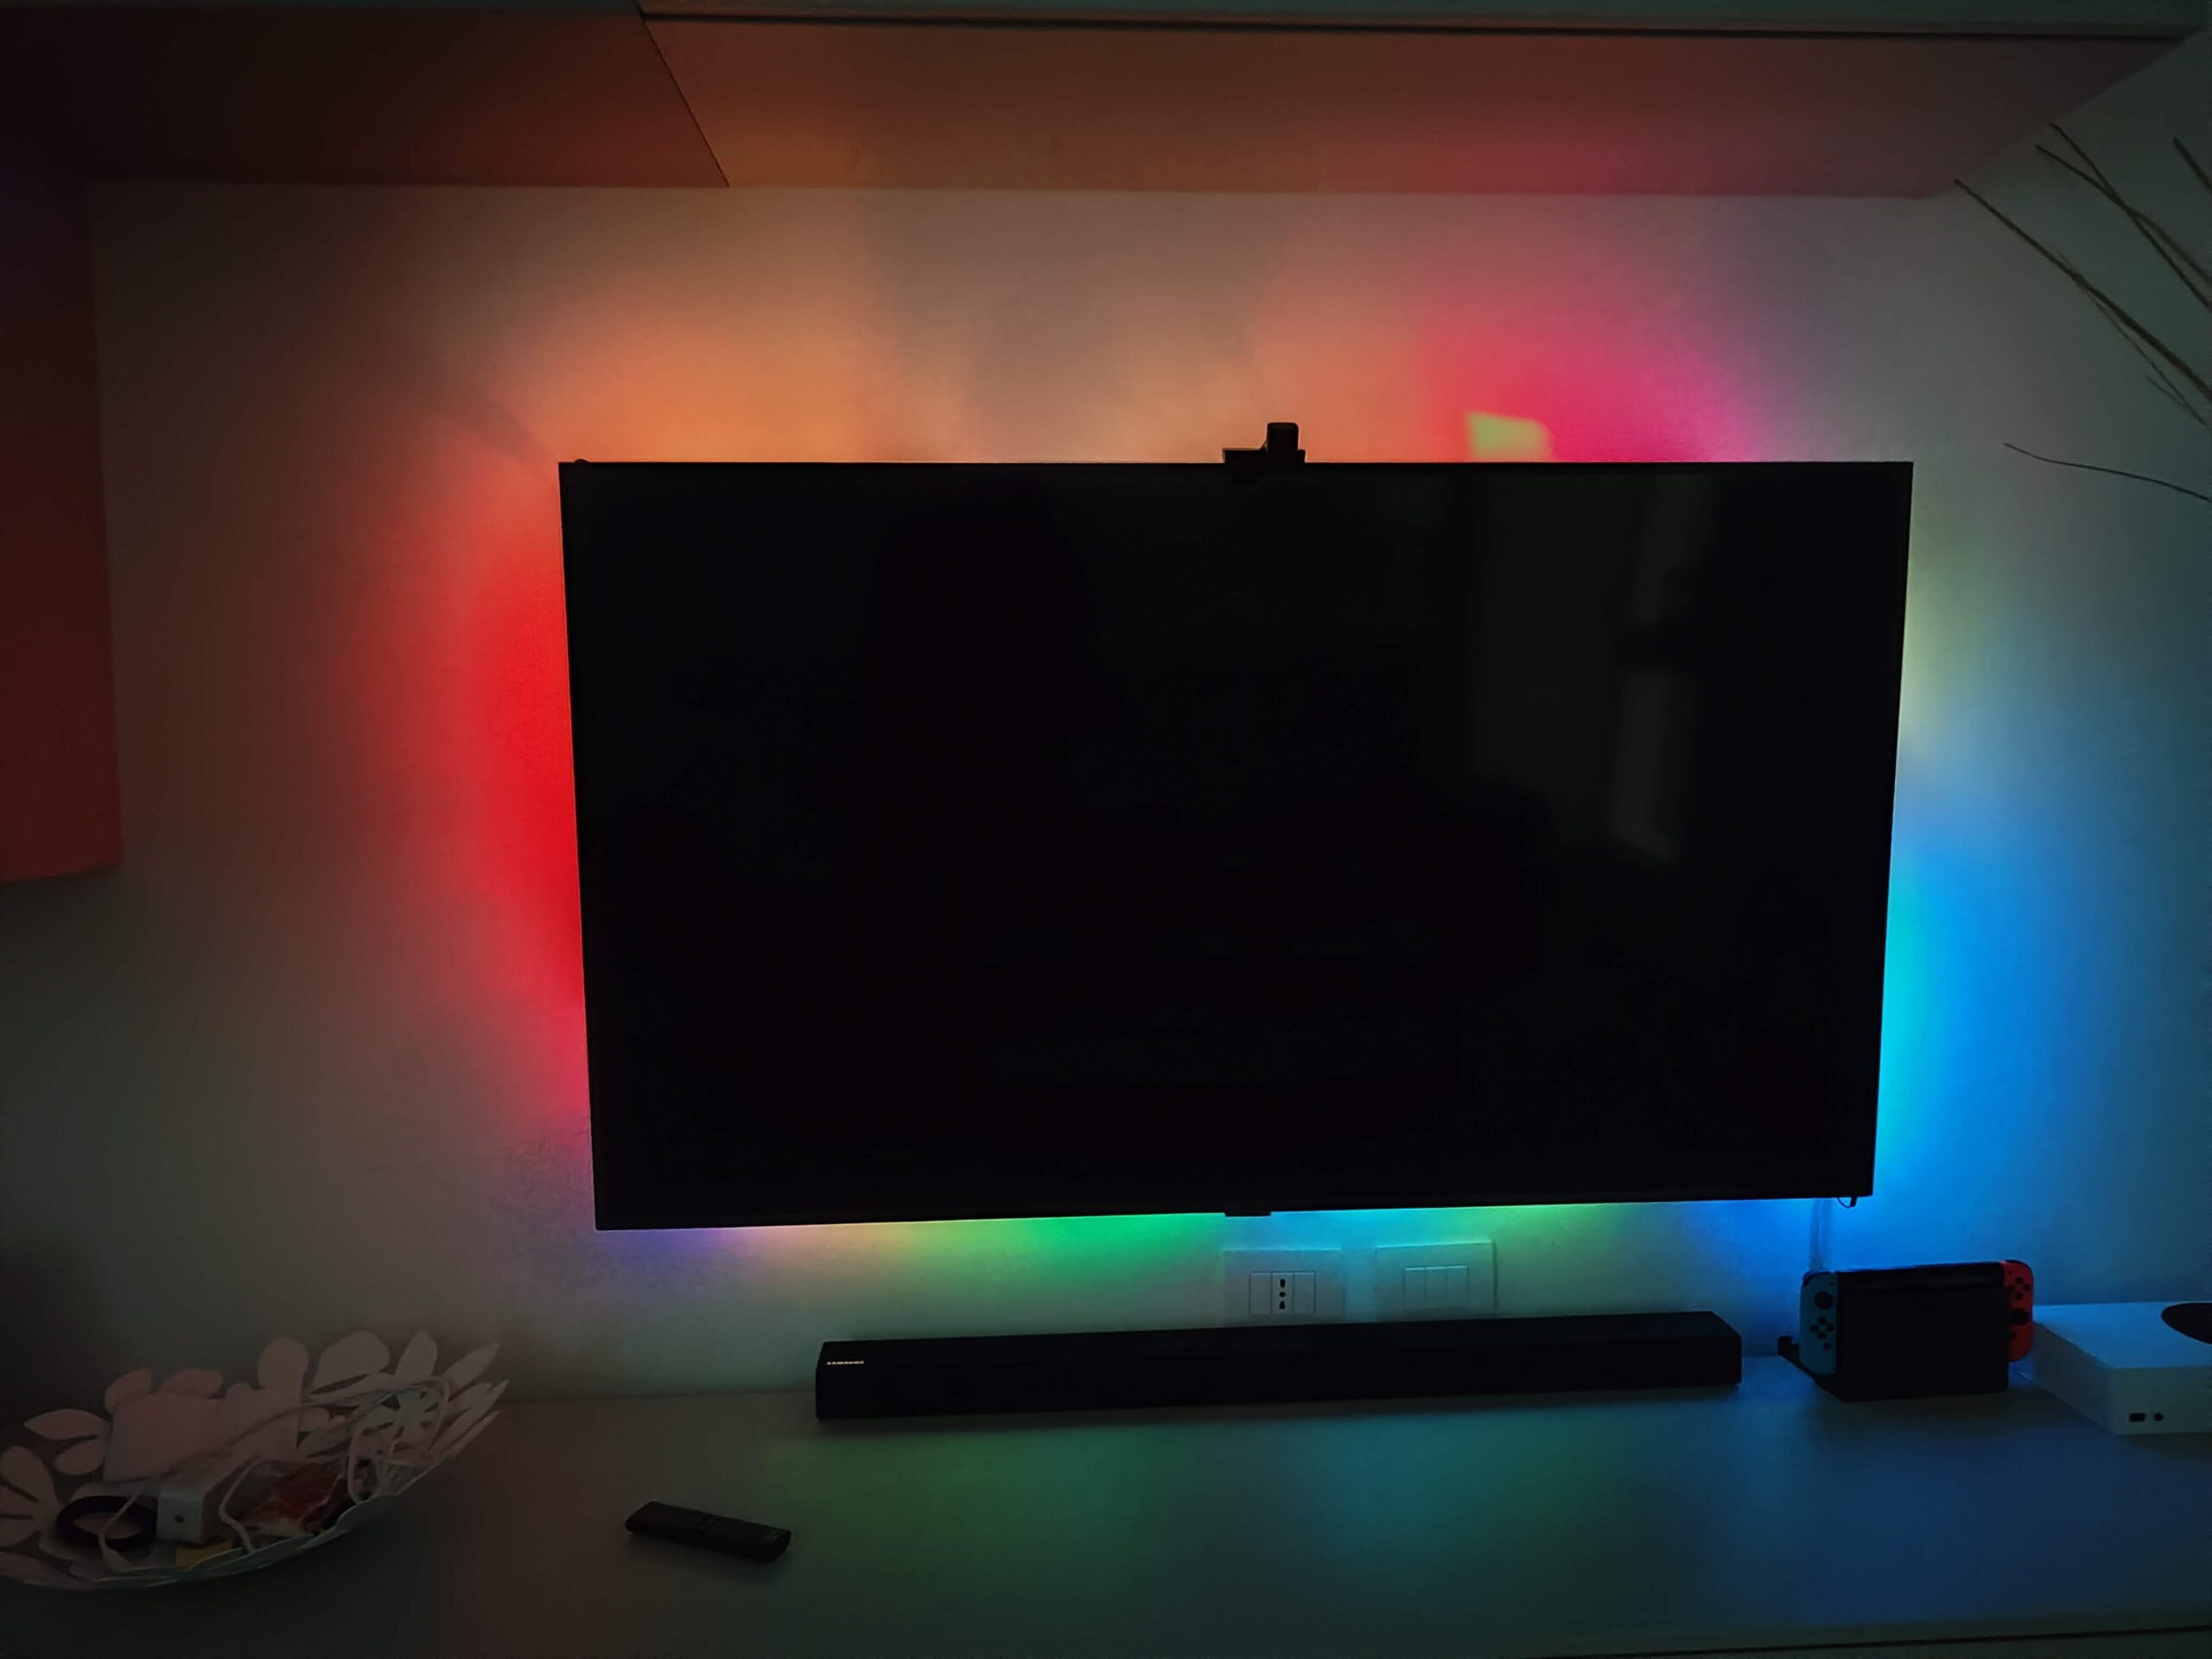
We come, however, to what certainly represents the most representative function of this LED strip, namely the Ambilight function. First of all, it is necessary to understand what it is about. In short, Ambilight technology is the ability to use the LEDs behind the TV to project the colors of the screen onto the wall behind the TV. In this way, you will get a greater feeling of immersion while watching a movie or a game, as well as while playing with your console.
Unlike the aforementioned Philips Hue Box, Govee's system uses a camera to capture the colors on the screen, and therefore works with any content that is played on the TV. It is clear, this mechanism also has its cons, because the camera's eye may not be so precise in capturing the nuances, as well as the reaction times, however fast, will never be equal to 0.
To obtain the best possible effect it is necessary, as already mentioned above, to proceed with an optimal calibration. Having done this, rather than spending rivers of words, which would hardly convey the idea, we refer you to a video that shows the result of our tests in total transparency. In our view, this is a really interesting and all in all enjoyable solution:
In the video above we show the reaction times of the camera, which all in all faithfully reproduces the colors on the screen, even if they are very dynamic, fast and rich in nuances.
In the second case, what you see below, we show the color accuracy in the face of more static situations and with fewer shades:
In both situations, the Govee streak managed to get by very well. The biggest problem is with cinemascope films, where the lower and upper black bands make it more difficult to reproduce colors on the LED strip. In this case, it would be necessary to recalibrate the camera, making the viewing angles coincide with those of the image, and not with the widest ones of the TV.
Note that it is possible to set the Ambilight mode to “Partial” and “All”. The first is the one that allows the visible result in the videos shown above, because it lights up each single LED in a different color, depending on those shown on the screen. The All option, on the other hand, illuminates the entire LED strip in a single color, which is the one shown mainly by the screen image.
After extensive testing, we can certainly say that the Ambilight function works best with games or broadcasts where there is no sudden continuous picture change. For example, we consider it an interesting system for watching matches, where the frame changes are not so drastic, and where the uniform color of the field, however, allows you not to be too distracted, or dazzled, by a continuous change of the color of the LEs. D.
Same goes for video games, where in any case the shot does not offer such sudden color breaks, except in the cut scenes or in excited moments of the game action.
Conclusions
Govee Immersion LED TV is a system that, on the whole, works. First of all, as a simple LED strip it is absolutely valid. The colors are reproduced really well, the shades are precise and the brightness is really high. The Ambilight function, on the whole, is satisfactory and quite precise, therefore very valid if you put it in relation to the price of the entire kit, which is really low for what it offers.
PRO
AGAINST
Prices and availability
The LED strip in the 55/65 inch version costs 65.99 euros, while the 75/85 inch version costs 101.99 euros. You can buy it Click here to buy it at this address, but also on Amazon.


