Home CasaVerdeSmart ,,,,,A smart home cannot be completely smart if you do not manage the opening of doors and windows as a function of comfort and savings: detect the opening of a window or a door not only for safety purposes (do you always remember to close it? to know if someone has entered the house?) but also to activate the entrance lighting or lower the thermostat when cleaning the house or to understand if the air quality depends on internal or external pollution …
Here is if you want a Door-Window sensor to start “sensorizing” doors and windows, Koogeek DW1 Door & Window Sensor could be an excellent starting point with a device that works with Apple's Homekit system both directly with your iPhone and iPad both remotely if you have an Apple TV or a Homepod at home.
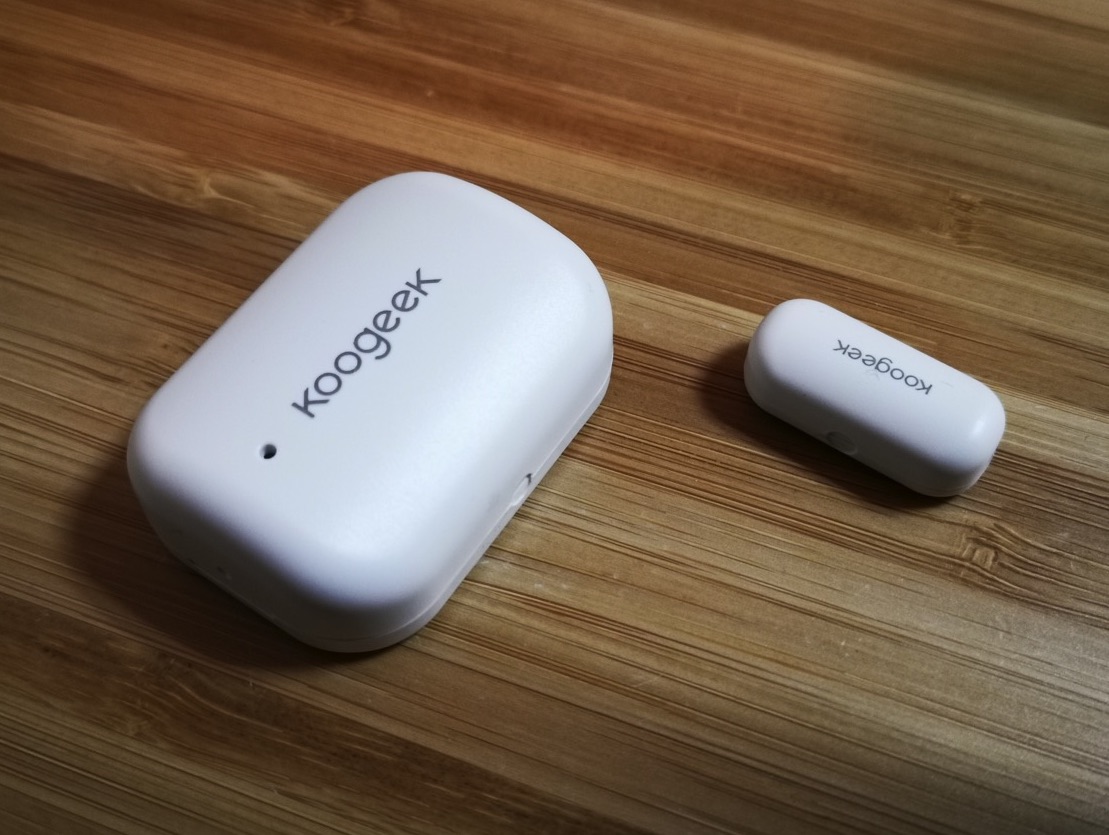
Packaging and installation
In the package we find the main body of the sensor that houses the battery and the secondary element which, thanks to the magnet with which it is equipped, is able to activate the closure of the circuit that will signal the closure of the frame with an accuracy of about one cm: in practical if the two components are less than a centimeter apart, a “closed” signal will be sent to the Homekit system when the sensor status update is requested.
In the package there are also additional stickers (let's see what they are for) and a classic pin similar to that of the mobile phone packages that will be used for any sensor reset. Obviously we also have the sticker with the Homekit identification code that you remember to keep together with the box if you want to move and reinstall the sensor itself .
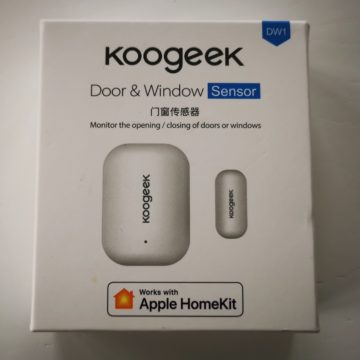
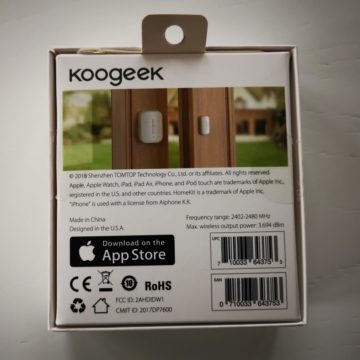
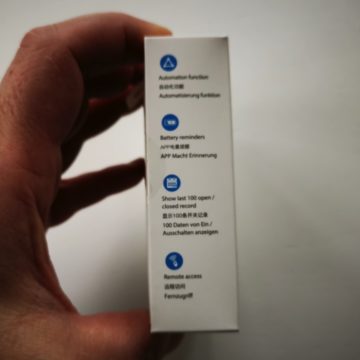
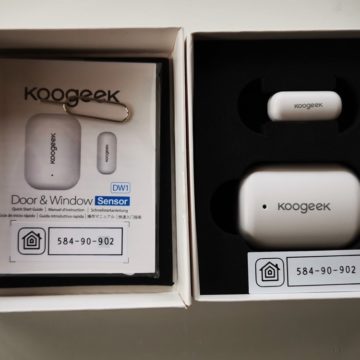
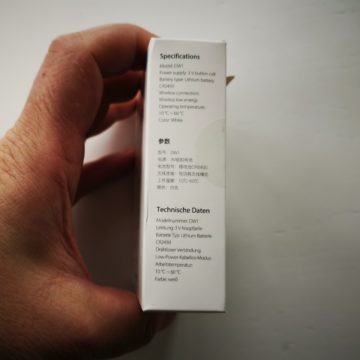
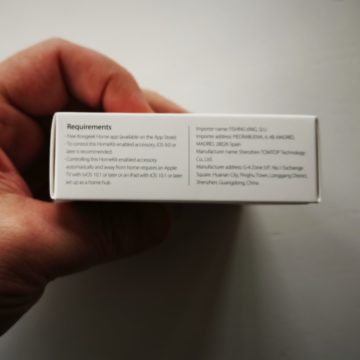
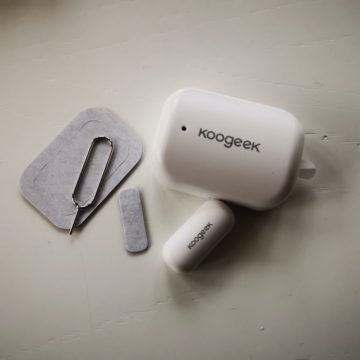
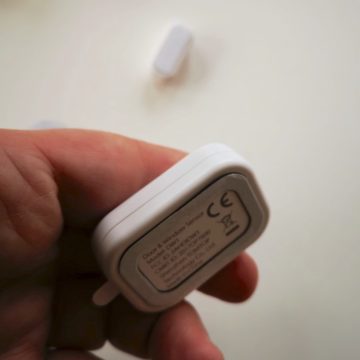
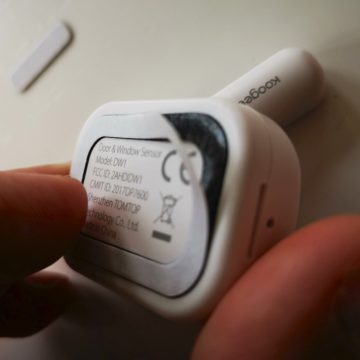
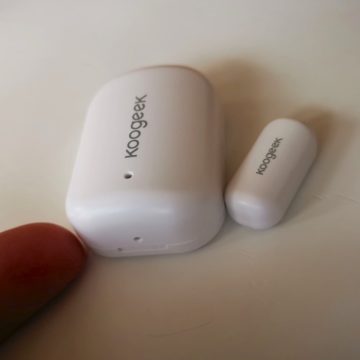
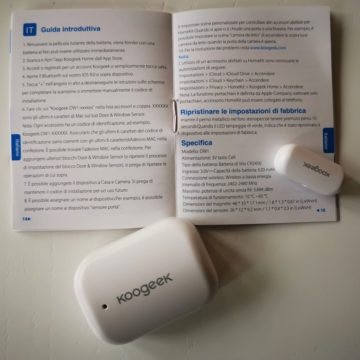
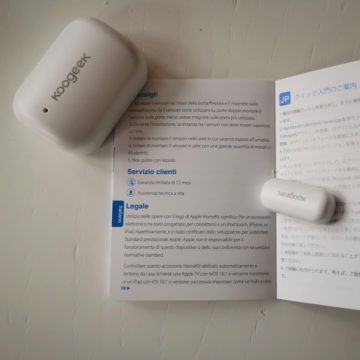
The installation is the classic one, you open the “Home” application or the Koogeek application (which however is in English) and then you frame the code present in the package.
The sensor is automatically coupled to the home's homekit system: just assign it a name and a room and then decide what role it should play in your home automation system: it can signal if a window is or remains open, if someone opens a drawer, if a door is closed and can communicate it to another device (a fan, a thermostat that can be stopped when cold air enters during cleaning, etc.) or it can report it directly to you through push notifications active only at a certain time or when you are not at home .
We will see a detail of the programming in the last part of the article.
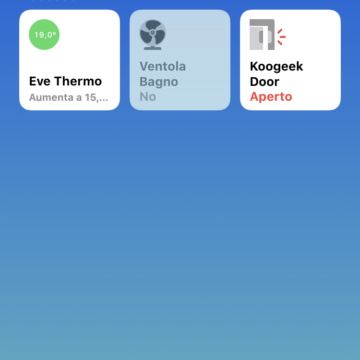 Door sensor open: the fan is stopped
 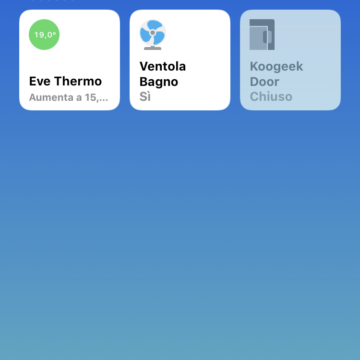 Door sensor closed: the fan starts
The Koogeek App The Koogeek application for iOS is translated, like the manual, also in Italian and, at least for this device, you will use it to consult the log of the openings and the state of charge of the batteries, which is however guaranteed for an operation of about 2 years; for the rest you can still use the standard Apple application “Home”, even for programming.
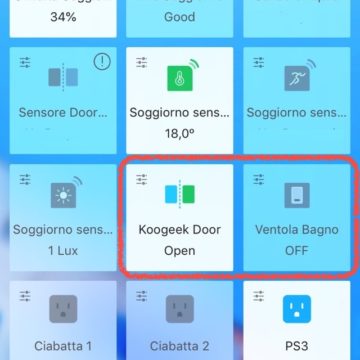 The Home screen of the Koogeek app
 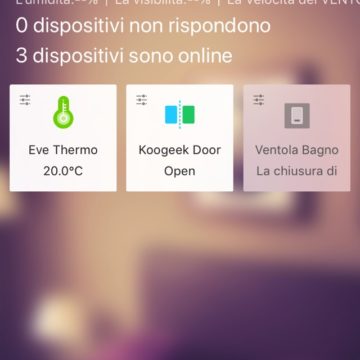 the room where the sensor is installed
 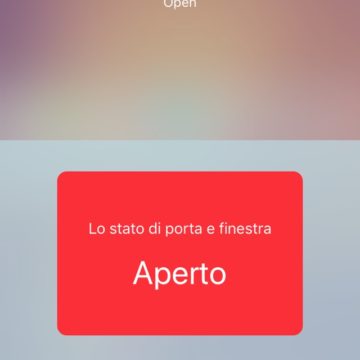 the large signaling indicator
 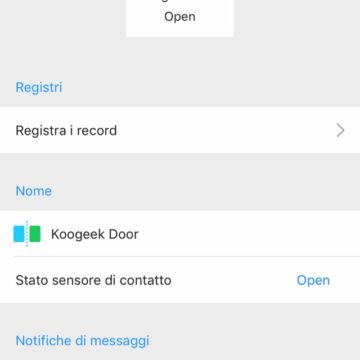 battery status and log access
 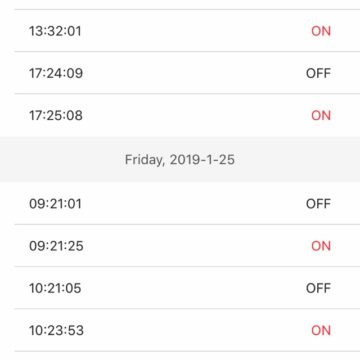 Log of opening and closing
Bluetooth and on-board memory
For sensors of this type that must operate on battery, efficient and not very voracious battery transmission protocols are chosen and for this reason Zigbee and Z-Wave are preferred in traditional home automation solutions but to manage these peripherals an intermediate gateway would be needed (such as the Xiaomi Aqara Homekit we tested here with Zigbee sensors).
The direct “saving” solution is Bluetooth: you do not need a gateway for local use and if you want to check the opening and closing data from outside the home, you only have to install an Apple TV, use an enabled home iPad or an import Homepod .
In this sensor the Bluetooth is of the 5.0 type and should guarantee a greater range but Koogeek recommends staying in the canonical 10 meters away: take this measure into account if you want to access the sensor from your Apple TV or Homepod when you are not at home because otherwise the sensor status cannot be “seen” from the outside.
If you want to check how many times and when a door or window has been open or closed (perhaps by comparing it with the heating or air quality data), the Koogeek application has the possibility to read the last ones in the sensor memory. 100 opening cycles recorded.
Battery change
The product contains a 3V CR2450 lithium battery that can be used for 2 years, while the remaining battery charge can be viewed in the app.
Replacement batteries cost between 1.5 and 3 Euros depending on whether you buy them in double or multiple packs. Here you will find the double pack of 5 of GP Batteries.
If the batteries are cheap, however, it is not very easy to access them for the change, especially considering that you may wish to carry out the operation without removing the sensor from its seat.
With the Koogeek the operation is a bit complex because in fact it is a question, in the larger body that houses the battery, to separate two shells held together by small tabs that fit together: the trick is to use a sturdy credit card (or rather a supermarket card) by doing a minimum of lever with your nails and then turning the card all around for unlocking. With a minimum of dexterity the operation succeeds but we would advise Koogeek to better shape the casing to make opening easier.
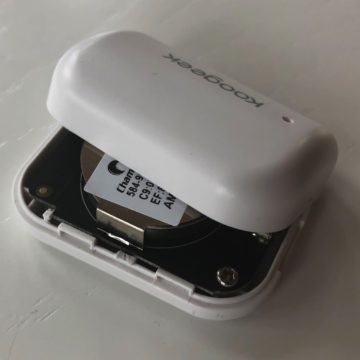 The opening
 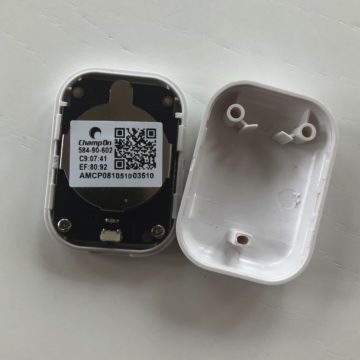 The two shells
 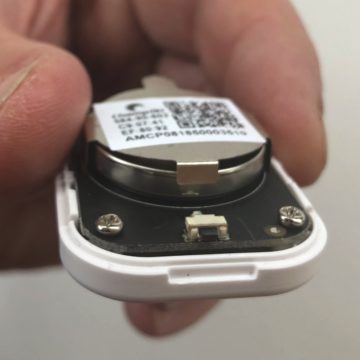 The battery and the reset button in the foreground
Positioning
As with all sensors of this type we have the central body with the battery and the accessory one with the magnet that closes the circuit and the standard positioning is the one with the hinged part of the door or window coplanar with the part in abutment but it could be necessary the thickness of the magnet if the two parts are too far apart: inside the package there is a small additional adhesive that can help us in this but we would have preferred at least a series of different thicknesses to increase the versatility of the operation.
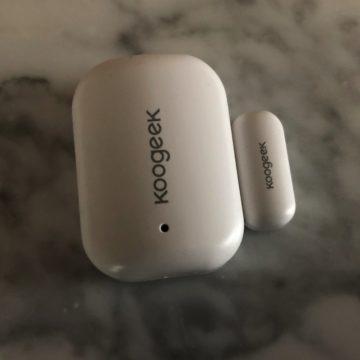 Here is how the two parts of the sensor must “couple”
 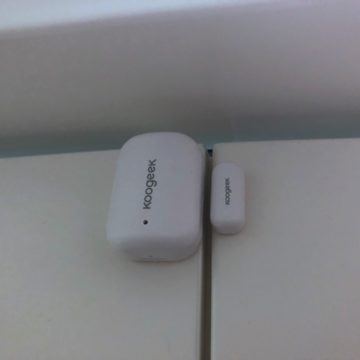 Mounted in closed position
 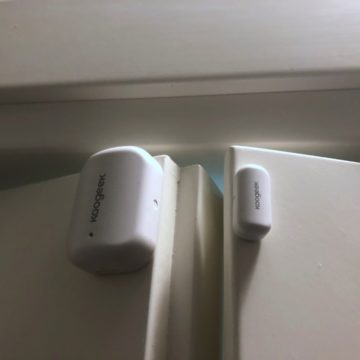 and in the open position on a folding door
Programming
As we saw in the introduction, activation and programming can take place directly from “Home”. Below you can see some screenshots of our programming of a fan in the bathroom that is activated only by closing a secondary door between the bathroom and anteroom. In this case the fan is connected to a Fibaro switch (which we will review in the next few days) and works in parallel with a normal switch. The rules are the classic ones of Homekit and the convenient thing is the possibility of deciding in advance how long the fan power supply must remain on once the door-window contact is closed. In the same way, we can decide to turn on a light in the entrance of the house and leave it on for a few minutes without having to install a timer and maybe only after sunset and before dawn. Another possibility is to use the window opening control as a passive safety system: you can check that they are all closed before leaving the house and “manually” if they are not.
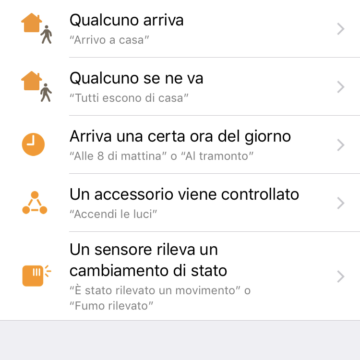 we start the automation by choosing to use the sensor that detects as an “activator” a change of state
 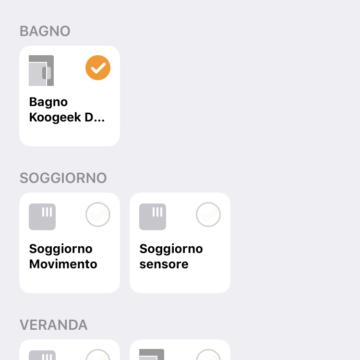 We choose the sensor
 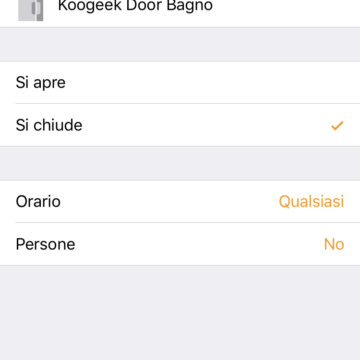 in this case it is the Koogeek sensor when it detects the closed state
 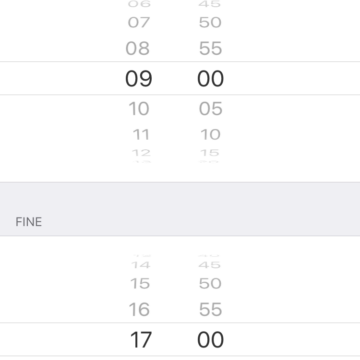 We decide the time when it should work
 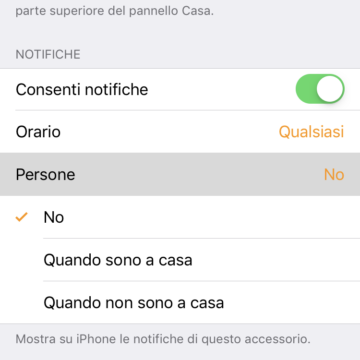 We decide if the function depends on our presence at home
 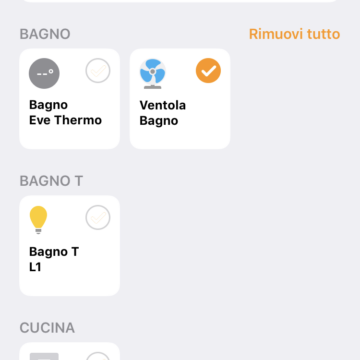 We decide which accessories are activated according to the conditions of the sensor
 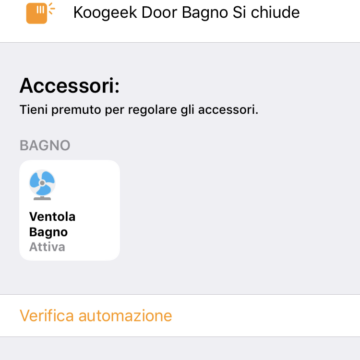 In this case it is the fan connected to a Fibaro switch
 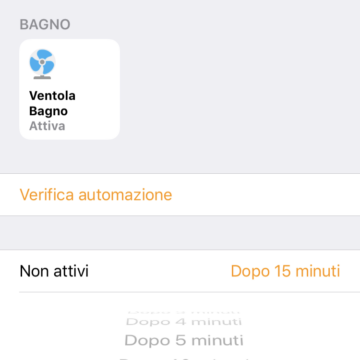 We decide how long the fan must remain on
 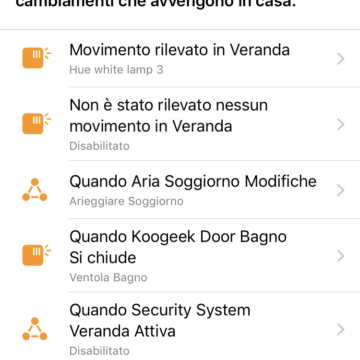 Here is the automation completed and included in the list
Conclusions
A sensor that does its duty and is very convenient for a small house or a few automations but if you have a large house, remember to place Apple TVs (even fourth generation – not 4K) in strategic points. Easy to install, battery replacement is inexpensive but requires a minimum of dexterity or a specific tool. The cost is commensurate with that of other standalone sensors and certainly competitive with other homekit sensors with direct connection.
Koogeek DW1 Door & Window Sensor has been available on the market for a few months and is offered as an alternative to the device with similar eve door and window capabilities (it is available for about 35-39 Euros on Amazon) and to the Fibaro door-window sensor but the current price, at least on Amazon, is around 72 Euros and does not seem so competitive even if there is an additional temperature sensor on board.
Pro Simple to configure, economical even in the spare battery, standard bluetooth range, easily inserted into a programming, manual and app in Italian.
Cons The battery requires a fair amount of dexterity for replacement
Cost to the Public Koogeek DW1 Door & Window Sensor Homekit costs about 30 Euros on Amazon.
,,


