Home MacProf Digital Photo ,,,,,Luminar was born from the mind of the Skylum team, already creators of very famous software such as Aurora HDR that we have recently tried in the 2019 version and over the years have won several “Best of the Year” on the Mac App Store.
The product is very good, with some sour notes which, however, must be seen from the right point of view but represents an excellent tool for anyone who wants to expand their creativity in the photographic field, especially as regards effects and color.
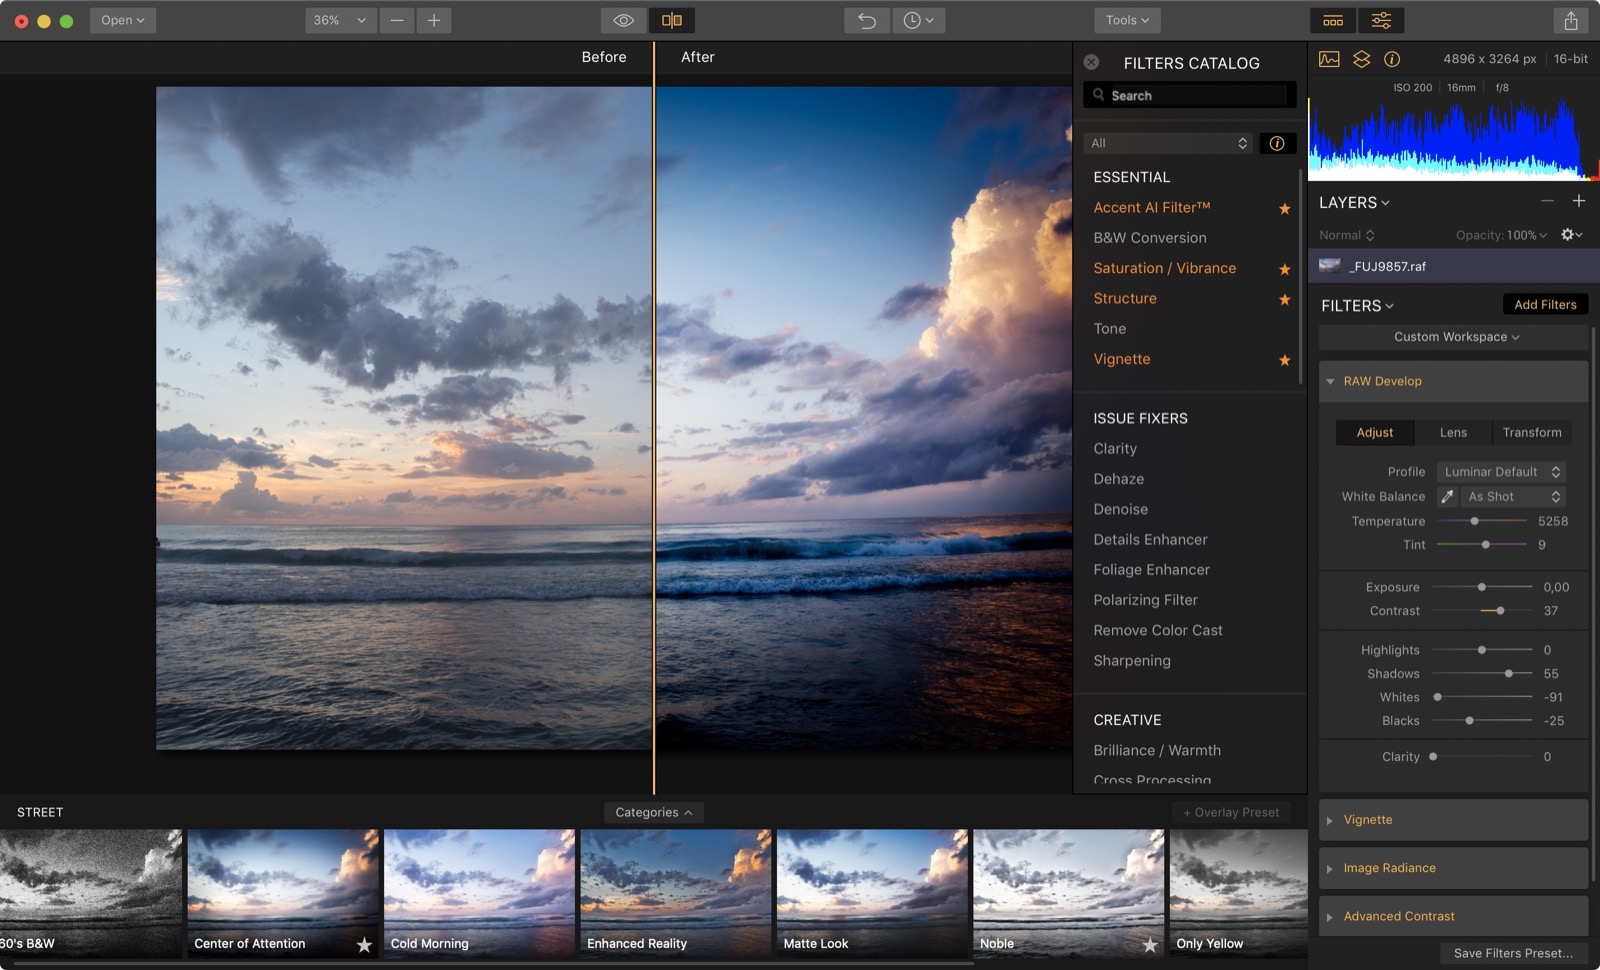 The Luminar interface, a single window that repeats for each document
Luminar 2018, the review
The idea behind it
The idea behind Luminar is to remain fairly faithful in the approach to bitmap retouching, be it on rasterized documents (Jpeg, Tiff, Png or PSD) or on more raw formats (Raw or DNG), proposing however a change of very important paradigm: the adjustment layers are no longer single per layer, but each layer can contain one or more adjustment layers, merging one with the other totally or partially, thanks to various masks, aiming for a result at the same time very complex to explain but very simple to understand and implement.
Those who have read our review on Aurora HDR or those who have tried the software can certainly notice the extreme similarity between the two Apps, in the commands as in the approach, although here the HDR scope is not native but can only be simulated.
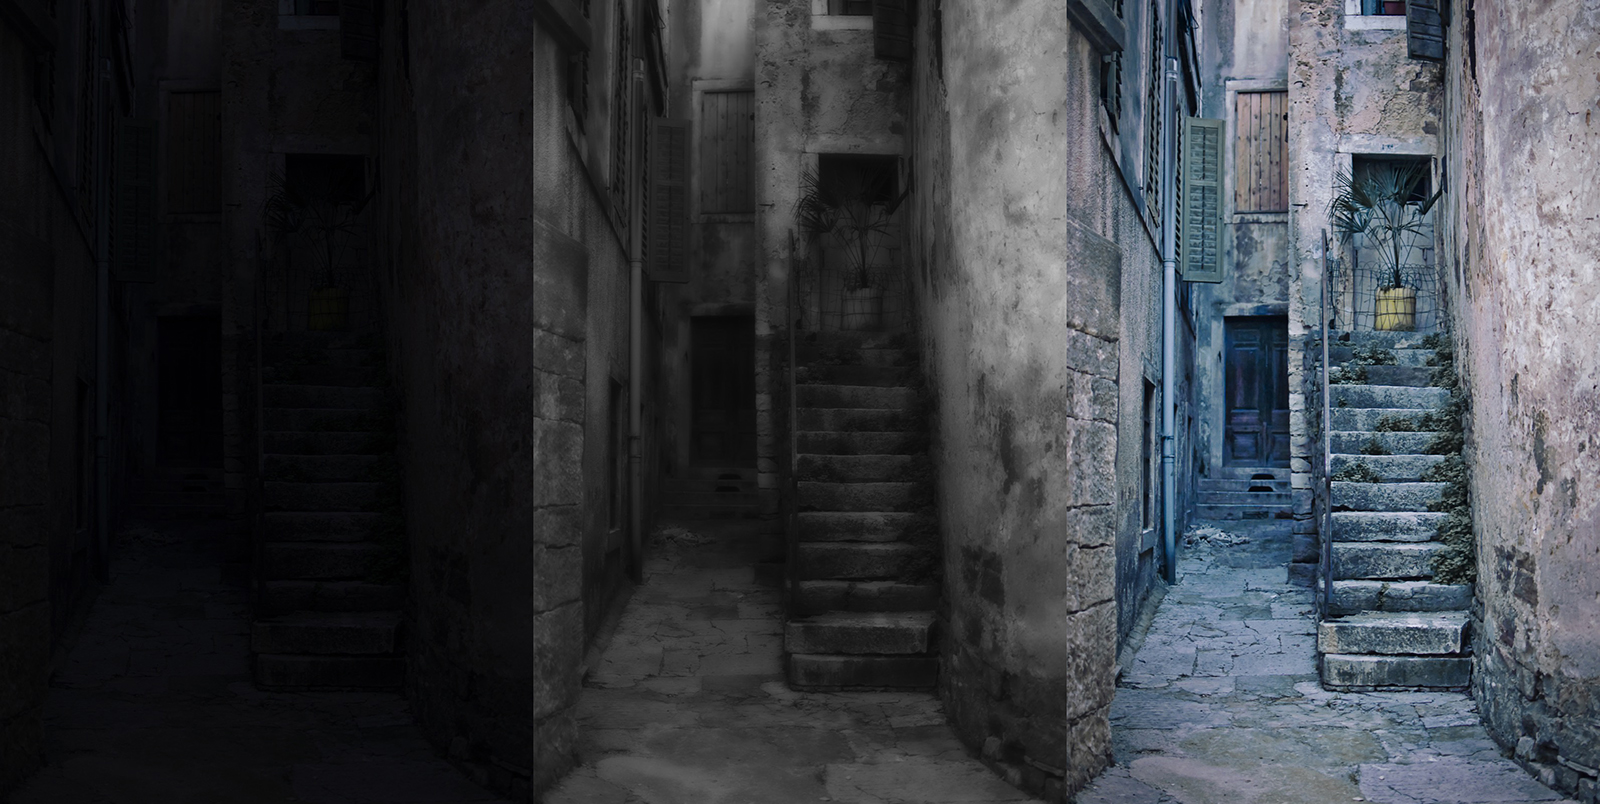 A simple example of gain from a RAW file created in a very hasty way, then adapted to a preset (center) and later with a more manual analysis (right)
For the rest, many commands and presets are identical, with all the pros and cons, as well as the workflow and the basic idea: even Luminar is not suitable for photocomposition workflows, and even if it has the skills to do it, it we see little slender in that, while appears formidable for color correction, professional or (above all) creative, even if it is necessary to understand well how to manage all the enormous firepower.
The App, once only for Mac but now also for Windows (a fact that has absolutely not undermined its reliability and efficiency), looks like a single window where, in addition to the photo in the center, the tools appear at the top essential, on the right the controls for color, brightness and contrast correction and at the bottom the presets, even if the technology allows you to download and install other compatible ones.
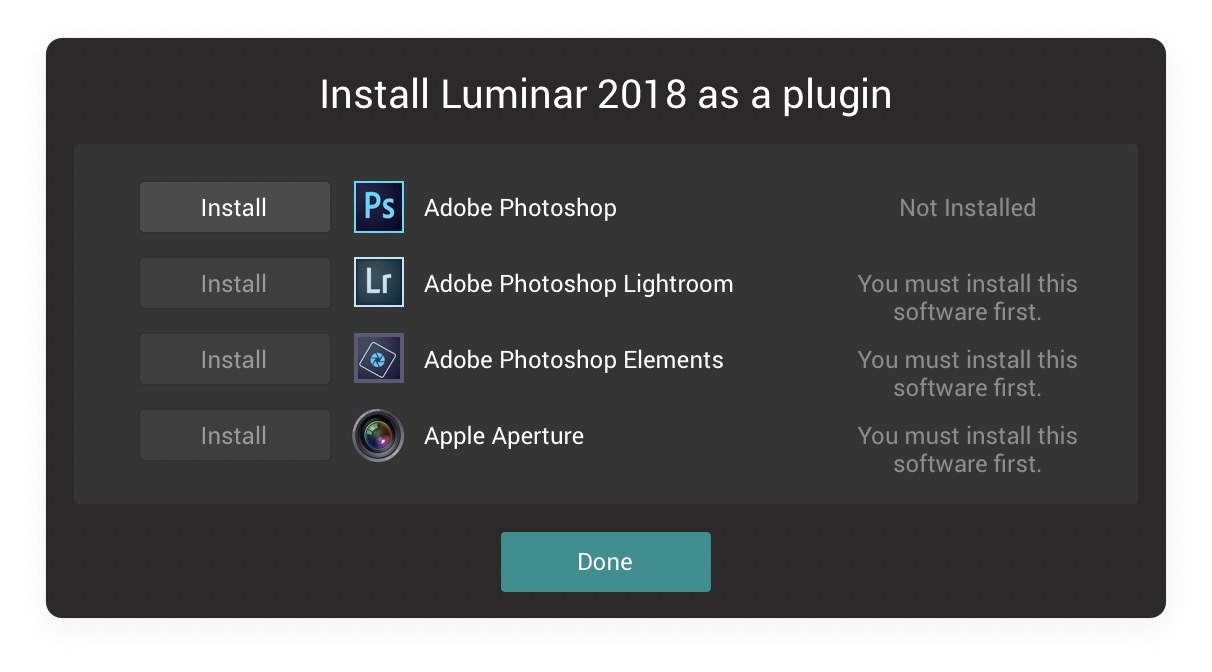
The App can work both in stand alone mode and as a plug-in for Photoshop, Lightroom and Aperture (!) While there is no Photo (a pity), so it can be recalled if necessary, even if on our part especially with regard to Lightroom and Aperture, the App is presented in a much more powerful and versatile way which only lacks a database to be completely competitive.
The tools and presets are grouped in Workspace and Categories, but it is still possible to customize the interface with your own choices, recalling the standard ones only when needed.
From what we have been able to evaluate, in our opinion the use of presets is the right way to operate if you do not know the software well, but also the best way to start a demanding photo editing, to then define it in a more meticulous way by operating on the commands.
Like Lightroom the retouching is not destructive but however Luminar does not work with XML sidecar files, opting for a proprietary format that can also include, if necessary, the original image.
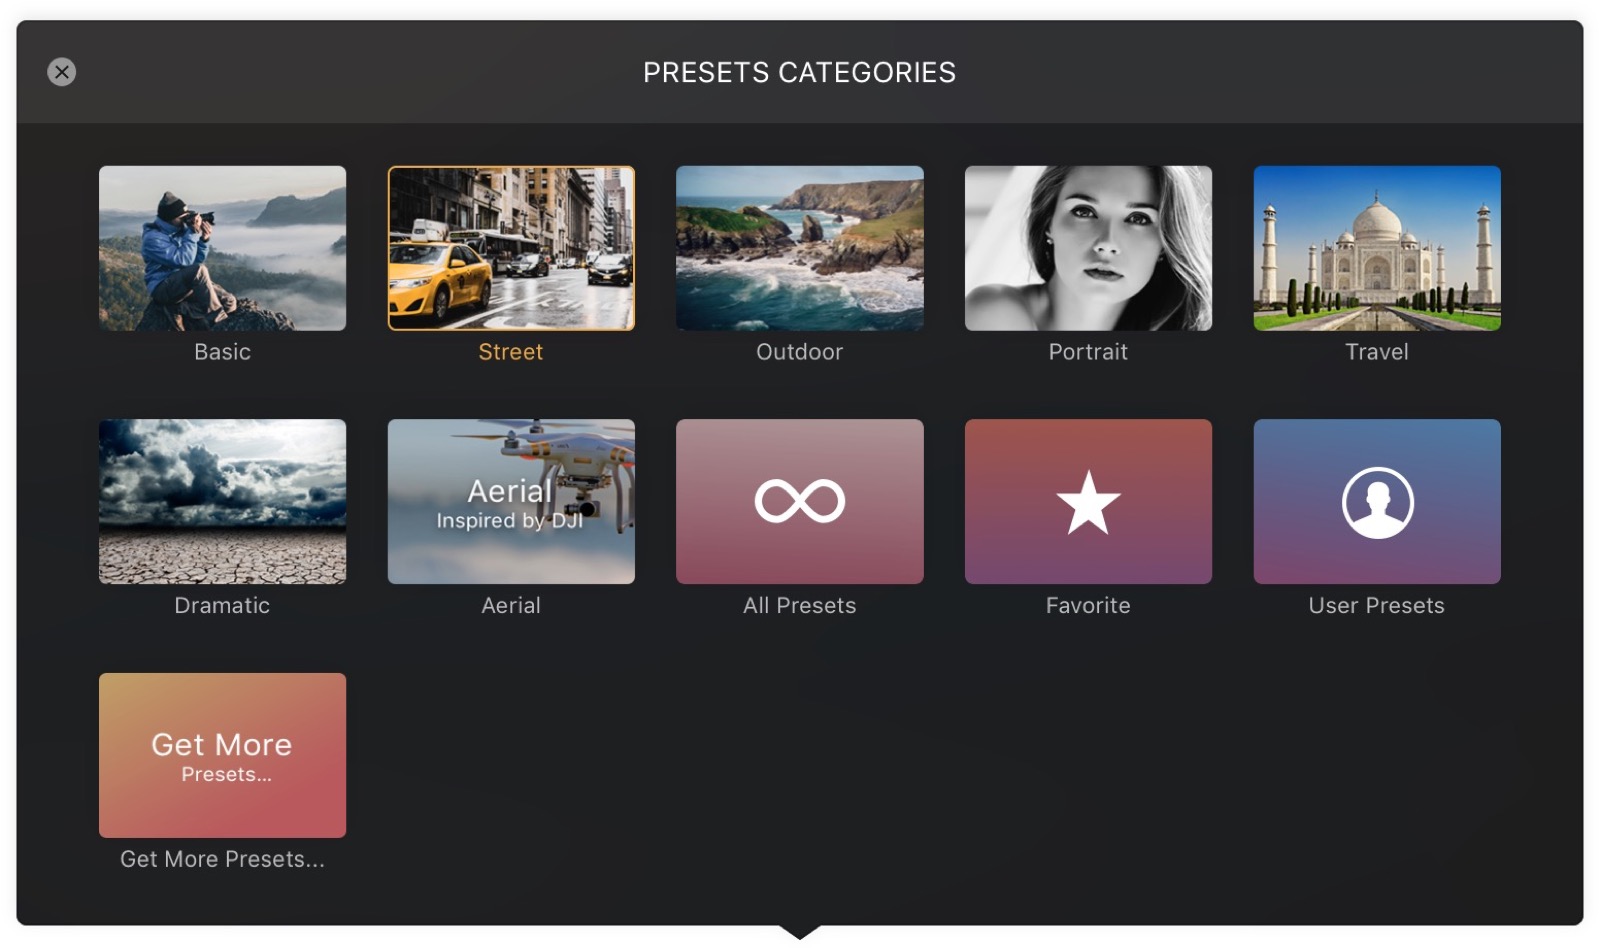 The groups of presets installed by default, but others can be downloaded from the website of the parent company
On this page you can see some work we have done on Michele Discardi's RAW images, performed with a Fujifilm X-T1 equipped with XF 16–55mm ƒ2.8 lens, used here in RAW format sometimes native, sometimes converted to DNG via Adobe DNG Converter without obvious differences.
Note that we often opted for flashy results, as the purpose was to test the possibilities of the various filters and blending options, the latter used with the eyedropper.
Each preset can be loaded and applied quickly, and with it all the adjustments applied: the preset can be customized and of course also dosed via a slider. It is interesting that different tools can be duplicated and applied again, totally or by masking a single part, an approach similar in the result to that obtained by Photoshop but which is applied here in a completely different way.
We particularly loved the filter that makes use of artificial intelligence, capable of offering remarkable three-dimensionality, especially in outdoor images (although perhaps it should be slightly contained in the skies) and Sunrays, perhaps a little tacky in the default mode but very interesting if wisely dosed.
Finally, for those who read this review in November, the new Sky Enhancer filter should have arrived, capable of offering remarkable thickness to the skies, thanks to artificial intelligence.
1 of 12 



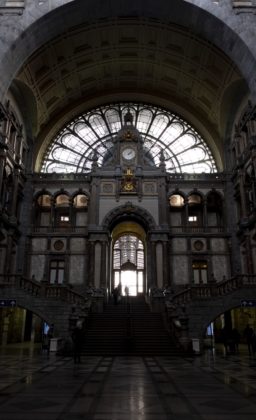
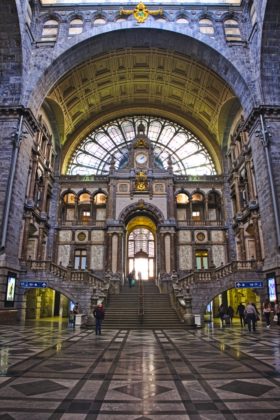


In any case, what most characterizes the App is, as we said, the management of the levels: after correcting an image with any preset or tool, we can duplicate the level (which contains all the adjustments) to selectively correct everything through a blend mode or load a second image and blend them together with individual adjustments.
For those who deal with photo editing in a professional way this is a very vertical approach and that takes a long time to be not only understood but mastered but which on the other hand can offer very interesting, fast workflows and particularly suitable for multiple changes without loss in a few seconds. .
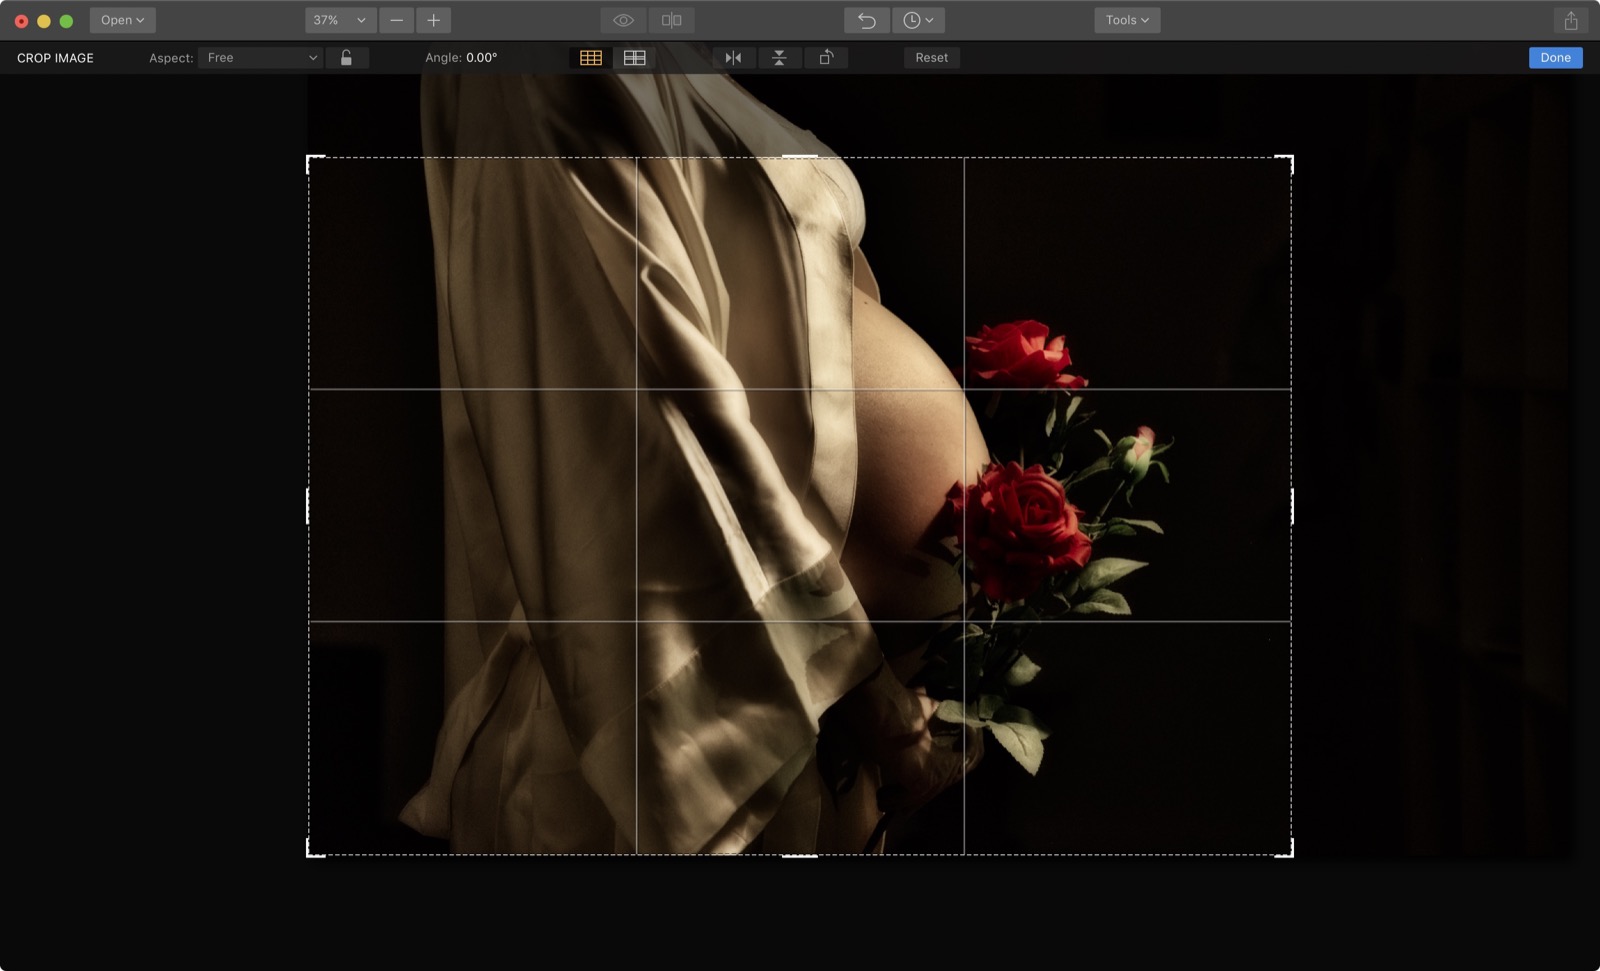 Some tools like Crop, Resize, Mask and Brush are present, although in some cases they are implemented in slightly woody way
Other instruments
The retouching options do not show only the controls relating to color and brightness: the cloning and reconstruction tools of part of the image are very interesting as well as the possibility of applying simple but often decisive masks.
We didn't like something about the App: the use of RGB mode alone, without the possibility (as far as we understand it) to manage the most common color profiles, although we can manage the DCP (Digital Camera Profiles) mode.
In addition to this, a certain woodiness when it comes to managing the working dimensions of an image in an intermediate phase of the work, which often appears difficult due to the lack of a real tool, which is there but which can be recalled only to the end of the process in the export command.
The management of batch flows through the appropriate window is also beautiful, even if the workflow must be created first and, given the power of the various commands, this could create some too many distractions considering that, unlike the normal flow, batch operations are destructive. .
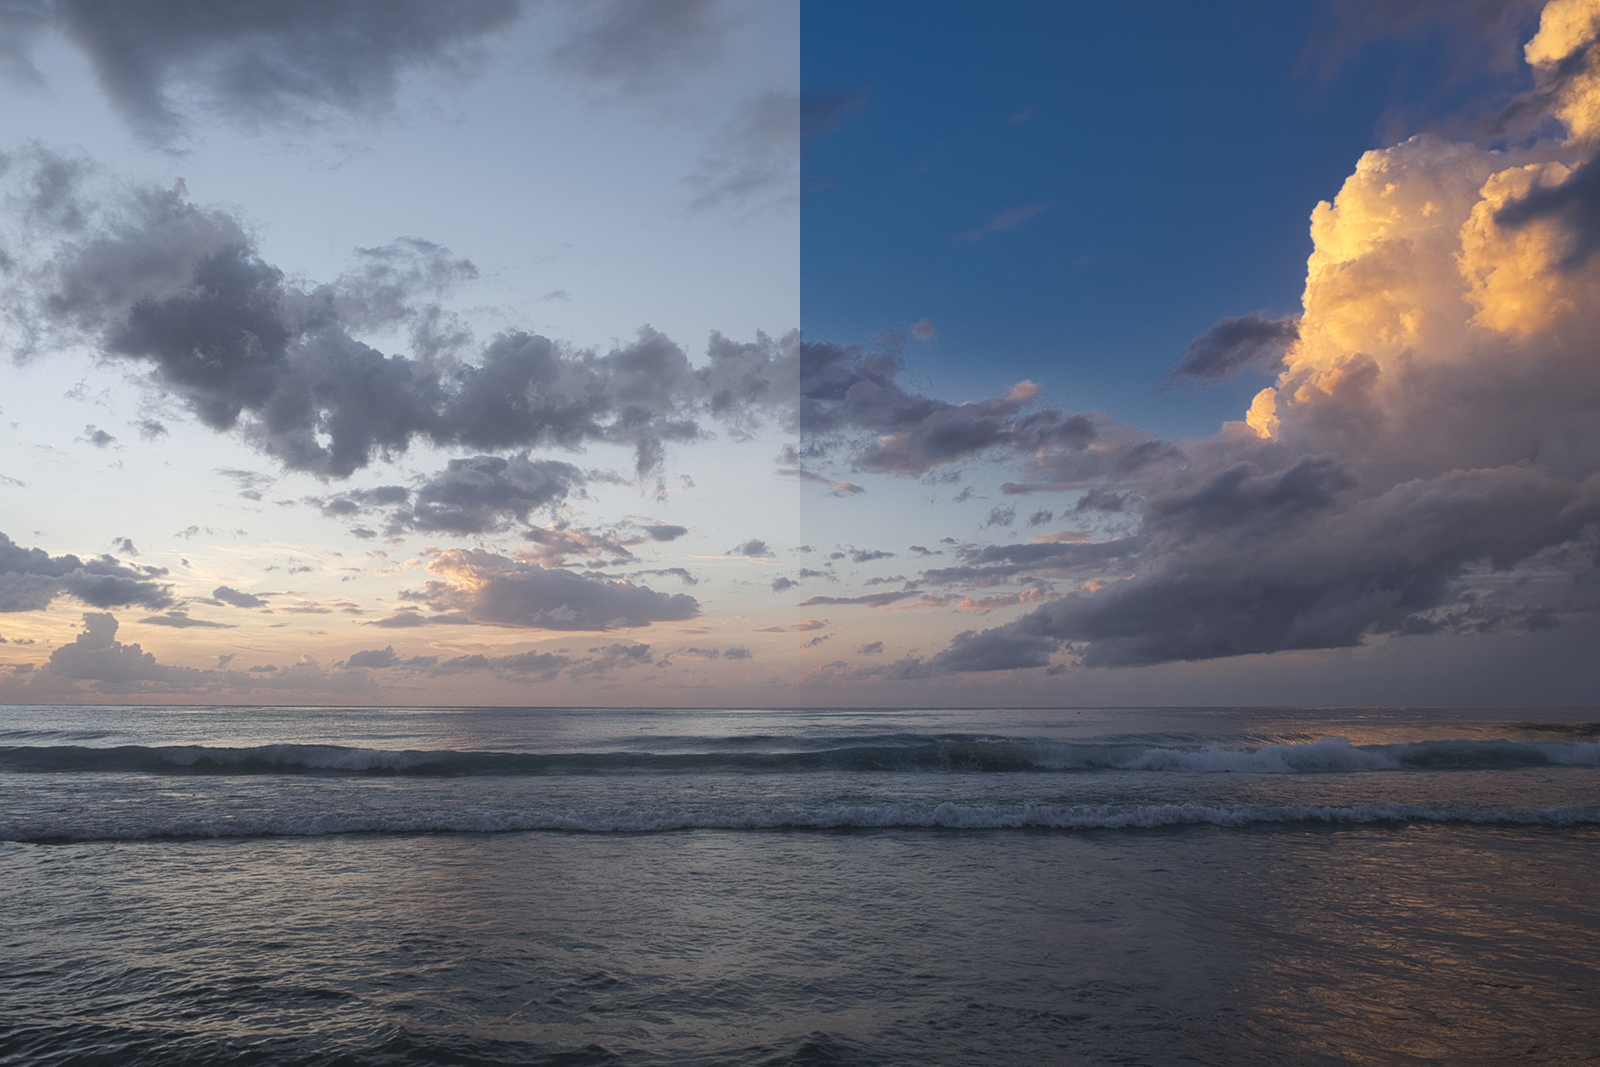 The operation of the new AI Sky Enhancer filter, which we tested in beta but which will be available for all with the November update
Final considerations
Perhaps Luminar is not as powerful as its cousin Aurora HDR but it comes very close, with a few more artistic ambitions and one less HDR hypothesis, however it remains a frankly incredible App for many points of view.
Ideal for managing RAW files in a workflow, to be combined with an active management software (which seems to be coming from the same creators) such as Lightroom or Aperture or even the Mojave Finder but also excellent for rasterized files such as Tiff or Jpeg.
If you are looking for a powerful, creative editor able to stimulate your expressiveness this is the right name (together with its cousin Aurora HDR), offered at a one-off cost of 59 Euros (just for the amateur user, a joke for the professional. ) which is definitely worth it.
Pro : • Powerful tools and innovative approach • Fast interface and optimized for Mac • Some filters are really amazing
Cons : • The interface is in English (for now) • Some basic functions are a bit woody
Price : 69.00 Euro / discounted to 59.00 Euro until December
Luminar can be purchased directly from the Skylum website with an additional special discount of 10 Euros reserved for Cyber Layman readers: just enter the MACITYNET code when ordering and you will pay 49 Euros.
,,


