HomeHouseGreenSmartWhen we talk about the smart home, the mind immediately runs to the lighting system, but there is also another sector where the help of technology is used to make the home environment more comfortable, as well as allowing savings that never hurt especially. in periods of rising energy costs.
We are talking about the heating system, and in particular of smart thermostatic valves for radiators. Macitynet has long been offering you an updated guide to solutions on the market. In recent weeks we have tested that of Meross, and here is the result.
First of all, it is good to understand what a thermostatic valve is for and, in particular, what a smart thermostatic valve is for. The thermostatic valve in question is a device to be connected to your radiator, with the aim of regulating the flow of hot water to be passed through it according to the required temperature, so as to reduce energy consumption, and regulate precisely. the temperature of each room in the house.
Through the valve it will therefore be possible to adjust the exact temperature of the radiator, being able to also choose to exclude it, effectively turning off a certain radiator, perhaps that of a room on the other side of the house that would be useless to heat. 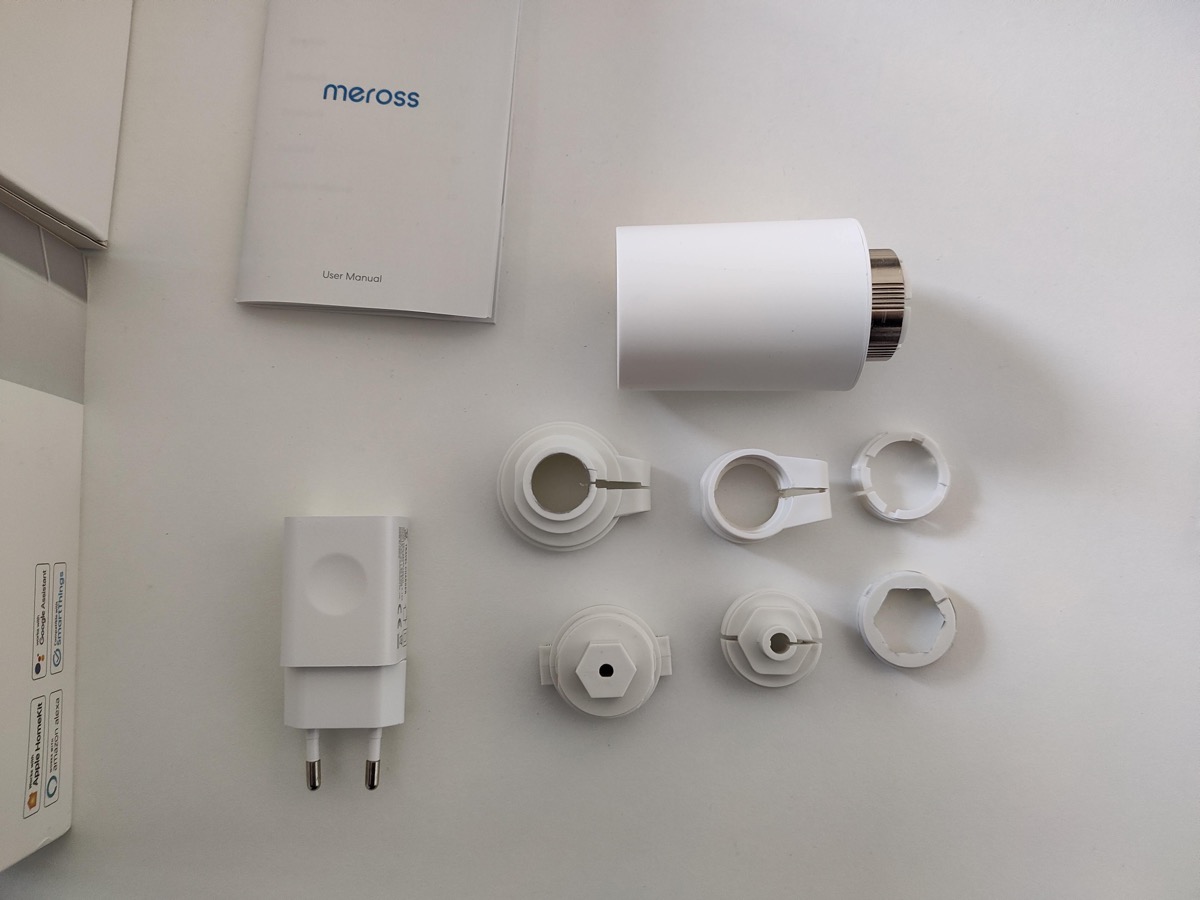
Having made this brief premise, it is good to make another one on compatibility. Before buying a smart valve like the meross one under test, you need to check that your radiators are compatible. The valve in question is designed to be compatible with most of the existing ones, but to be sure you can install it, simply consult this official list. In other words, your radiator must already have a traditional thermostatic valve, to be replaced with this smart one.
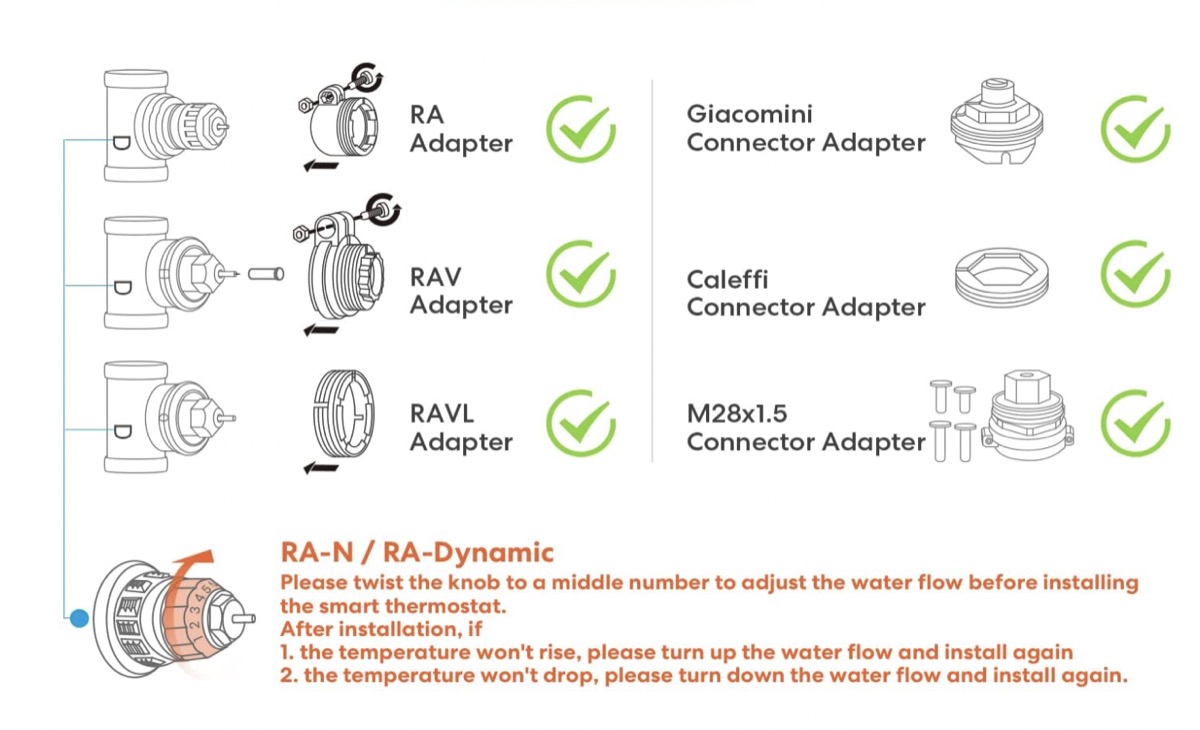
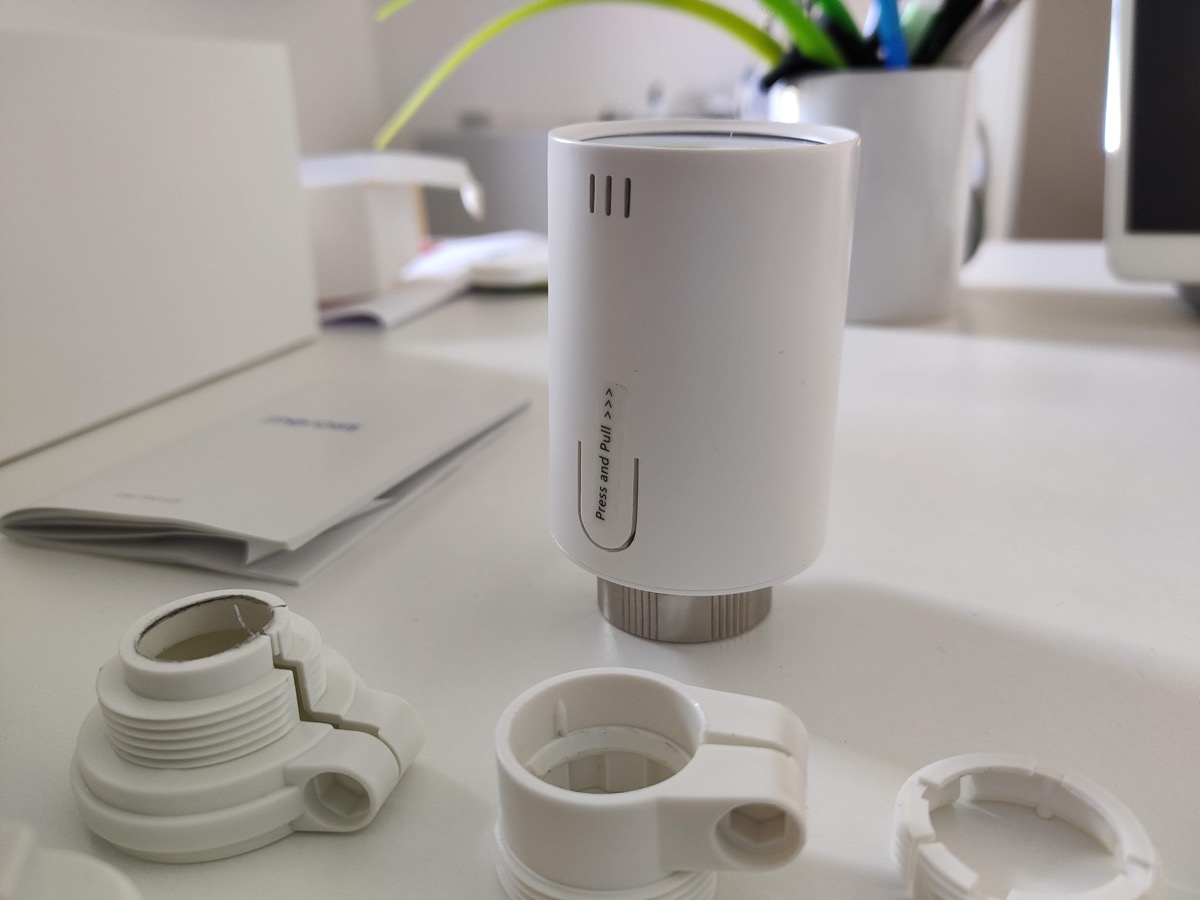
In general, we can say that the meross valve is directly compatible with M30x1.5 valves, but thanks to the adapters included in the package, it is also compatible with Danfoss thermostatic valves (RA, RAV and RAVL), Caleffi, Giacomini and M28x1.5.
That said, let's start with unboxing.
Unboxing
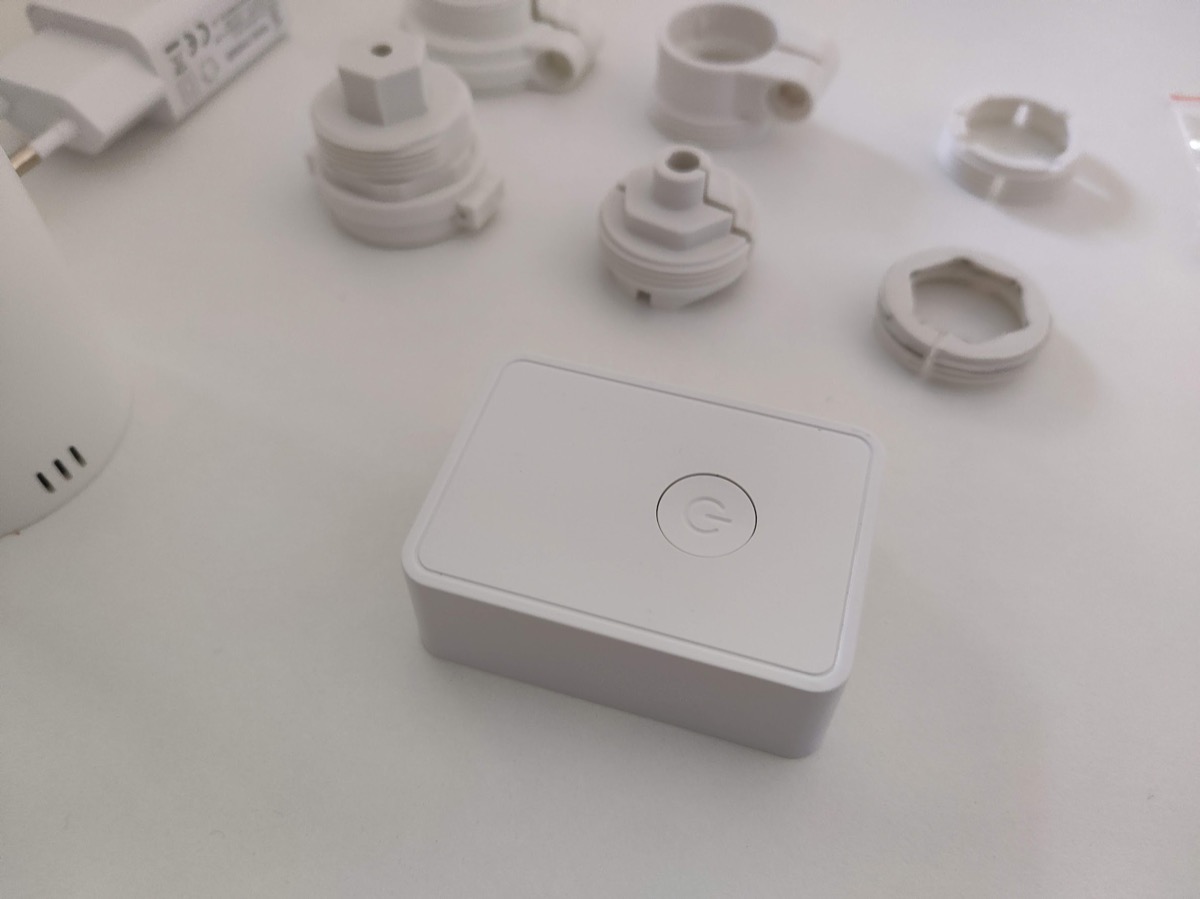
If it is the first time you buy this thermostatic valve, be sure to buy the bundle including the hub , as it is necessary for the operation. Later, it will also be possible to purchase single valves to be combined with the hub. The starter kit package contains the hub and a valve. Also included in the package is the USB cable to power the hub and the wall adapter to connect it to the power outlet. Again, the initial pack contains 6 different adapters , which will be used to adapt the valve to the existing system.
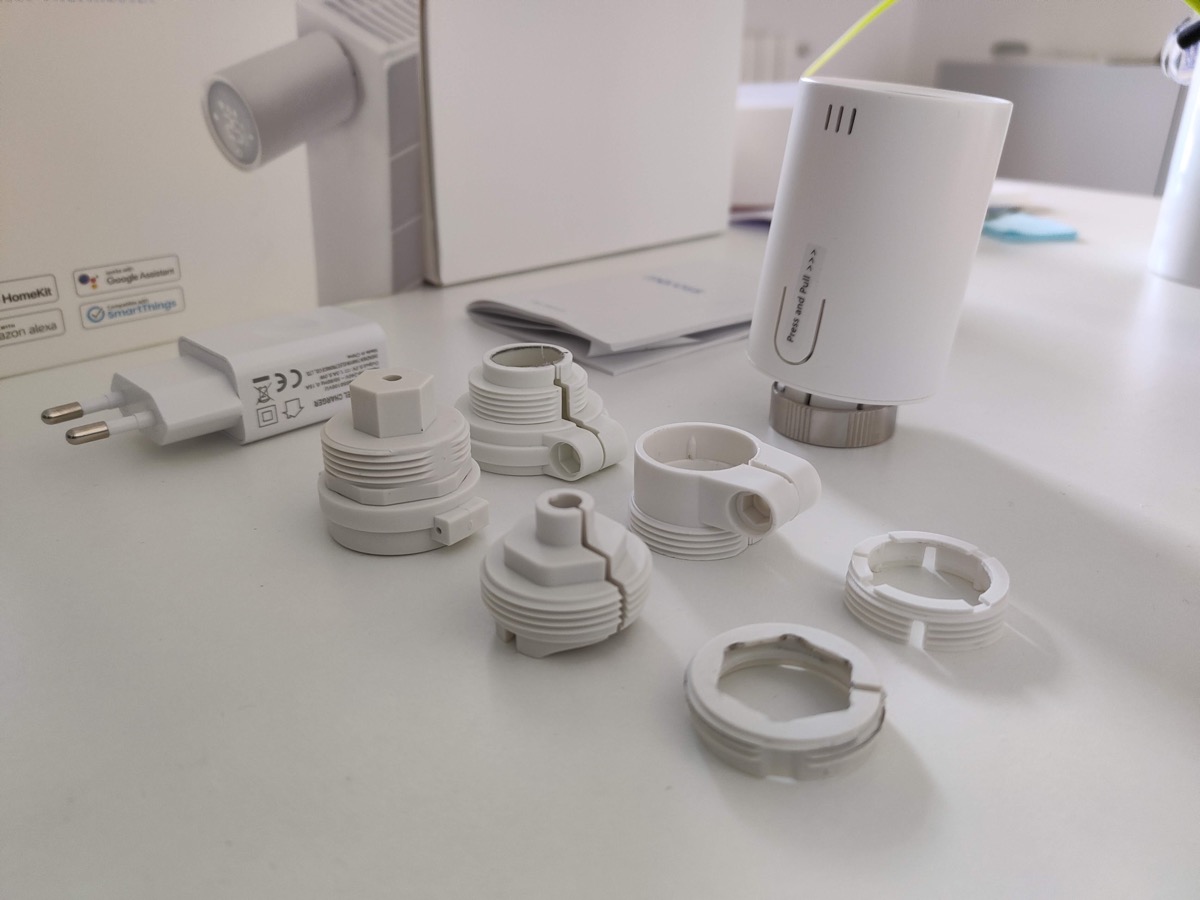 Inside the package, therefore, there are all the accessories necessary for the first installation.
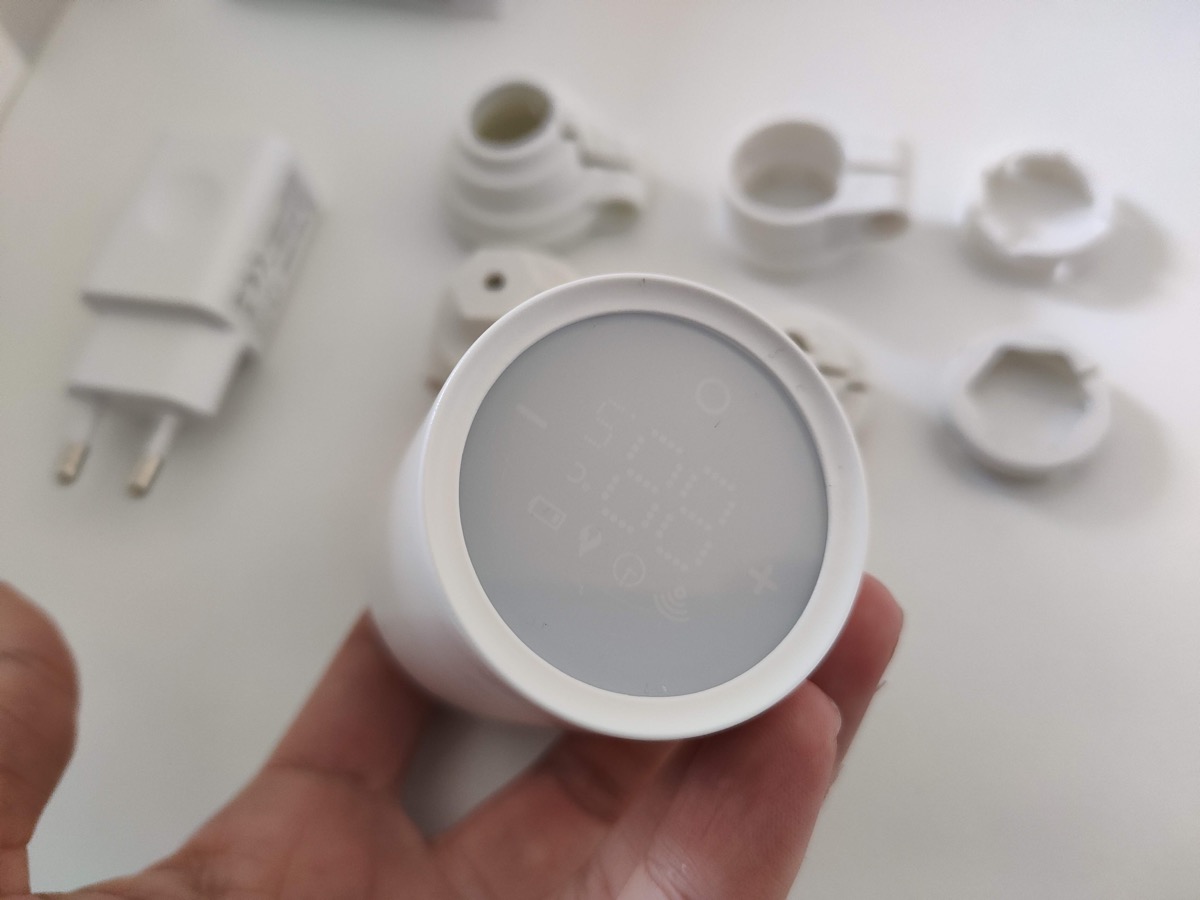
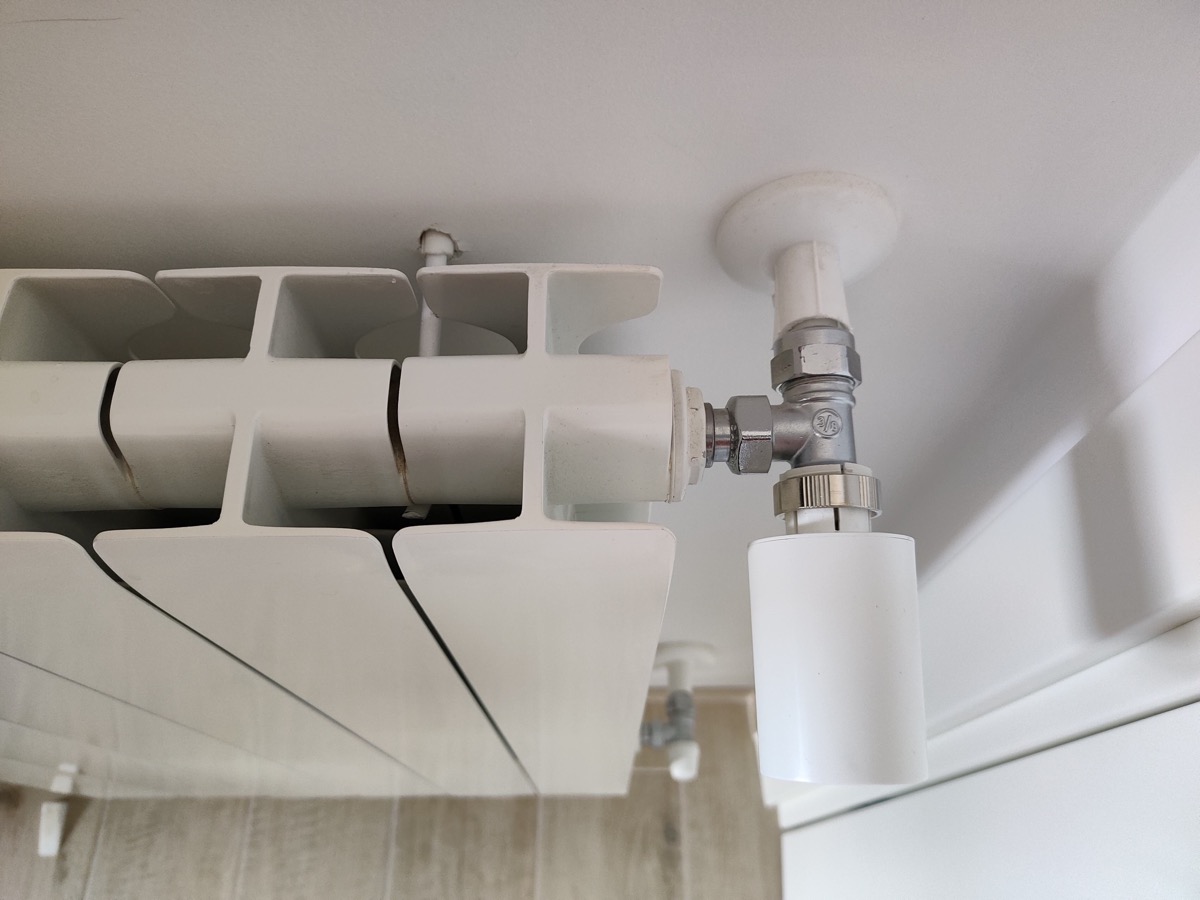
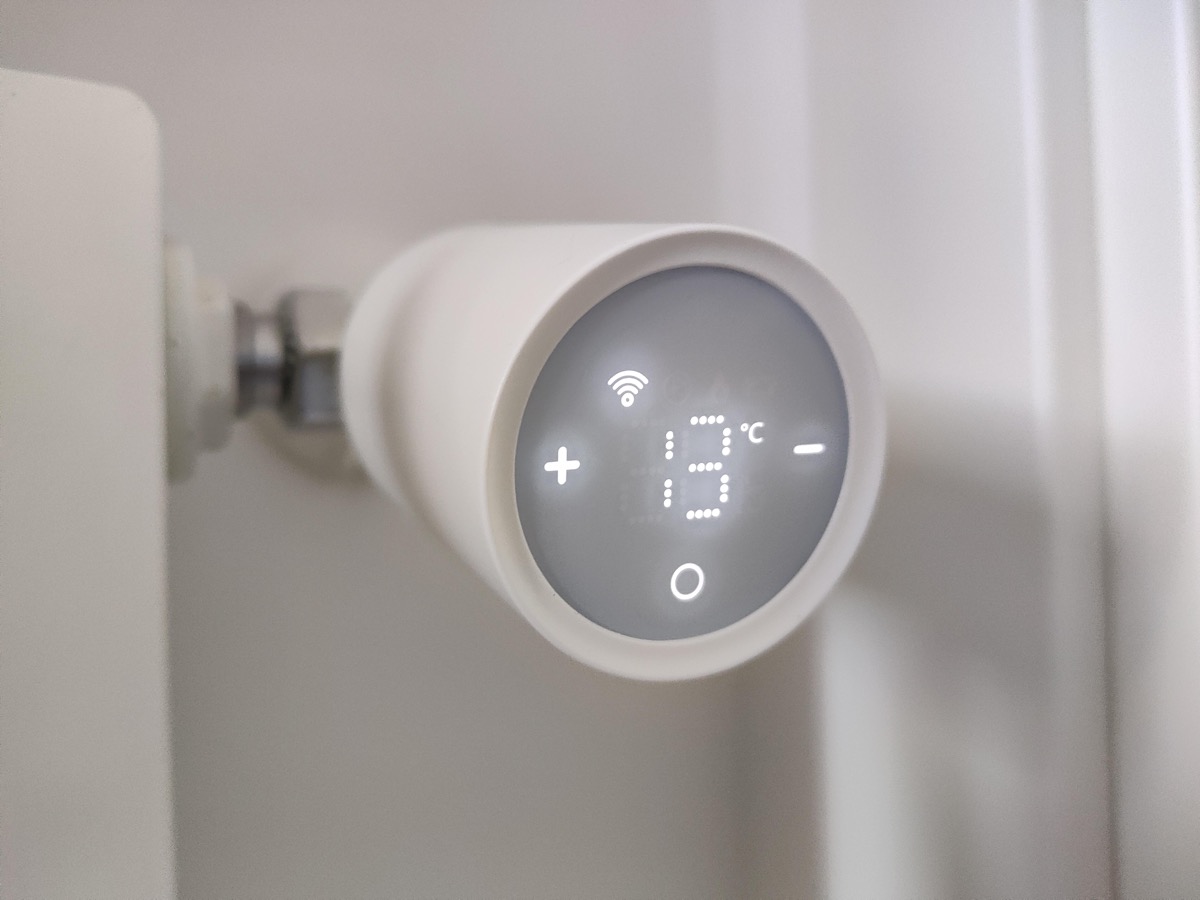
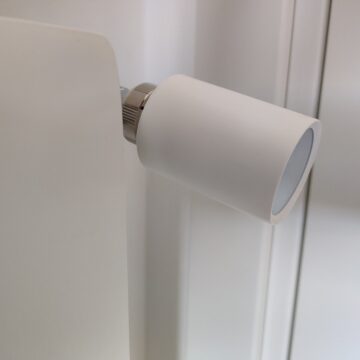
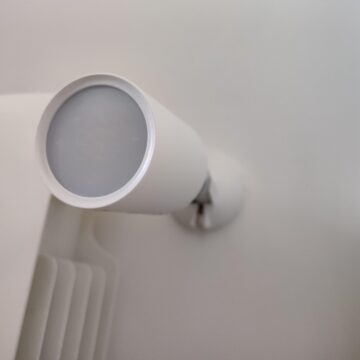
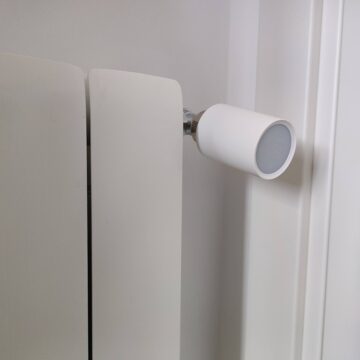
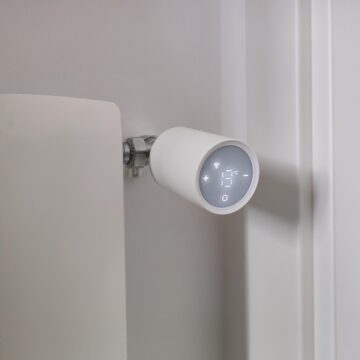
The valve, for its part, looks very good. Extremely minimal , with a small soft touch display on the end, it still has rather generous dimensions: 8, 2 x 5.5 x 5.5 . Be careful , therefore, if the radiator is placed behind a door, because the length of the valve may not allow the door to open completely.
Installation and configuration
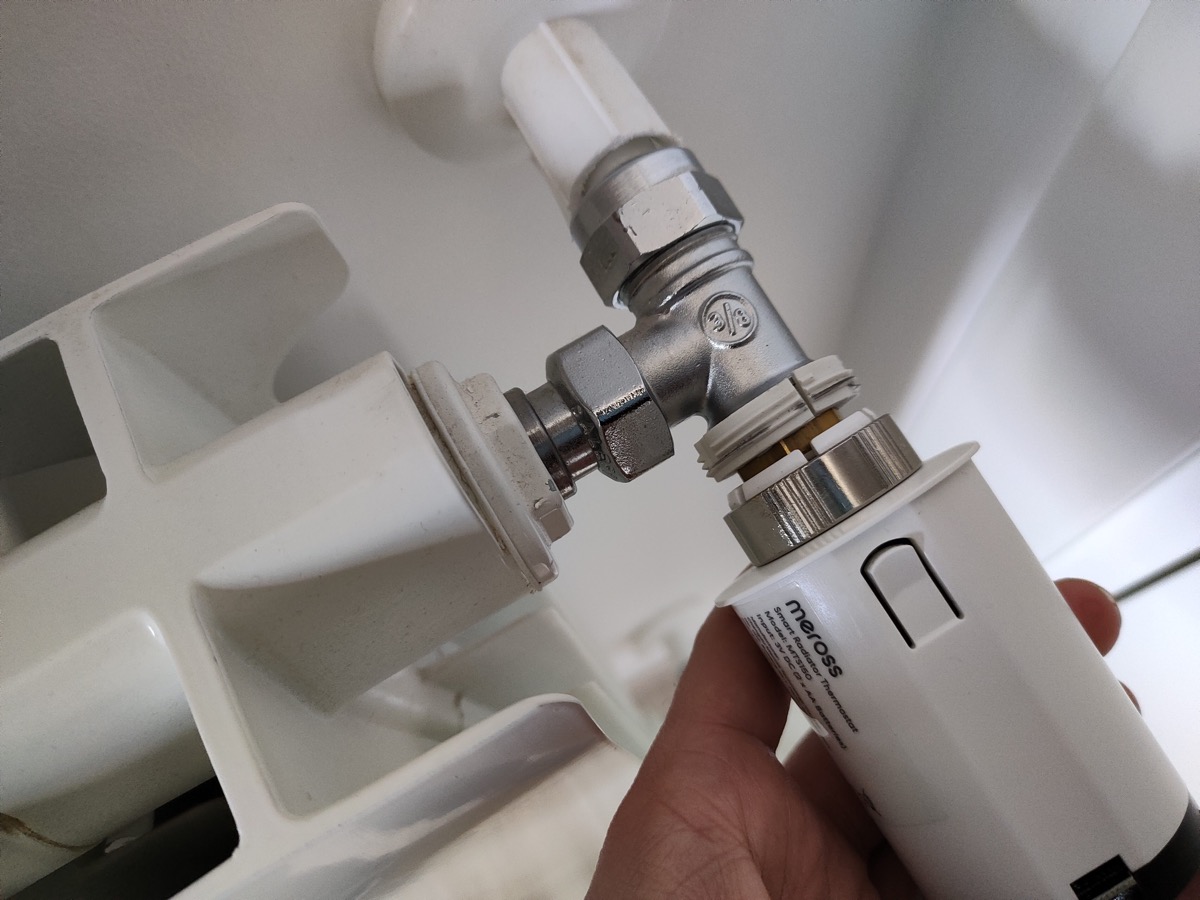
The installation of the valve on the radiator is absolutely simple and will not require the intervention of a technician , unless the existing system is not supported, and then it will be necessary to call in a specialist to adapt it. In most cases, however, the adapters in the package are sufficient to be able to mount the valve without problems. 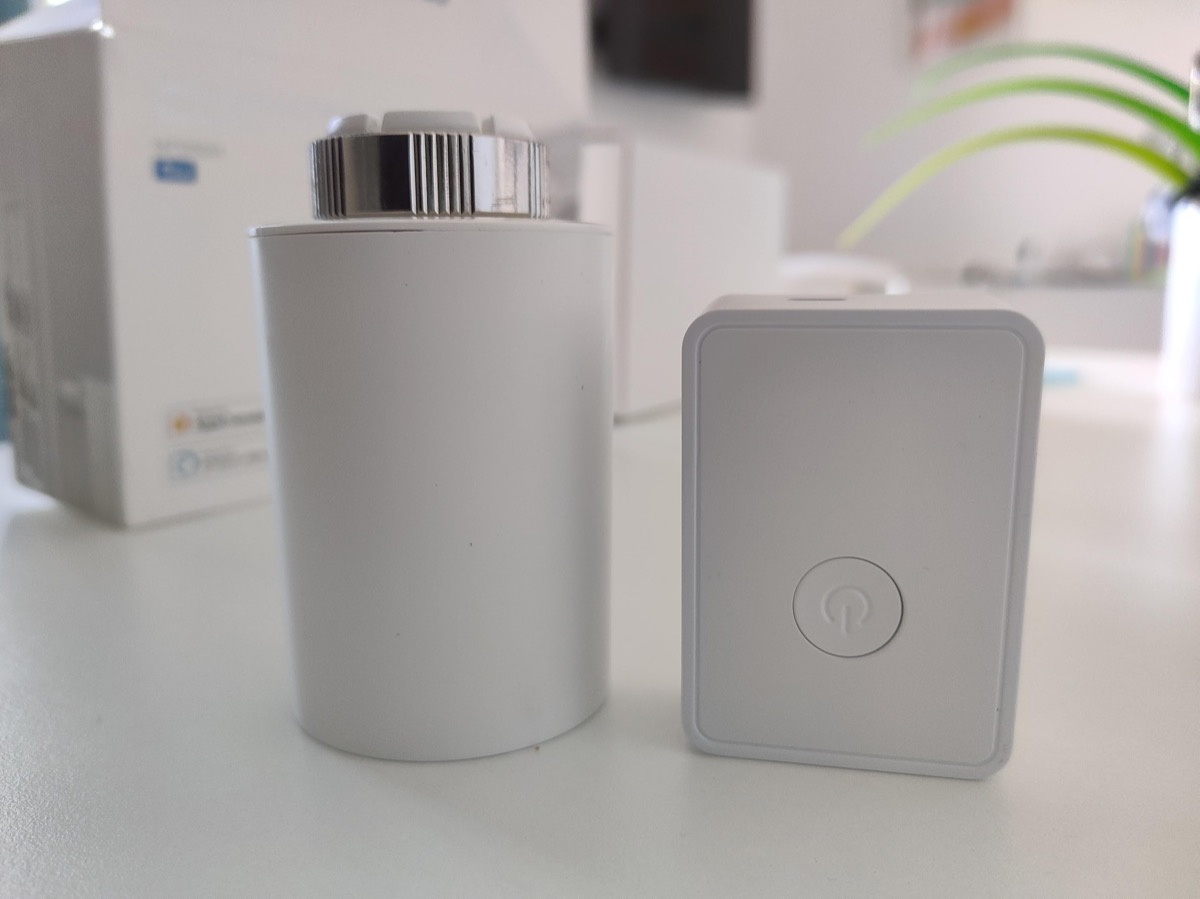
The first thing to do is to make sure that the heating system is turned off, and that therefore the radiator itself is turned off. You will then have to disassemble the existing thermostatic head, screwing the new valve, using the adapters included in the package, or screwing it directly if your system is M30x1.5. As already mentioned, installation is simple and does not require any technician: in this phase there will be no water leakage.
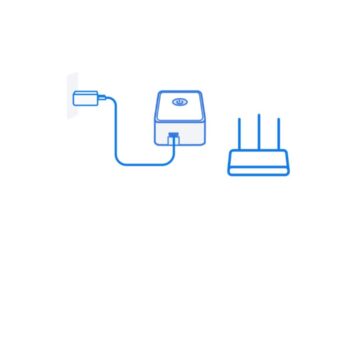
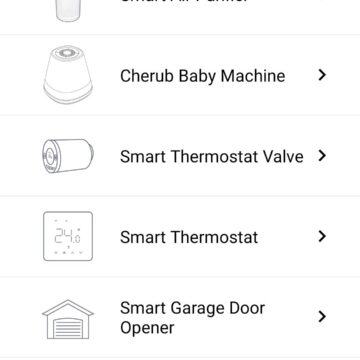
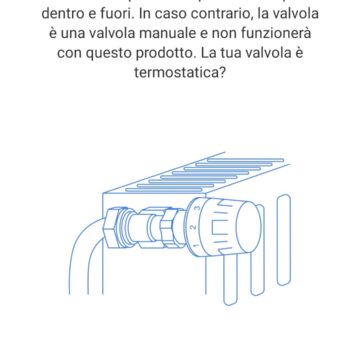
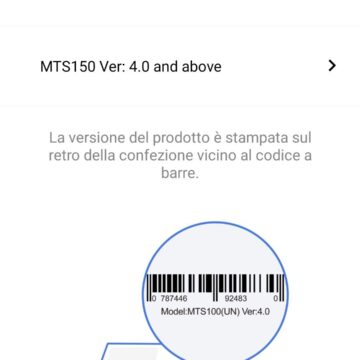
The configuration process passes to the Meross app, which can be downloaded for free on the App Store and Google Play, depending on whether you are using an iPhone or one Android smartphone. By clicking on the “+” button at the top you can choose to add a thermostatic valve, with the matching process that will be guided by the illustrations. First of all you will have to turn on the hub, wait for the led light on the hub to flash, and then click on the continue button. In this way the hub will create a WiFi connection to connect to, and then choose the home network to which to connect the hub.


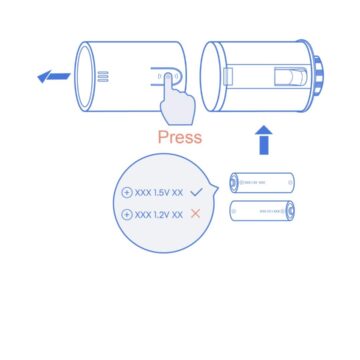
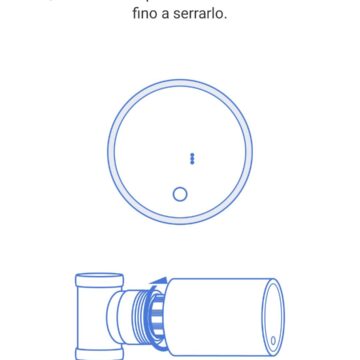
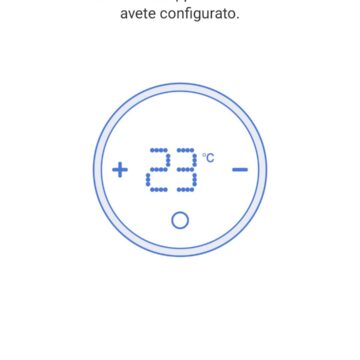


 After connecting the hub, the application will guide the user for the correct pairing of the valve. To do this, simply follow the instructions on the smartphone screen. In essence, it will be a question of putting the valve in pairing mode, by pressing the “o” button on the unit display for 5 seconds and then pressing the “-” or “+” key to start pairing. Once this is done, the valve will be correctly matched and you can start using it. The advice, however, is to proceed immediately with the temperature calibration.
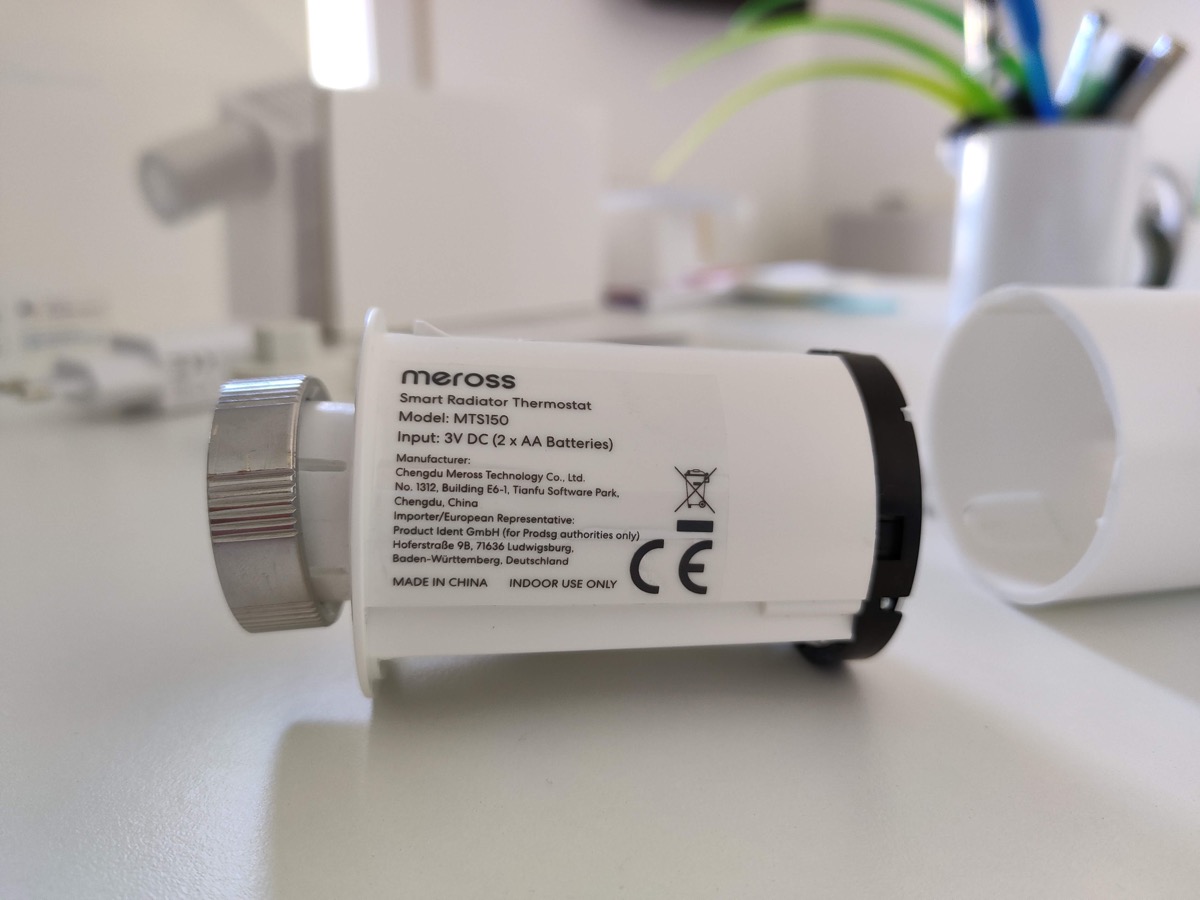
The valve, in fact, has its own thermostat which detects the room temperature, and thanks to which the valve itself can be set in the best possible way to control the radiator in the room. It is advisable to proceed with the calibration with the radiator off, so as not to affect the integrated thermostat. Furthermore, for the calibration it is good to use an external thermostat that is able to tell you how many degrees there are inside the room, so as to compare the data.
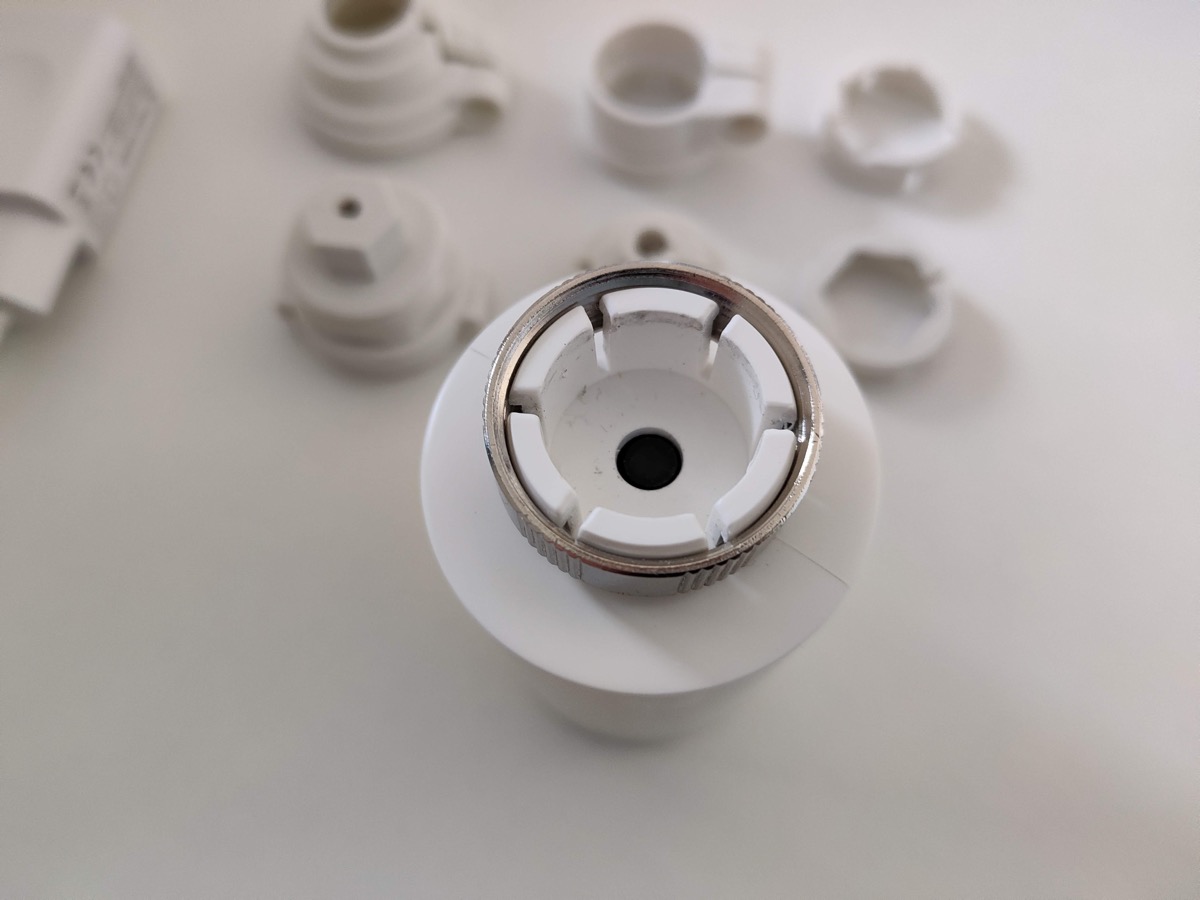
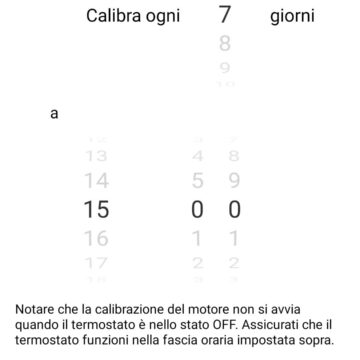
Through the temperature calibration option it will be possible to manually “instruct” the valve on the internal temperature of the room, so as to make it detect it correctly. The calibration process, to be honest, created some minor headaches, because at least initially it seemed not to want to know to detect the correct temperature. It must be said, however, that after having calibrated the temperature and saved the relative setting, it is necessary to wait a few minutes before the valve registers our input. In any case, as will be explained later, once the radiator is turned on, the temperature detected by the valve cannot be as accurate as possible.
How does it work
The operation of the valve is very simple, and soon said. The main screen of a single valve initially shows a few buttons, so that its operation is immediate. The first button is the on / off button, to turn it on or off, while with the auto and manual buttons you can choose the operating system. If the valve performs all its functions automatically, setting itself automatically according to the temperature recorded in the room, in manual mode you will have to “play” with the other functions present.
In particular, three quick keys, “hot”, “cold” and “economy”, will be used to quickly set the temperature you want in the room. These three buttons can be customized, assigning each a specific temperature. It is also possible to intervene thanks to the virtual ring positioned at the top, where the temperature recorded by the valve is clearly highlighted in the center, and just below the temperature you want to reach inside the room.
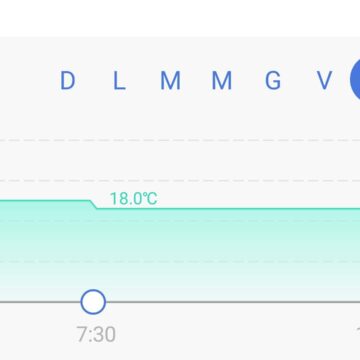
 There is also the possibility of programming the valve operation with precise times and days, so as to create a personalized plan, which will be automatically executed during the week.

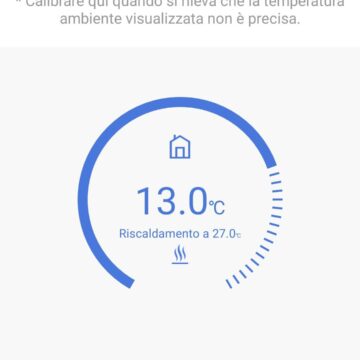
The commands given by the app are correctly carried out by the valve. In general, therefore, the valve does what it promises, and manages to regulate the temperature of a room, regardless of what is recorded in the rest of the house. It should be noted, however, that this system is not absolutely accurate and particularly reliable. The reason is easy to imagine: the valve, and therefore the integrated thermostat, is placed in the immediate vicinity of the radiator. This ensures that the cold regulation is successful, but once the radiator is activated, the heat emanating from the latter will affect the valve, which will immediately register a temperature certainly higher than that in the room.
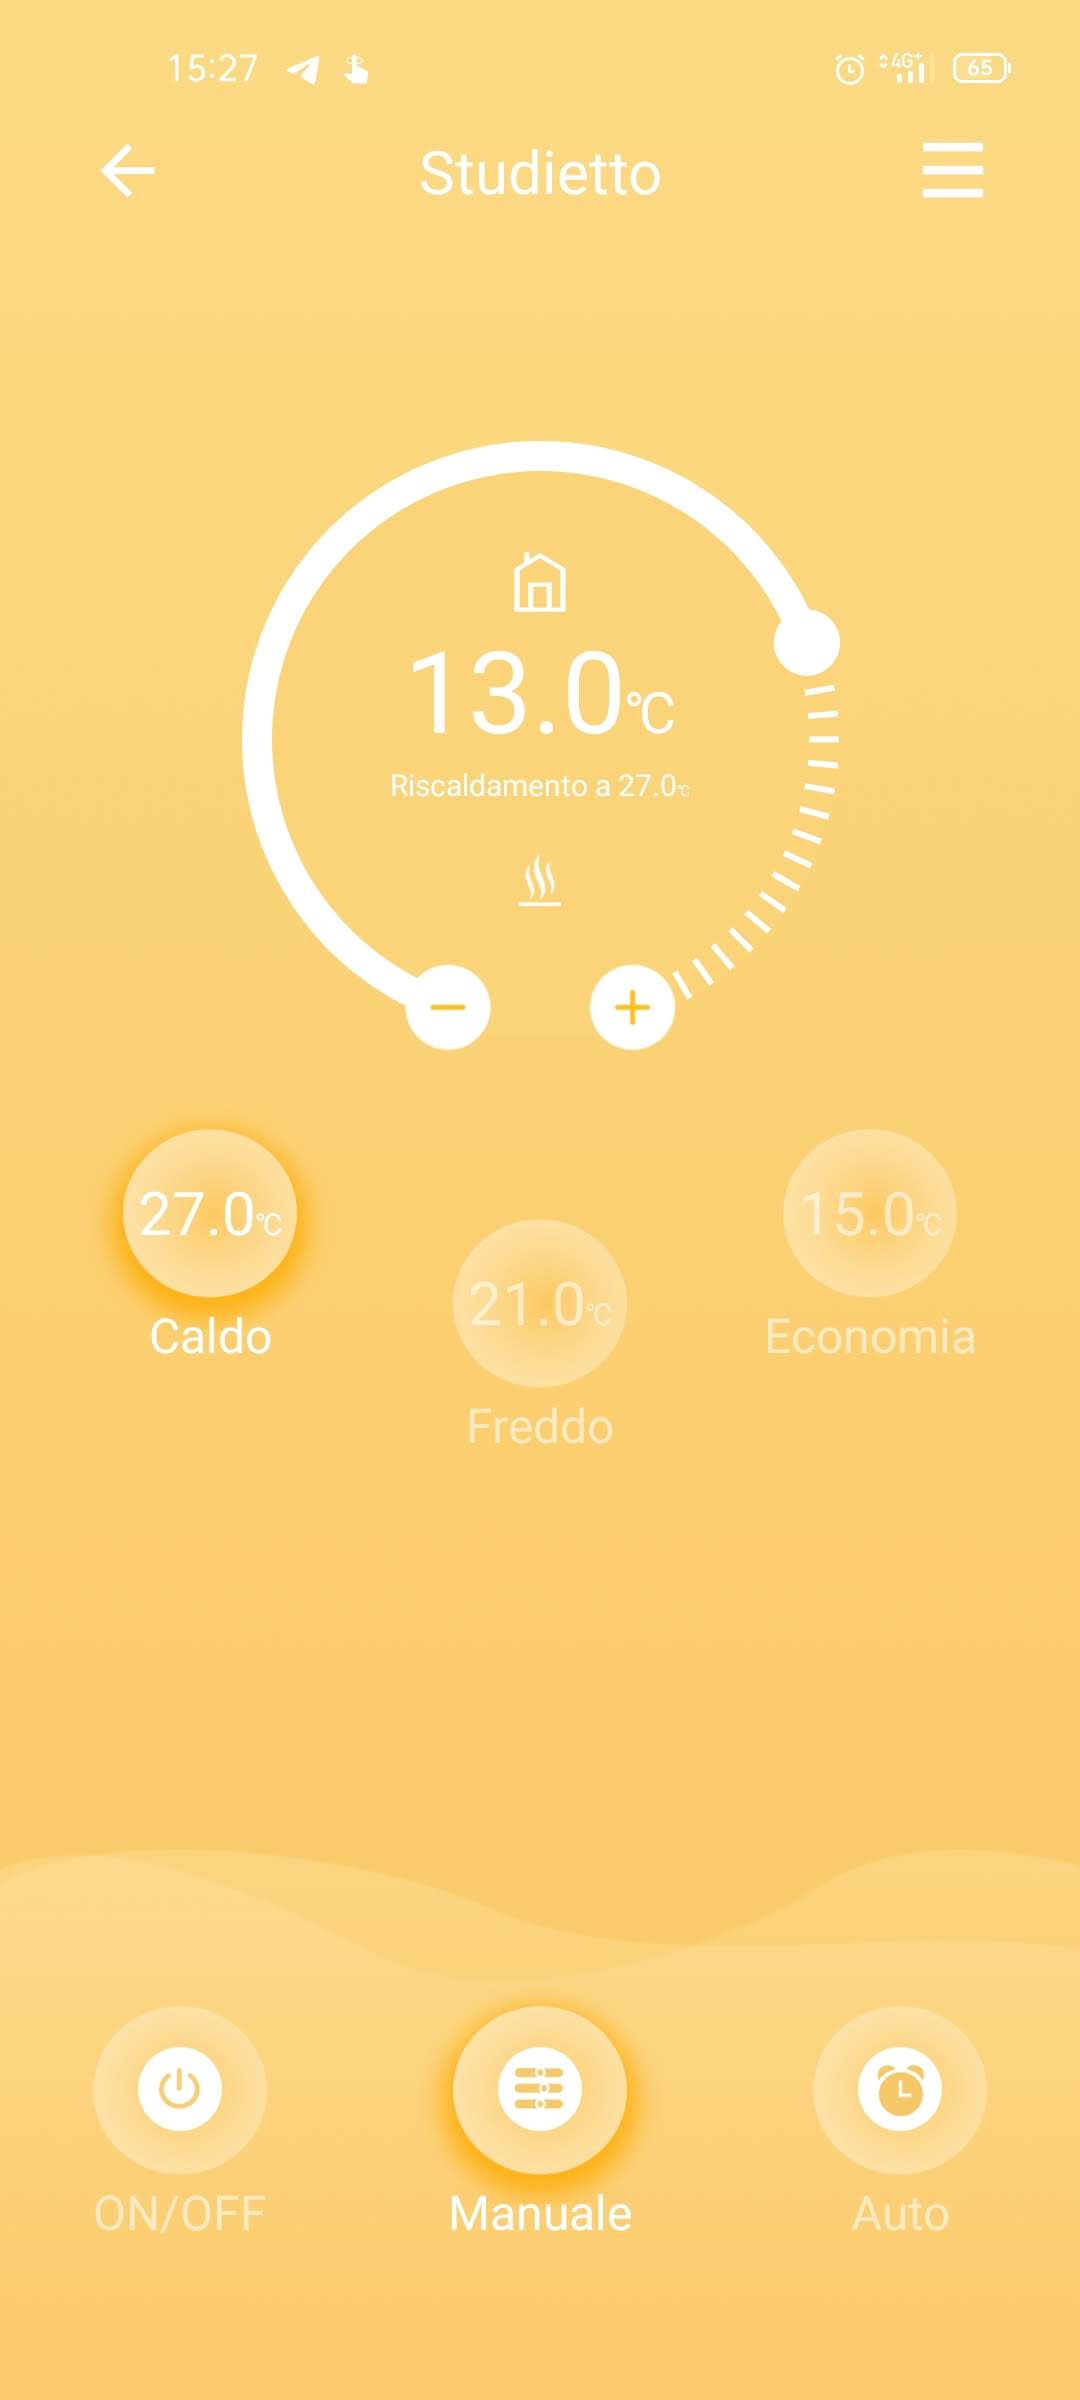
And in fact, when the radiator is turned on, the valve immediately registers an increase in the internal temperature, but in fact the room as a whole will be colder. To have more precise measurements, it would have been necessary to separate the thermostat from the valve, perhaps inserting it in an external device, to be positioned far from the radiator, and able to communicate with the valve wirelessly.


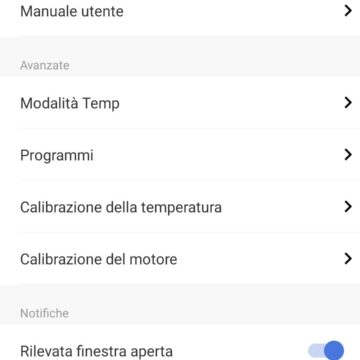 It is certain, however, that the valve has its why. First of all, because it allows you to completely turn off a radiator, so as to effectively eliminate it from the system. Think, in a very large house, of wanting to exclude the radiators of more peripheral rooms, which remain unused for most of the time. By doing so, you can certainly save on consumption, and turn on only the radiator of the room you want to heat.
Furthermore, it will be possible to individually adjust the desired temperature in the different rooms in which these valves are installed, albeit with a certain approximation, without being able to count on very precise temperatures, due to the fact that the internal thermostat is practically in close contact with the radiator. itself, and therefore will register temperatures higher than the average ones perceived in the room.
Note that this valve is compatible with Homekit, as well as with Alexa and Google voice assistants, and with Samsung's SmartThings system. This also means support for voice commands, being able to ask Siri, Google and Alexa to turn the valve on or off, or to set the various room temperatures, all without even having to touch the smartphone.
Conclusions
As already mentioned, the main problem is linked to the accuracy of the thermostat inside the valves, which is affected by too much proximity to the radiator. Nonetheless, using these tubes can be really useful, especially when buying several. The ideal would be to have one for each radiator, so that you can choose which ones to turn off and which ones to turn on. Furthermore, net of a temperature that is not perfectly recorded, it is still useful to choose the minimum temperature at which to turn on a radiator. It should be noted, in fact, that when cold, the room temperature is recorded correctly, and therefore it will be possible to choose under which minimum threshold to choose, room by room, to turn on the radiator or not.
Also, another important feature that certainly deserves to be mentioned is that of automatic window detection. If you accidentally forgot an open window, the meross valve switches off will immediately turn the radiator, so as to avoid unnecessary waste.
We believe that the system, as a whole, can work, albeit with a certain approximation in temperatures. The advice, however, is to buy more valves, so that you can actually have control of all the radiators in the house.
PRO
AGAINST
Price and availability
The starter kit, valve plus hub, is priced at € 79.99, while the single valve costs € 50.99. To save money, however, the package with two valves is also available for 89.99 euros. At the time of writing it is possible to select Amazon discount coupons up to 15 euros. You can also buy directly on the Meross shop with free shipping and 15% discount with Macitynet code valid until February 28, 2022.


