Home CasaVerdeSmart ,,,,, Homes that are increasingly intelligent and connected thanks to the numerous peripherals currently available on the market. There is no shortage of lights, alarms and sensors of all kinds, but with the cold now in its fullest, here is also the smart solution for heating the house. Cyber Layman tests the Smarther Bticino thermostat, one of the most aesthetically minimal and pleasant solutions, which can also be controlled outside the home thanks to the app for iOS and Android. Here's how it's done, how it works and how to install.
First of all the compatibility . Before buying the thermostat it is good to know if it is compatible with your heating system or not. To do this, simply go directly to this address, where a guided tour will allow, only after a few questions, to know if it is possible to install the thermostat. In principle, compatibility is very high, and in most cases there will be no problem with the installation.
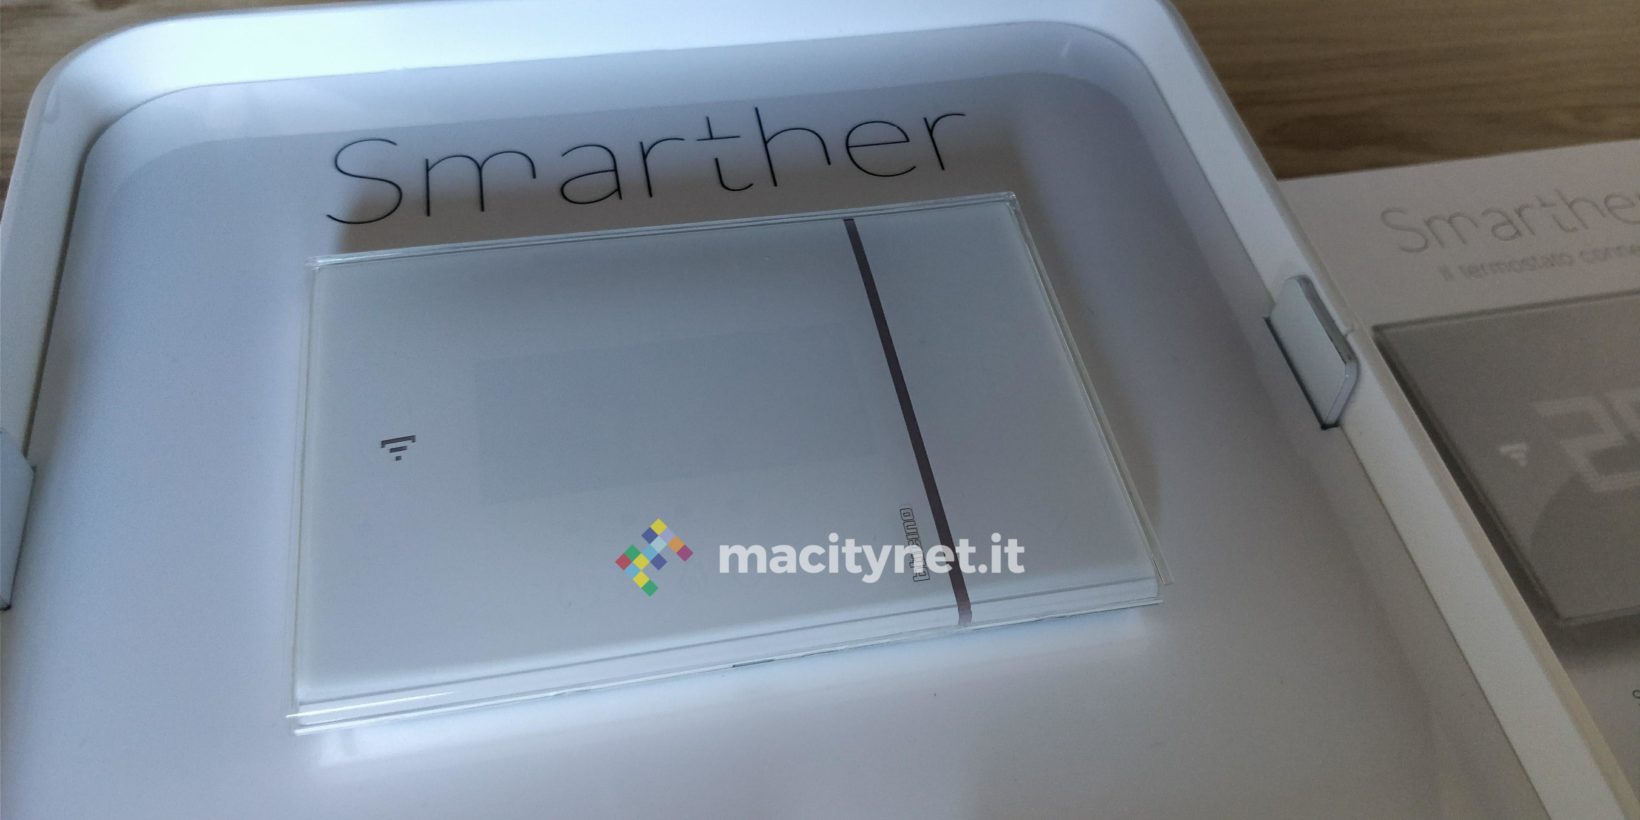
It is good to know, however, that in the first configuration phase it is mandatory to have an internet connection active for the entire commissioning phase, so as to be able to correctly register the thermostat on the home. Once the first installation is complete, the thermostat can be controlled on the local home Wi-Fi network via the app even without an internet connection.
If there is no internet connection, you can control the thermostat but from only one smartphone at a time. The following video will help you better understand how to install the thermostat. The advice, in case you are not practical, is to contact a trusted installer. The procedure is really simple, but a professional in the sector will certainly know how to do better.
Furthermore, as a general guide, it is good to know that if you have a battery-operated chronothermostat in your home, you can replace it with smarther, but be careful to bring it in the box wall mounted also 2 wires for 230V power supply.
If you do not have a box but only the cables coming out of a duct, you can save the intervention of a bricklayer by purchasing the SX 8000W surface mount version. (in the image below) 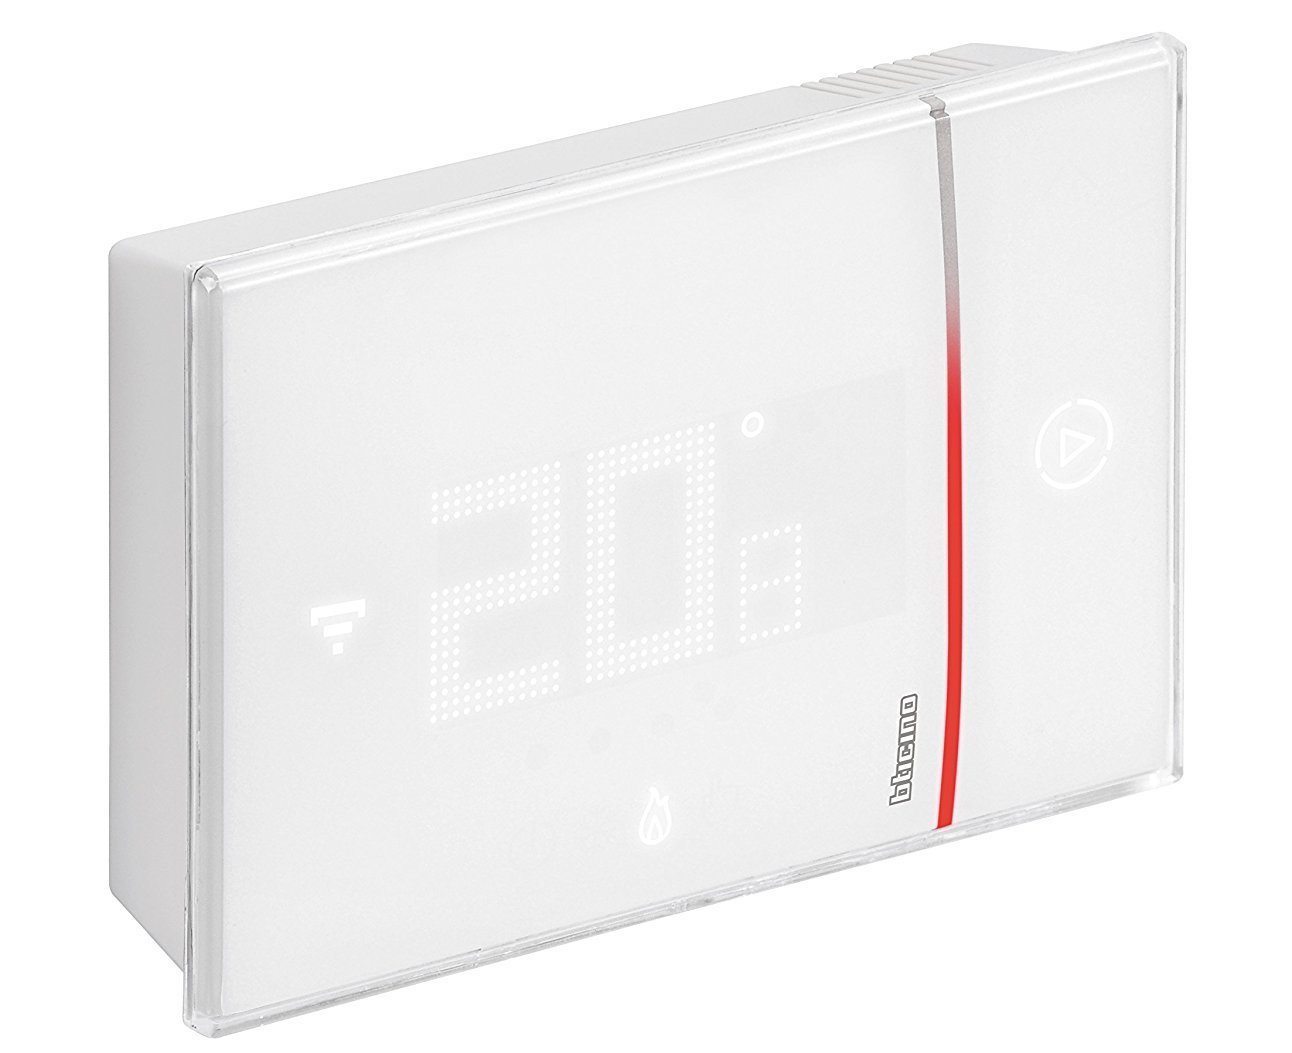
After installation, it is time for the first configuration . In this case the steps to take are really simple. Simply download the Thermostat application, free in the App Store or Google Play, therefore compatible with iOS and Android, to activate your system.
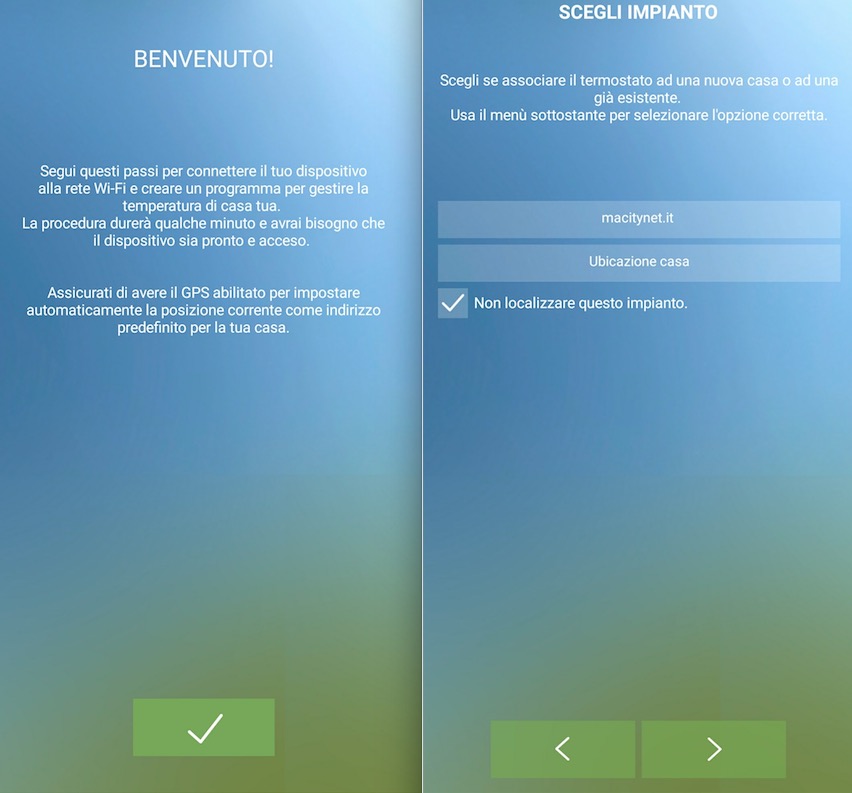
Starting the app, first of all, we are reminded to activate the GPS (for the automatic location of the system, a choice not mandatory, but recommended). At this point you will have to choose a name for your home, enter the location and choose whether or not to locate the system. It is not mandatory, but it is advisable to do so: only in this case, in fact, the application will be able to return the external weather, thanks to third-party localization services.
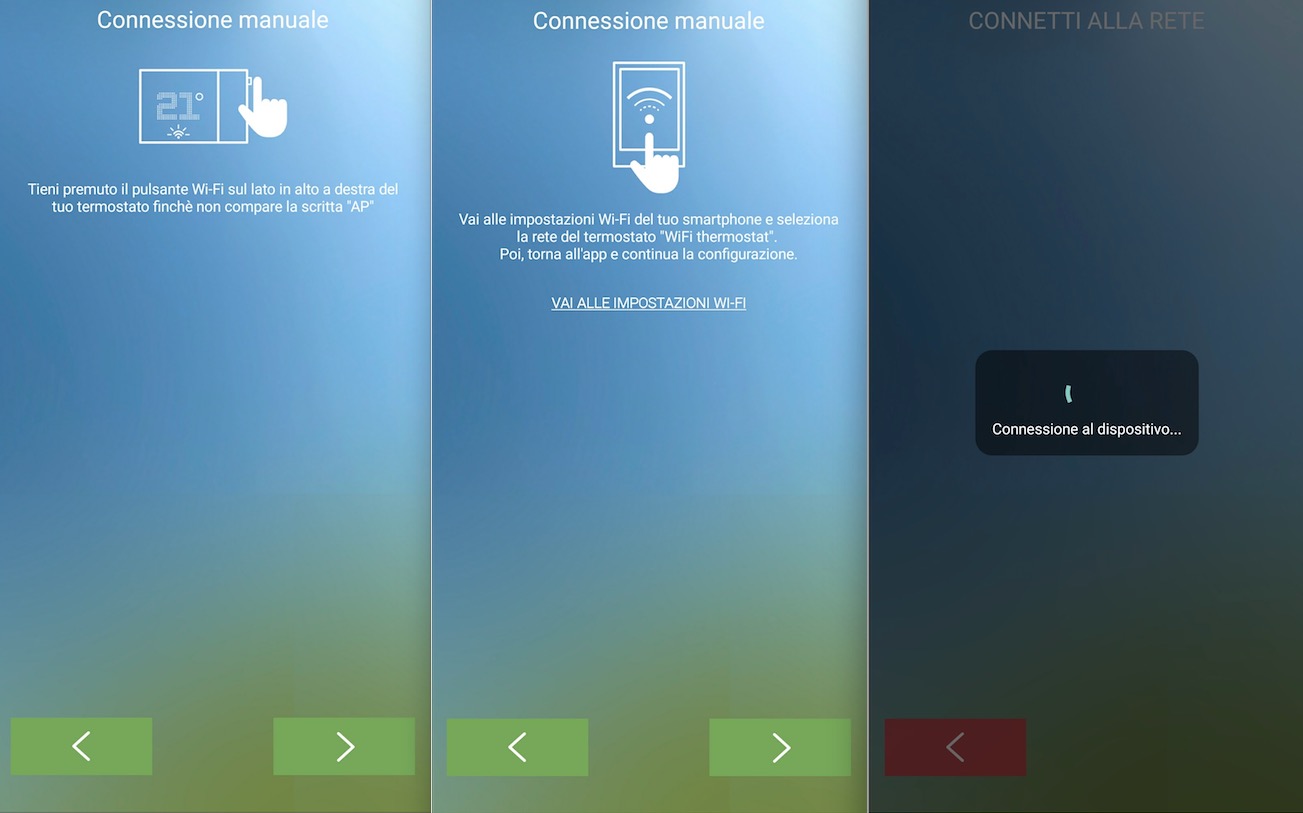
Once this is done, you will have to press the button located in the left corner of the thermostat, to activate the WiFi module of the thermostat: at this point you will have to connect your smartphone or tablet to the network created by Smartert, which will have the name of WiFi thermostat. In this way the smartphone will be connected to the thermostat, but the next step is to connect the thermostat itself to the home network, choosing your connection and entering the password of the router.
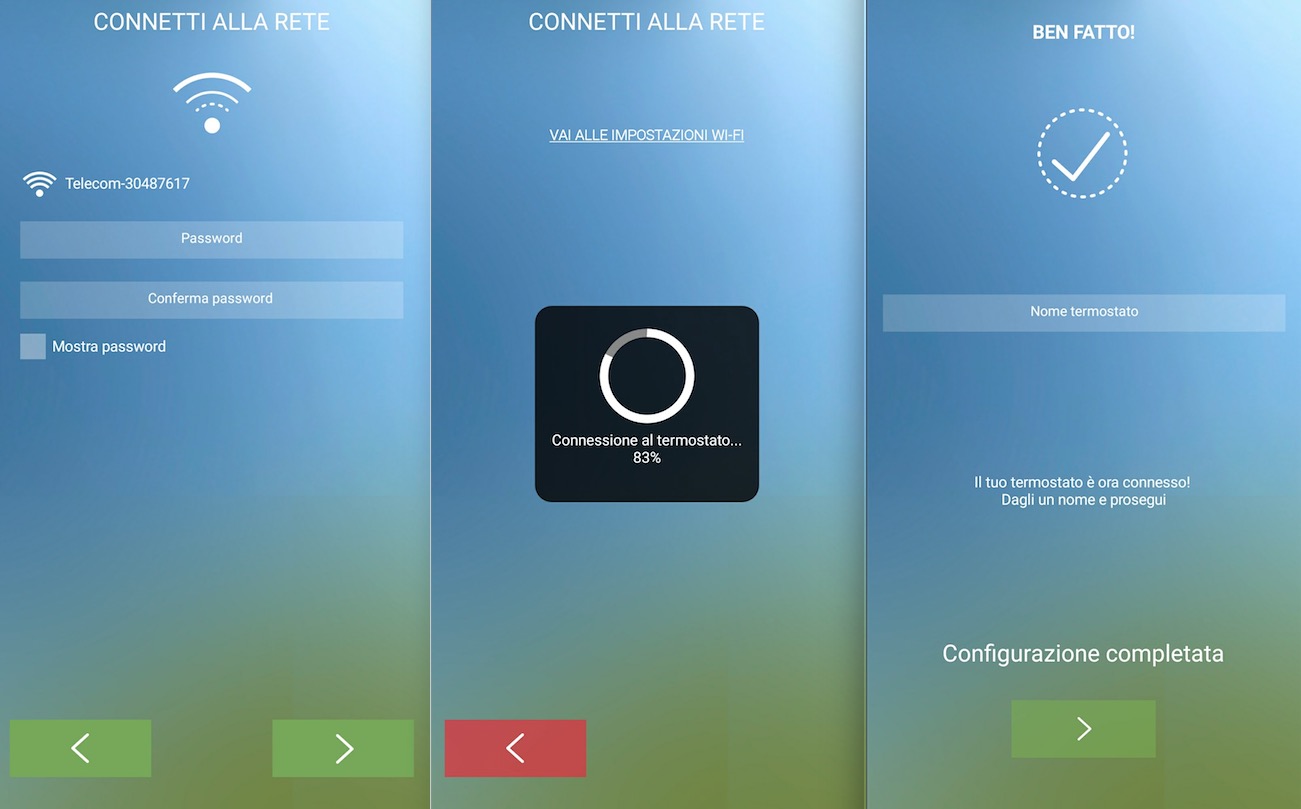
At this point the configuration may be complete, but the app may still require one step: IP configuration. In this case, press the small button in the upper right corner once again, until the wording “IP” is displayed on the thermostat: at this point, again on the thermostat screen, a series of numbers will appear (192.168.x.xx ), which the user must enter in the app on the smartphone. The configuration is certainly completed, and you will be able to start using the thermostat.
How it's done
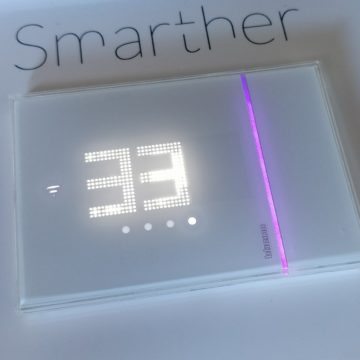
The Bticino smarther is sold in two different versions. Both aesthetically identical, with the same functions, differ only in one detail: the X8000 version (tested by us) is to be recessed into the wall, while the X8000W is to the wall. The size of the peripheral is approximately 12.6 x 8.7 x 2.8 cm, therefore similar to any switch plate. Completely white, the thermostat is made of plastic, but the glossy finish gives it a glass effect, which makes it even more precious to the eye.
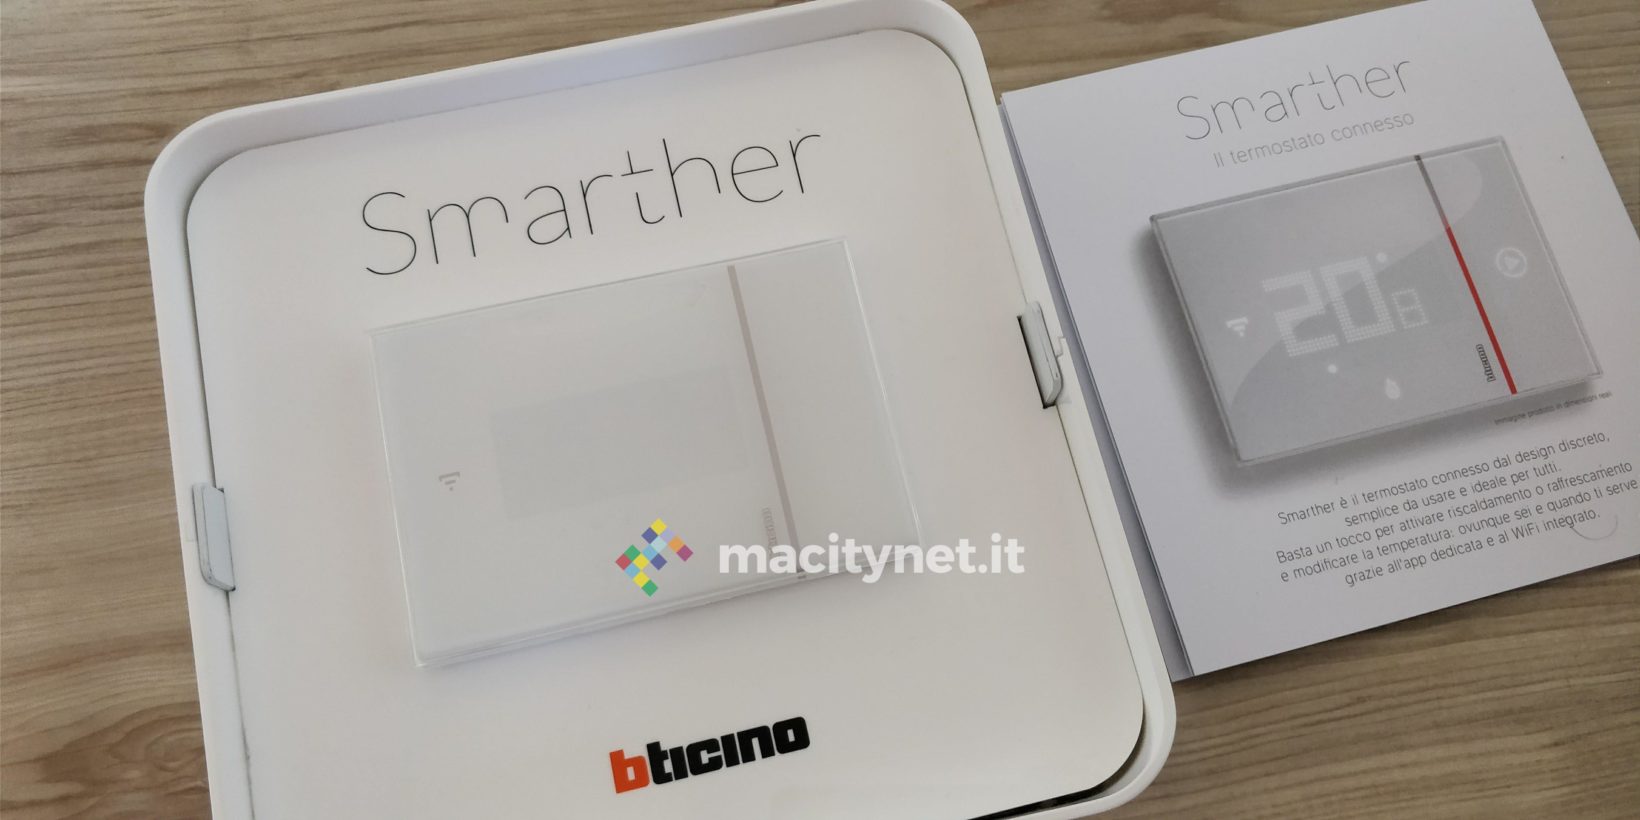
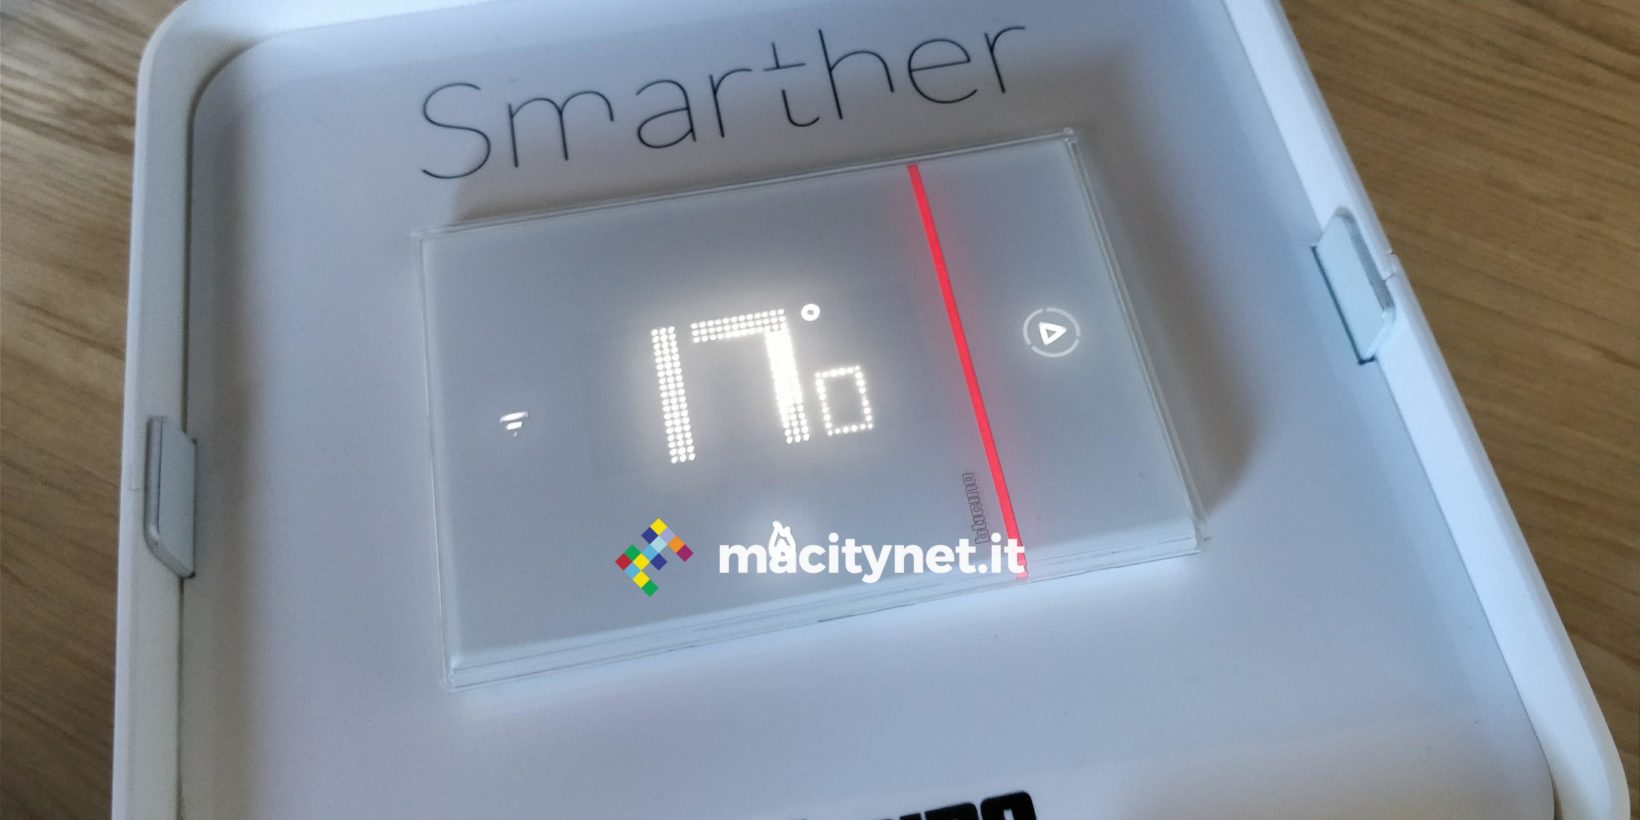
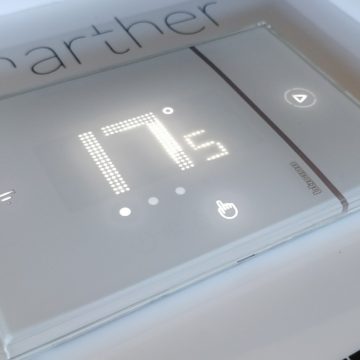
Very clean and minimal, the thermostat is marked by candid colors, mostly white, broken only by red and blue icons, for manual temperature settings, and by a red LED strip, which symbolizes the boost function, which we will talk about at short. On the front stands the white LED display, where information on temperature and humidity is shown, divided into three different windows, reachable via on-screen slides.
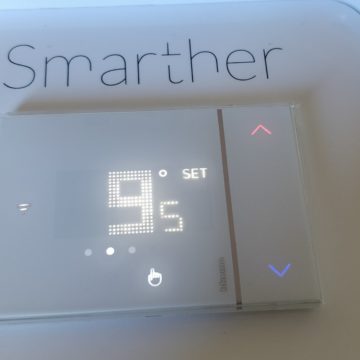
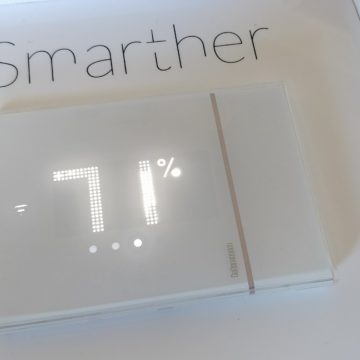
The panel, in fact, incorporates a soft touch control system: just touch icons and swipe to manage it entirely. The first window shows the temperature in the house detected by the thermostat, the second the desired temperature, and the third the degree of humidity.
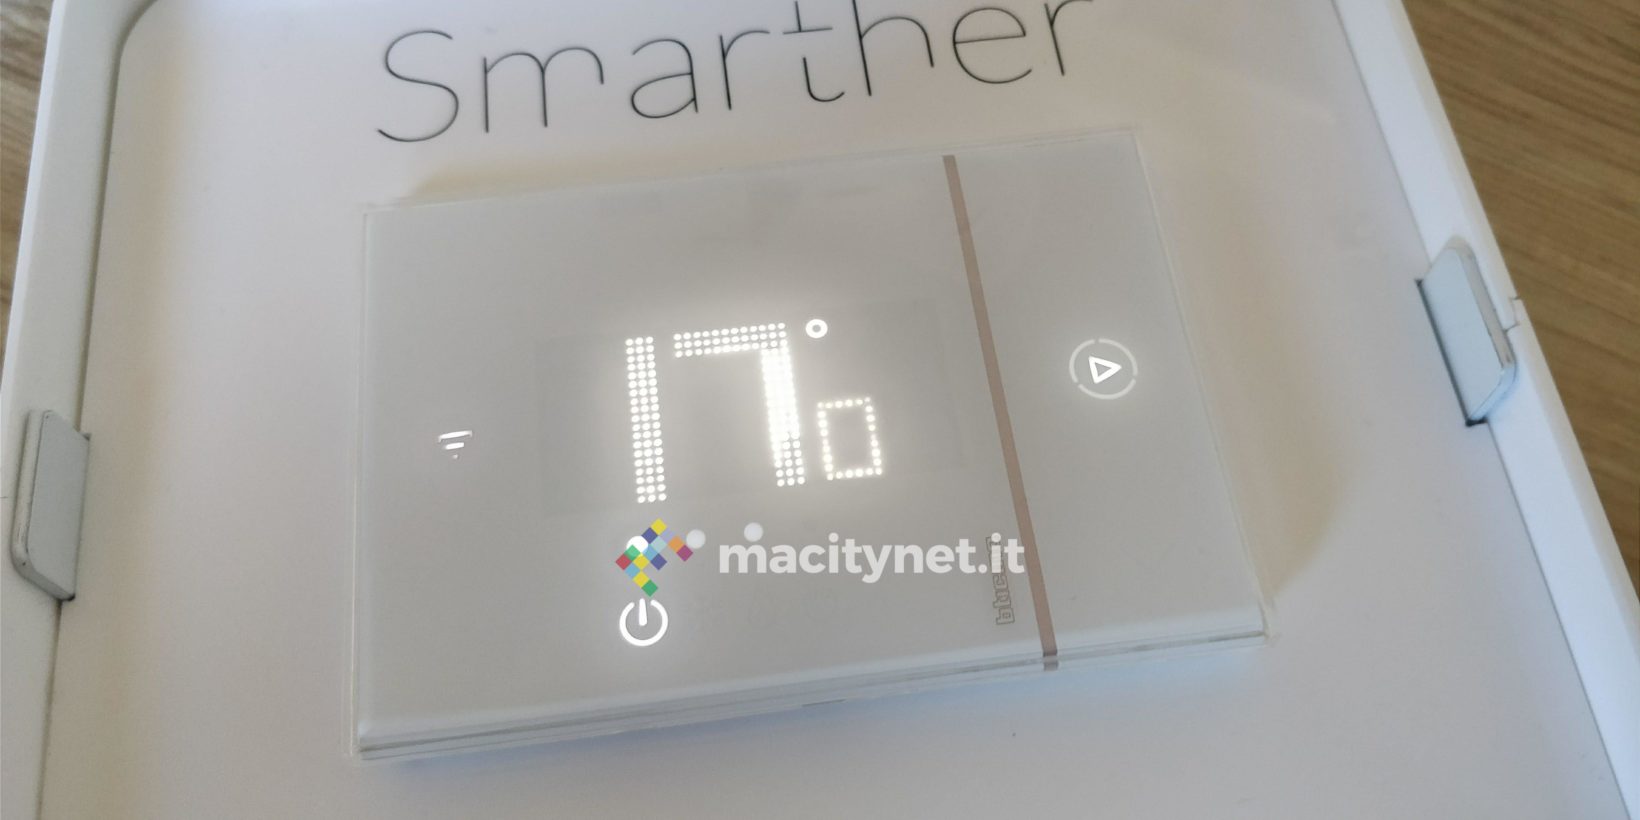
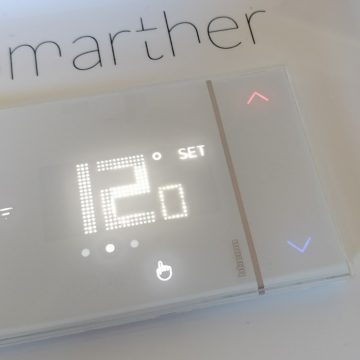
Also on the front there are icons that symbolize the various functions: WiFi icon, power off icon, hand-shaped icon, which shows the user when the manual mode is in operation. There are relatively few sections and possible interactions: there is everything you need in a few taps, always just a tap away. In short, with a few clicks, you will be able to obtain the desired effect, without having to get lost in complicated submenus.
 Detected temperature
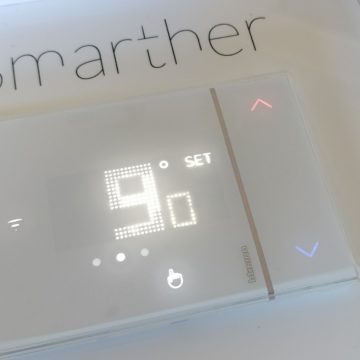
 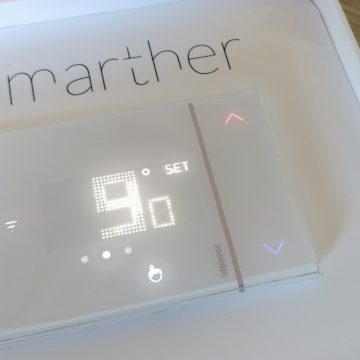 Desired temperature
 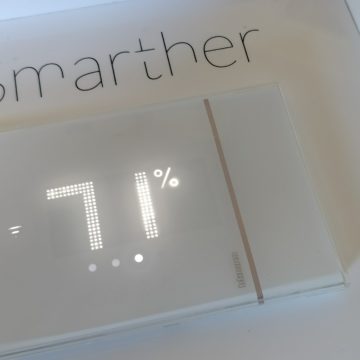 Moisture detected
From the thermostat it is thus possible to set the desired temperature in the house manually, through the blue and red icons that appear when you make a slide on the screen, reaching the second window (the first is the temperature detected in the house, the third the humidity. ). Furthermore, by pressing the small Play icon located on the left, the boost mode will be activated, for 30, 60 or 90 minutes, which will allow you to heat the house in a short time or to obtain a temperature of comfort as soon as you enter the house; when the timer expires, the pre-set program will start running again.
Programs and apps
If the thermostat allows you to set the basic functions, sufficient for full use, the application is in any case the real “plus” of such a peripheral. First of all because it allows all users of the household to set the desired temperature even outside the home; secondly because it allows you to program the thermostat for fully automatic operation, as well as providing extra features, particularly useful, especially related to geolocation.
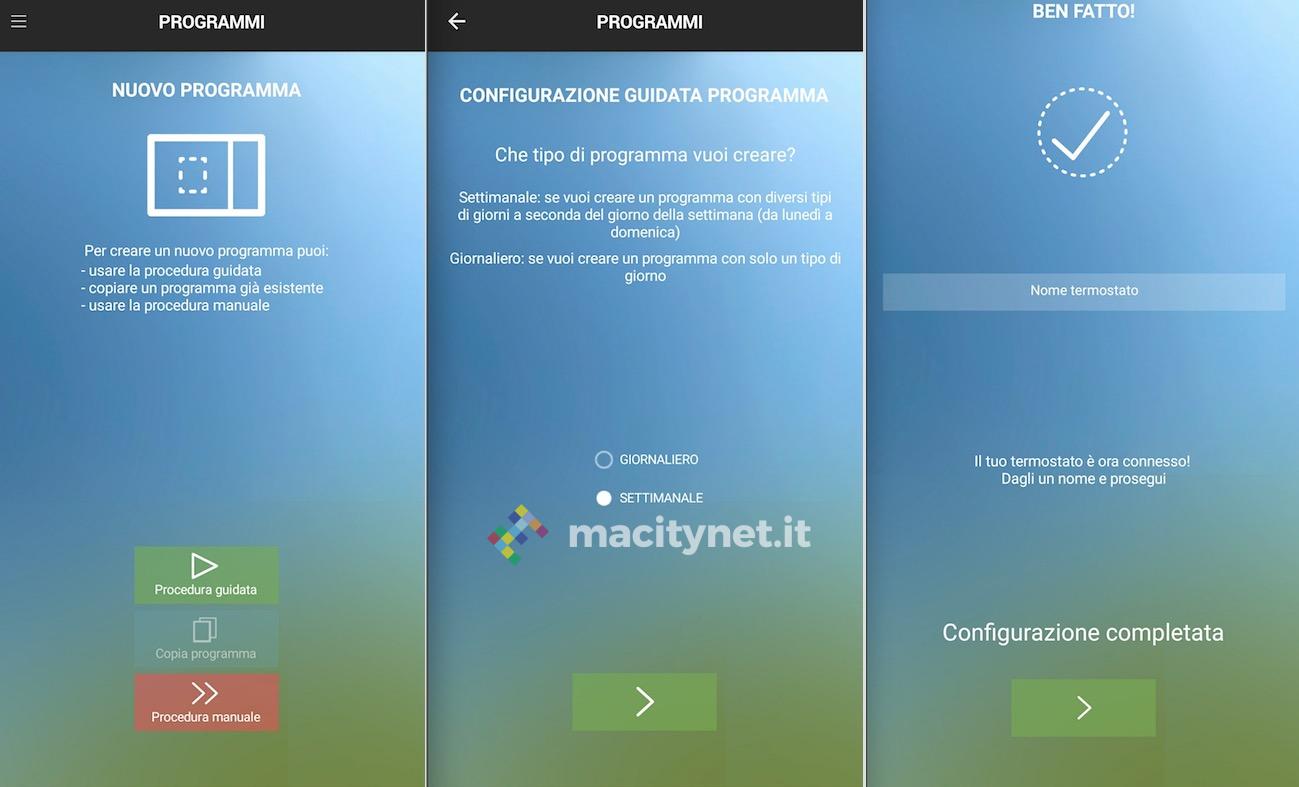
Programming the thermostat using the app is simple. First of all, you can choose between daily or weekly programming; the latter allows you to create daily programs and copy them to the days of the week, so as not to have to set them one by one.
For each day of the week just choose the desired time interval, and assign each a temperature. Naturally, you can choose to keep the heating system off during certain hours of the day, turning it on, for example, only in the time range of your interest. After setting the program for a single day, it can be copied, in a single click, to all days of the week.
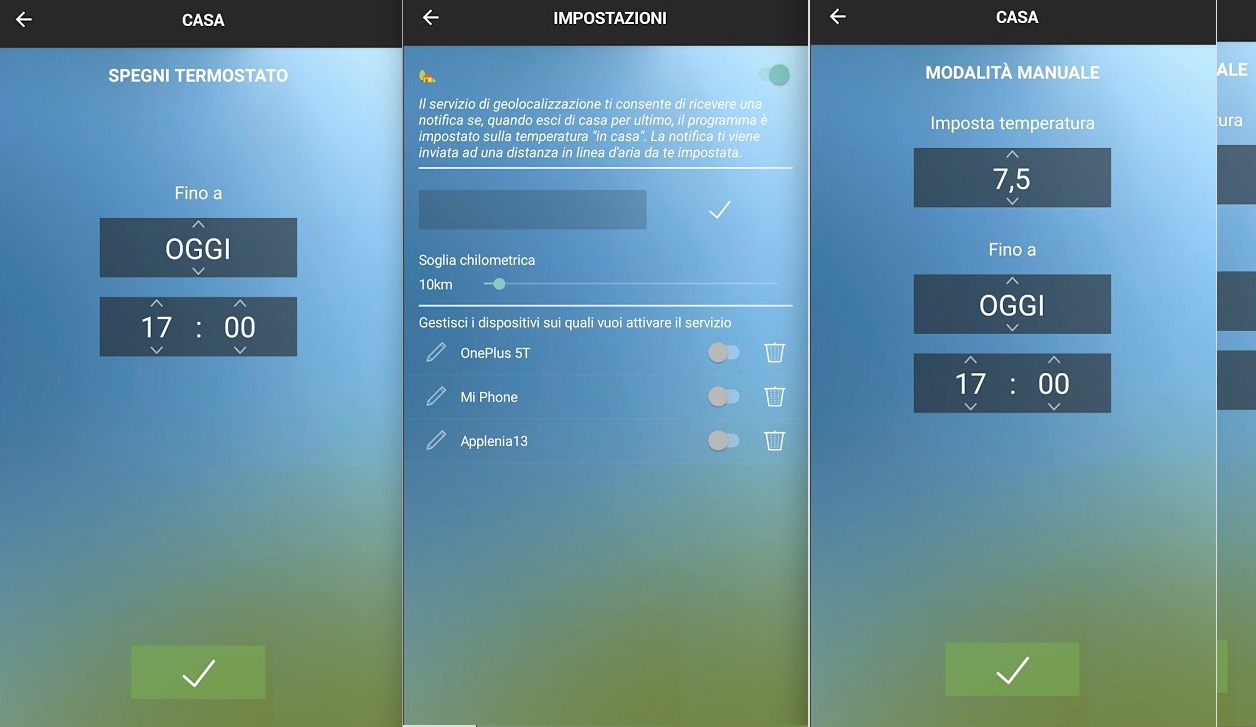
In any case, whatever the program set, it will always be possible, both from the app and from the thermostat, to intervene manually to vary the temperature, enter the boost mode for 30, 60 or 90 minutes, as well as it will be possible to turn it off at any time .
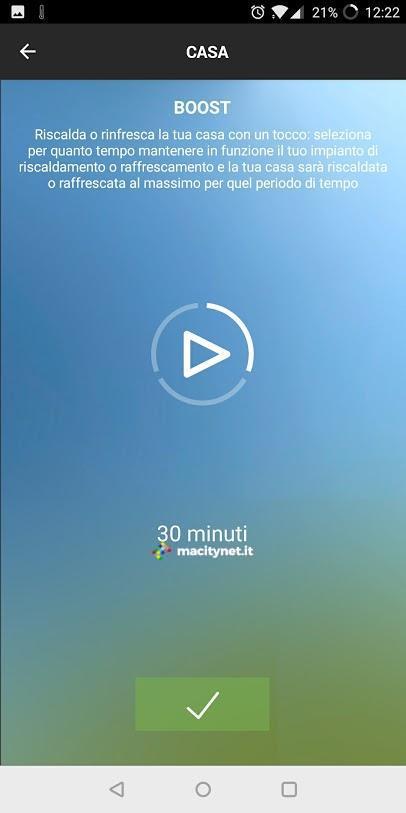
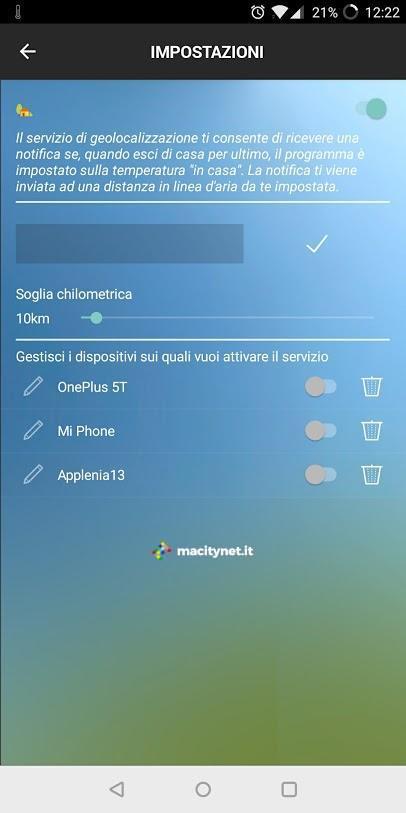
It is easy to think, in this way, of intelligently managing your heating, turning it off when you suddenly exit, or turning it on at a different time from the pre-set one, if the temperature requires it. The extra features of the app also include those related to localization.
This allows you to receive personalized notifications if, when you last leave the house, the program is still set to “at home” mode, with the system on. In this way you can choose to turn off the system, saving in consideration of absence from home.
Conclusions
The Bticino Smarther thermostat is probably the most minimal from an aesthetic point of view and, net of subjective tastes, among the most beautiful to look at. It works well, easy and intuitive, it only takes a few minutes to fully understand how it works and exploit all its potential. Use from the app not only allows you to manage the system at any time, without the need to physically interact with the thermostat, but also to save on consumption, for example by deactivating it when you are away from home.
Pro
Cons
Price to the Public The model we tested (in the Bticino demo box) is the SX 8000 which can be built-in installed in a normal box 503 with three places, there is also a model SX 8000W that can be mounted on the surface where the simple duct with the contact and power supply wires arrives. The current retail price ranges from 127 to 149 euros depending on the retailer (those linked are the prices on Amazon). If your trusted electrician is a Bticino installer, he can make you an ad Hoc offer.
,,


