Home Reviews ,,,,,Ziggi HD Plus is a very special camera recently tested by our editorial staff dedicated to those who regularly hold conferences or those who need a solution to monitor, for example, the growth of a plant in controlled environments (for example at school).
Very compact and portable, it connects via USB to a computer to show everything it frames in real time: the structure is specifically designed to shoot a document from above and some specific controls facilitate focusing and a few other adjustments necessary during the shooting. use. More camera functions and customizations are offered by the software, which is compatible with virtually any platform and features a very clear and easy-to-use user interface.
How it's made
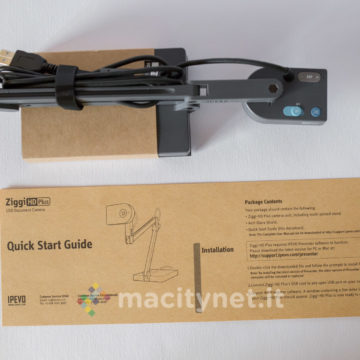
The sales package is in recyclable cardboard and is accompanied by a plastic handle that allows it to be transported easily as a sort of briefcase. Inside we find the camera and a short sheet with the main instructions.
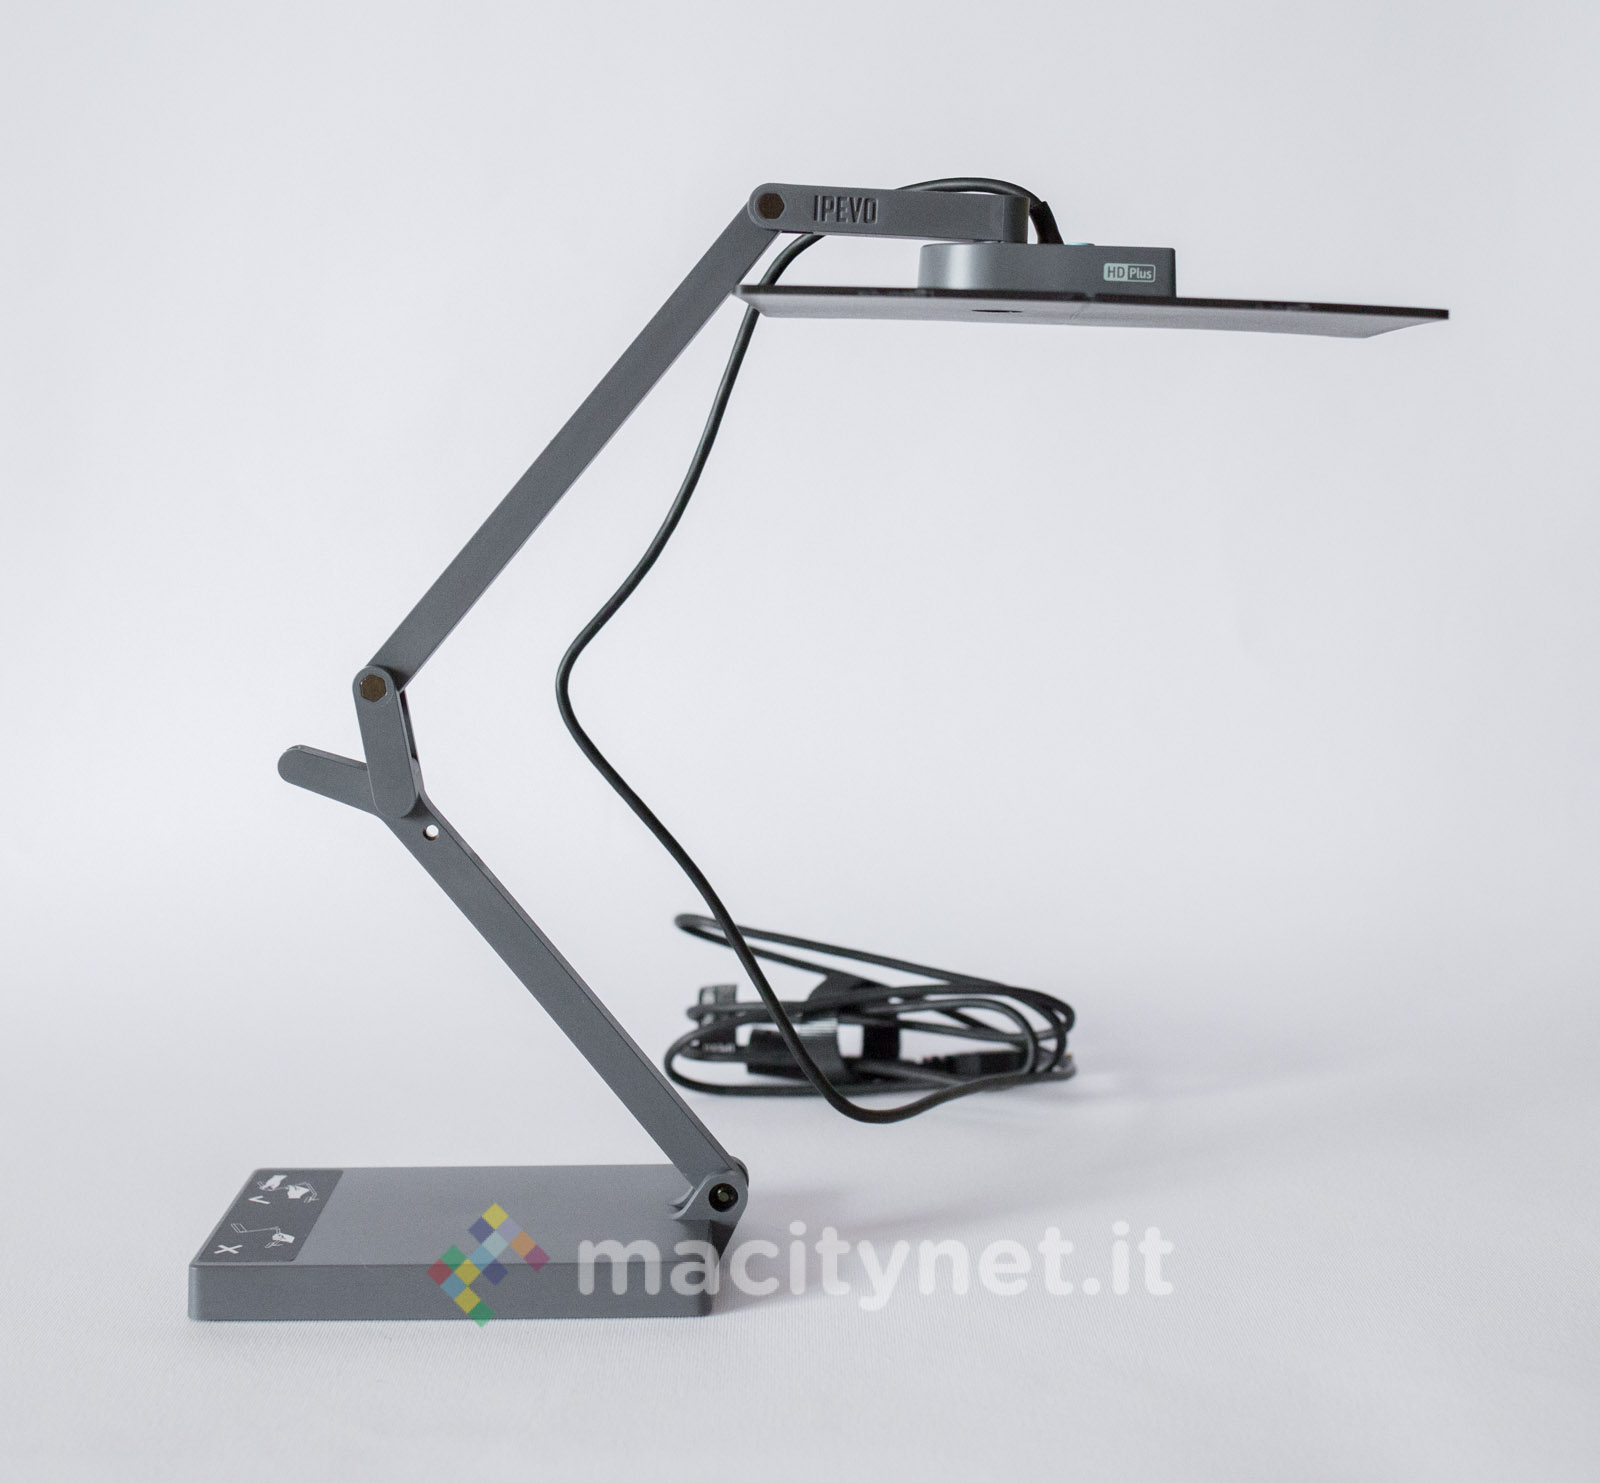
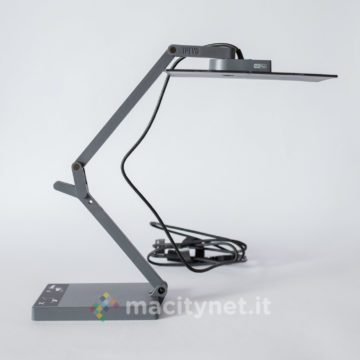
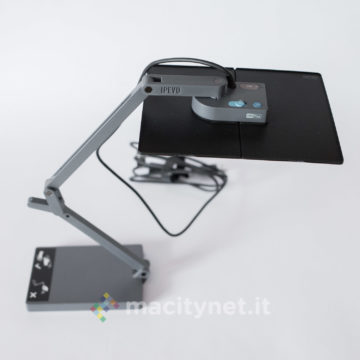
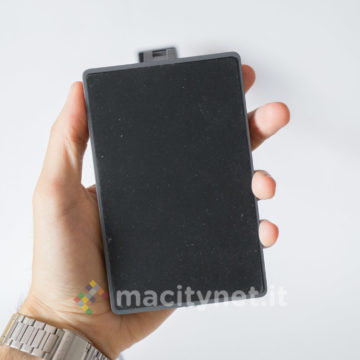
The body is made entirely of satin plastic and the base (12.3 x 7.8 x 1.3 cm) covers a heavy (750 grams) metal block, a reliable support for the entire structure whose bottom is covered with a layer of rubber that improves grip when placing the camera on a work surface.
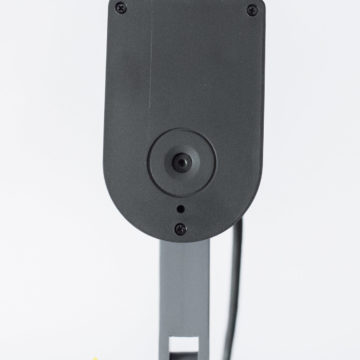
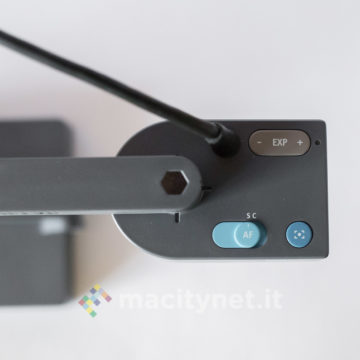
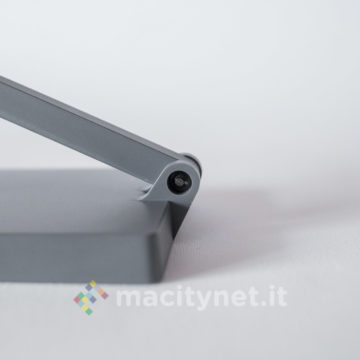
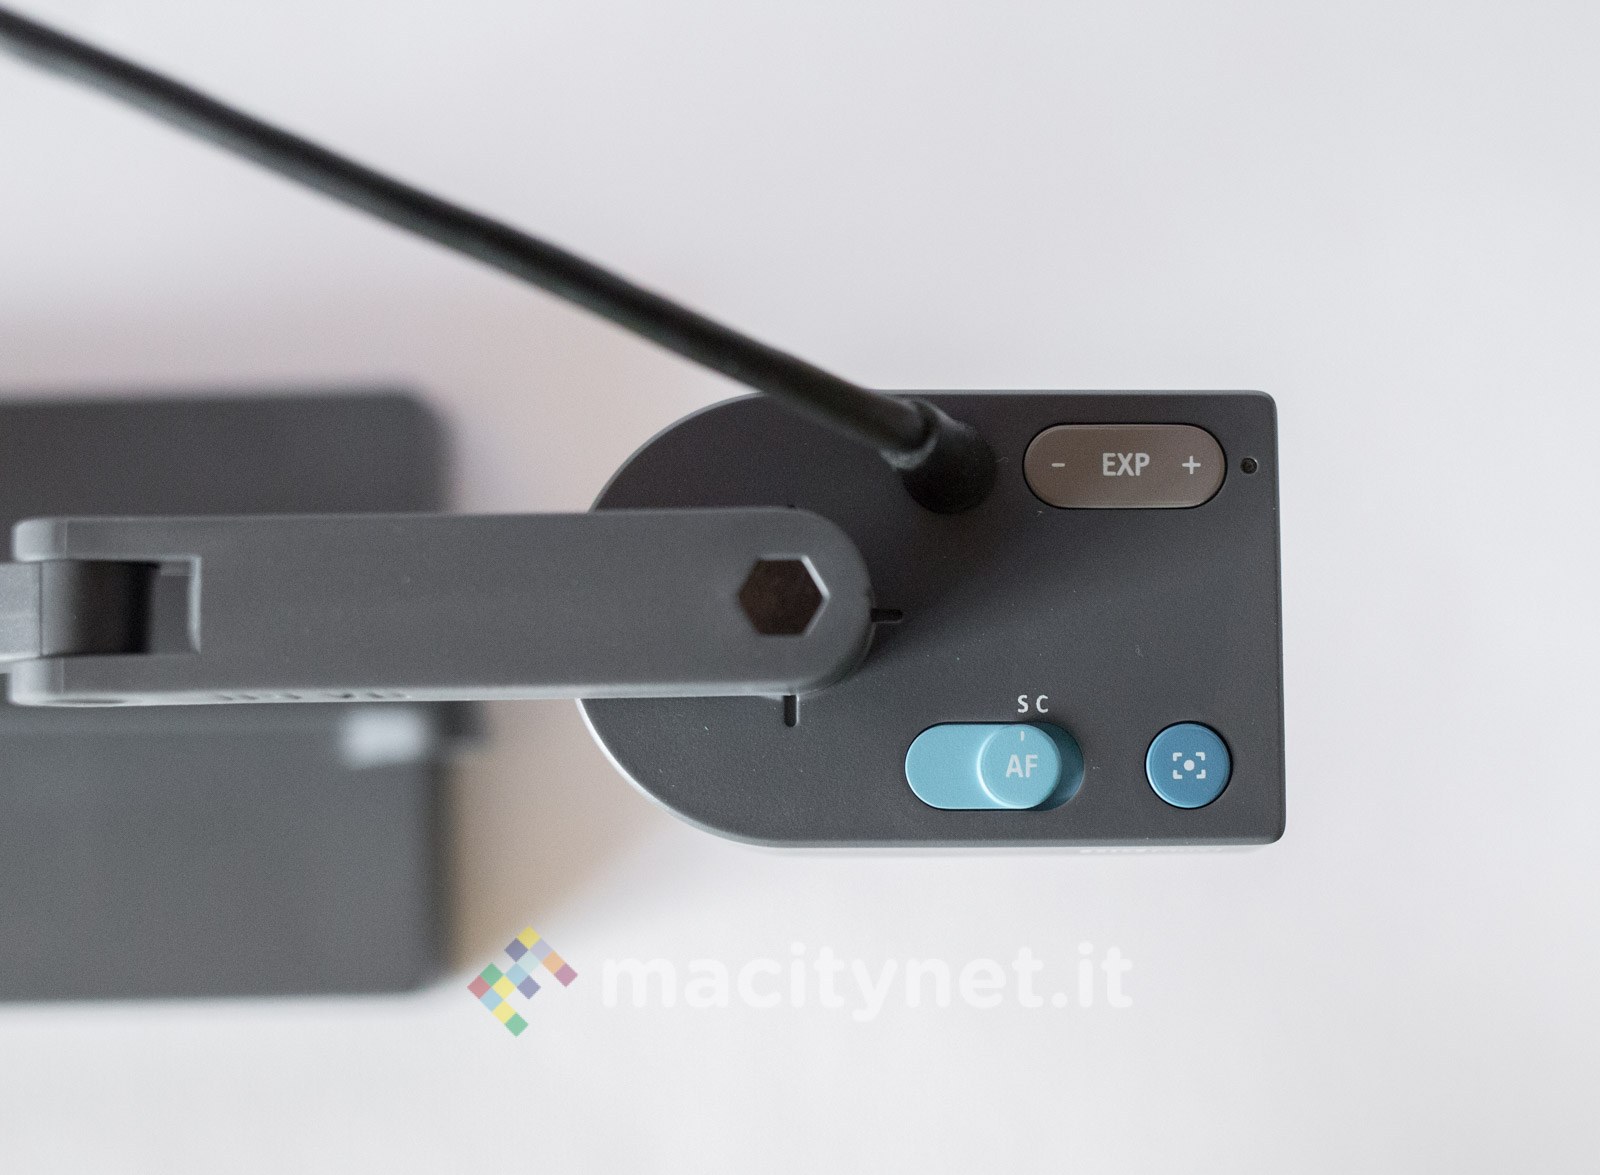
The actual camera is enclosed inside an articulated head (it can be rotated 270 degrees horizontally and about 230 degrees vertically) which incorporates some buttons for adjusting the focus (fixed or continuous) and the exposure. The head is connected to the base by means of two folding arms (about 15 cm long each) locked together with metal screws.
The software
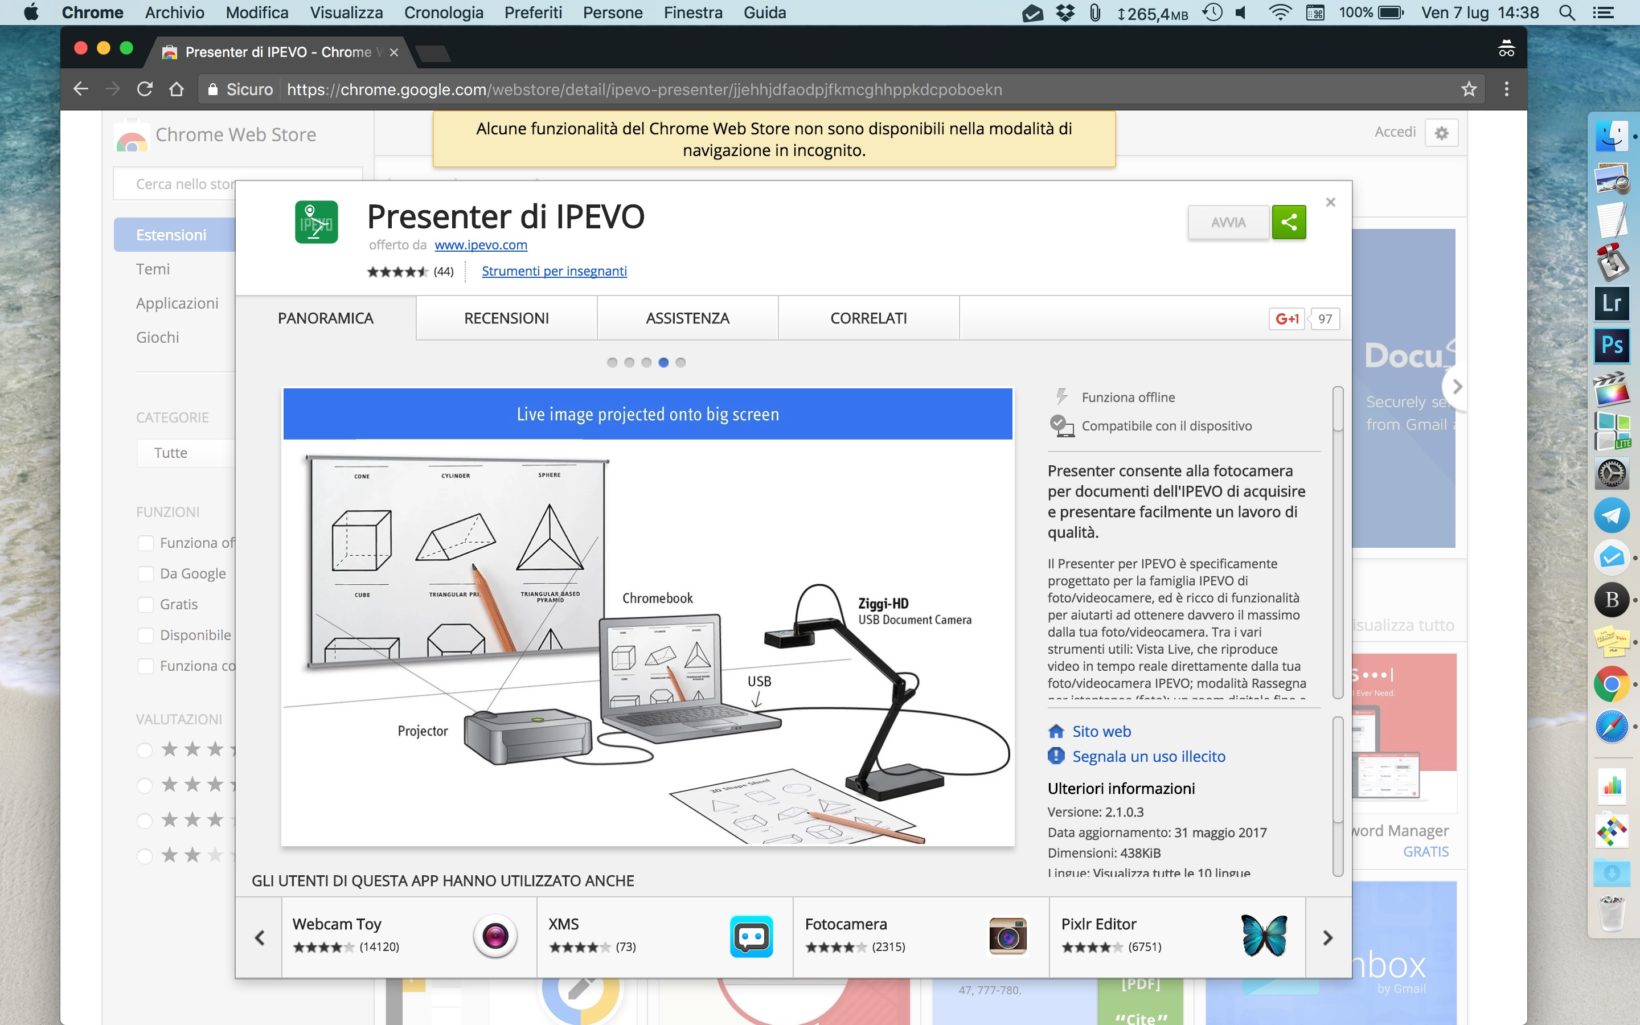
Using the camera is very simple: simply connect it to the computer via the USB plug and access the software download page (click here) where you can find the free IPEVO Presenter program available for all Mac platforms from OS X 10.5 and above to PC Windows XP and later versions. There is also the extension for Google Chrome, useful for all those computers where it is not possible to install third-party software.
First adjustment
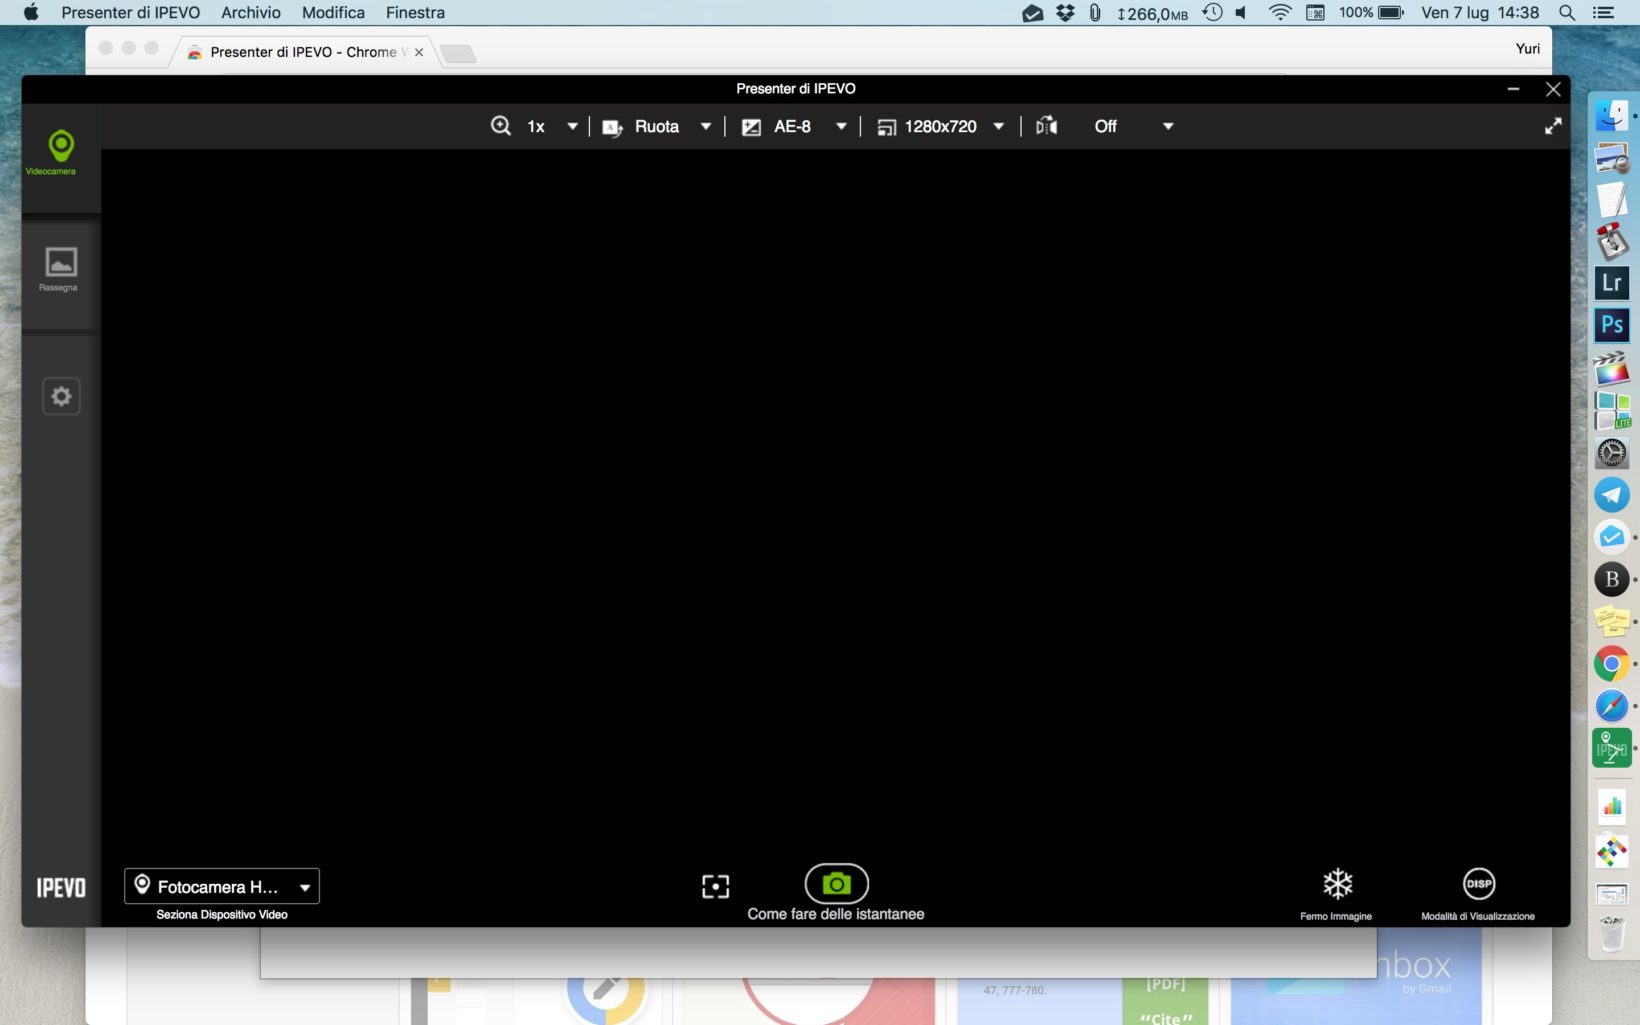
Once the software is started, first of all it is necessary to select the camera as the main source for video acquisition (by default the program chooses the camera incorporated in the computer, if present) through the menu at the bottom left under the item Select Video Device . The search for new connected devices takes a few seconds.
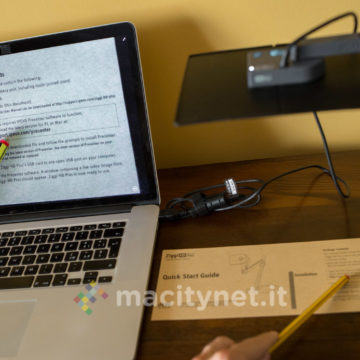
Once the camera has been selected, it will be possible to start using it right away. You then take a document, place it on the desk and frame it by adjusting the height and direction of the camera.
Using the camera
Thanks to the buttons incorporated in the head you can quickly adjust the exposure , increasing or decreasing in one click the amount of light absorbed by the sensor to make the framed document clearly legible, whether it is a white sheet with black writing, a color image or a dark sheet with thin lines of white text.
There is a switch to select the focus type , between stable (S) and continuous (C) and a button to quickly adjust the focus if the distance between document and camera changes, for example between the first and last page of a very large book.
Using the app
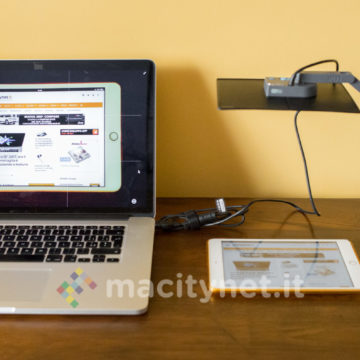
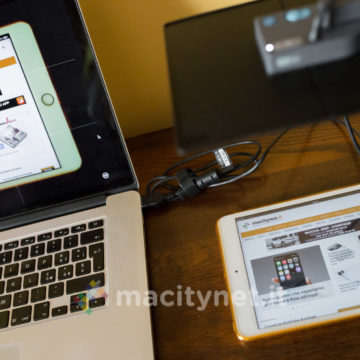
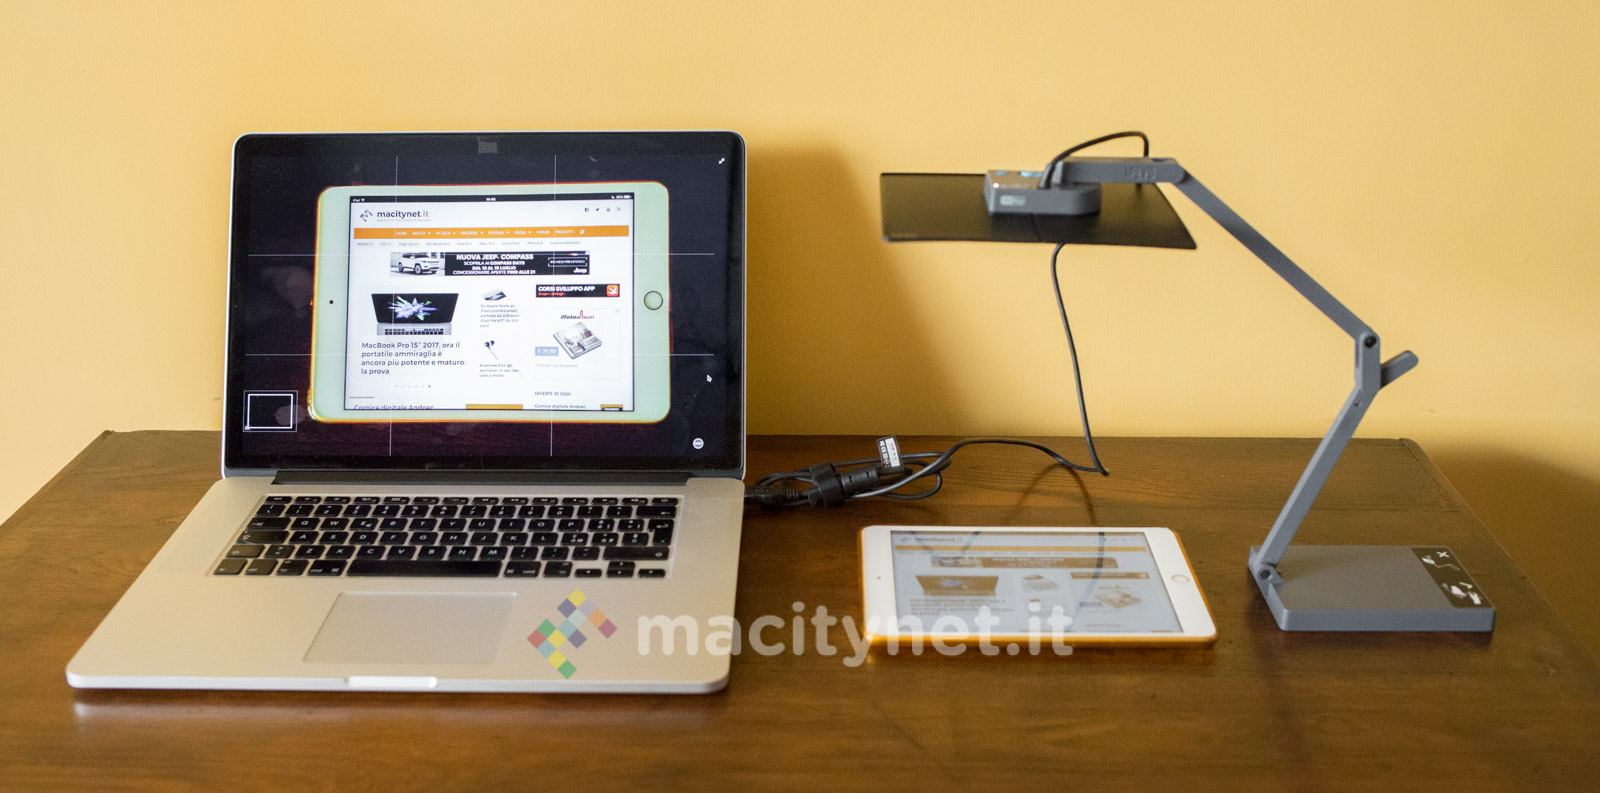
The greatest advantage of a camera of this type is if the computer is connected to a larger external monitor or even better a video projector. In that case, everything shown on the main PC screen will be replicated on the larger monitor. In case of a presentation or a lesson at school, it is advisable to activate the full-screen display of the IPEVO app (the two arrows in the upper right corner), thus focusing all the attention on what the camera frames.
With this in mind it is also good to evaluate the display mode of the screen through the circular button DISP visible in the lower right corner of the user interface. There are five available: in addition to the classic one there is the grid mode that divides the screen with 4 lines into 9 equal areas (excellent for studying the rule of thirds in photographs) with or without toolbars at the top and bottom , or one without grill and tools.
On the lower toolbar, in addition to the DISP key and the camera selection menu there is the virtual button for the focus (the same that we find on the camera head) and a button marked with a camera to take a screenshot of the screen. There is also the button dedicated to the Freeze frame , useful for avoid the snapshot by blocking the scene perhaps to move on the stage and indicate an exact point of the frame.
On the left sidebar there are three sections to switch from Camera to Review of the snapshots acquired and then finish with the adjustment of the Settings related to the snapshot and preview timer.
The upper toolbar, on the other hand, includes several buttons to act on certain parameters. With the magnifying glass it is possible to zoom (up to 6x) thus enlarging a detail of a document. The Rotate button allows you to rotate the image by ± 180 degrees without having to move the framed document or the camera, there is then the button mirror to reflect horizontally or vertically (or both) and the exposure adjustment panel , plus a section to set the resolution of the framed image, from the smallest at 640 x 480 pixels to the largest of 3,264 x 2,448 pixels.


How is it going
Using this camera is really easy and the quality is really great. With the zoom it is possible to notice even the smallest details, which makes it excellent even for longer use: if in fact it was born mainly as a video camera for teachers and lecturers, nothing prevents it from being used, for example in the laboratory to monitor the status. progress of an experiment, such as the growth of a plant.
In fact, the camera works in combination with the computer, which can be connected daily in an instant via the USB socket to take one or more photographs a day without moving either the camera or the plant, thus being able, for example, to create a time-lapse video. effect by simply mounting the photographs together in sequence.
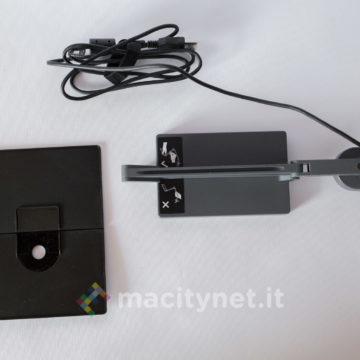
The base is very heavy and sturdy and the head is really light, which ensures excellent stability of the whole structure. To reduce lateral light infiltrations, a black plastic panel (included in the package) can also be attached to the camera head.
Conclusions
If you are teachers or lecturers or parents of a child who likes to experiment at home (who has never grown a plant starting from the classic lentil seed in a plastic cup with a little cotton wool soaked in water) and you need a camera to facilitate the task of projecting documents (but also a tablet screen) on monitors or large walls, Ziggi HD Plus could be the ideal solution.
It is in fact built precisely to fulfill this task in the best possible way and the control software offers all the useful tools to better manage a conference (between freeze frame and zoom) in a few clicks and without having to follow a “training course” to learn how to use it: connected to the computer, knowing how to move between the various options is really a matter of a few minutes.
Price to the public
Ziggi HD Plus is on sale on Amazon for 119 euros.
,,


